Given how I need to perfect my on screen display and video code, and the input and lcd interface that will be used in subsequent JAMMA project like the PJ (Pi to Jamma), Minigun and the JammaMate cards, I decided to concentrate on the JAMMA TestCard to finish this one completely before focusing on the other projects.
TestCard prototype is almost complete.
I made a separate project page dedicated to the TestCard. You can find it here.
This project is about 80% complete I would say. Not sure how long before I wrap it up but it should be not much more than a month or so. It all depends whether I get distracted with other stuff, and that’s very, very likely.
Since this project isn’t 100% completed yet, the price isn’t final, but I’m aiming to initially price these at around $40USD or $50CAD.
In addition to this, I’ve also been working on a couple of other side projects. I have now assembled and have done some light testing with the Minigun prototype board.
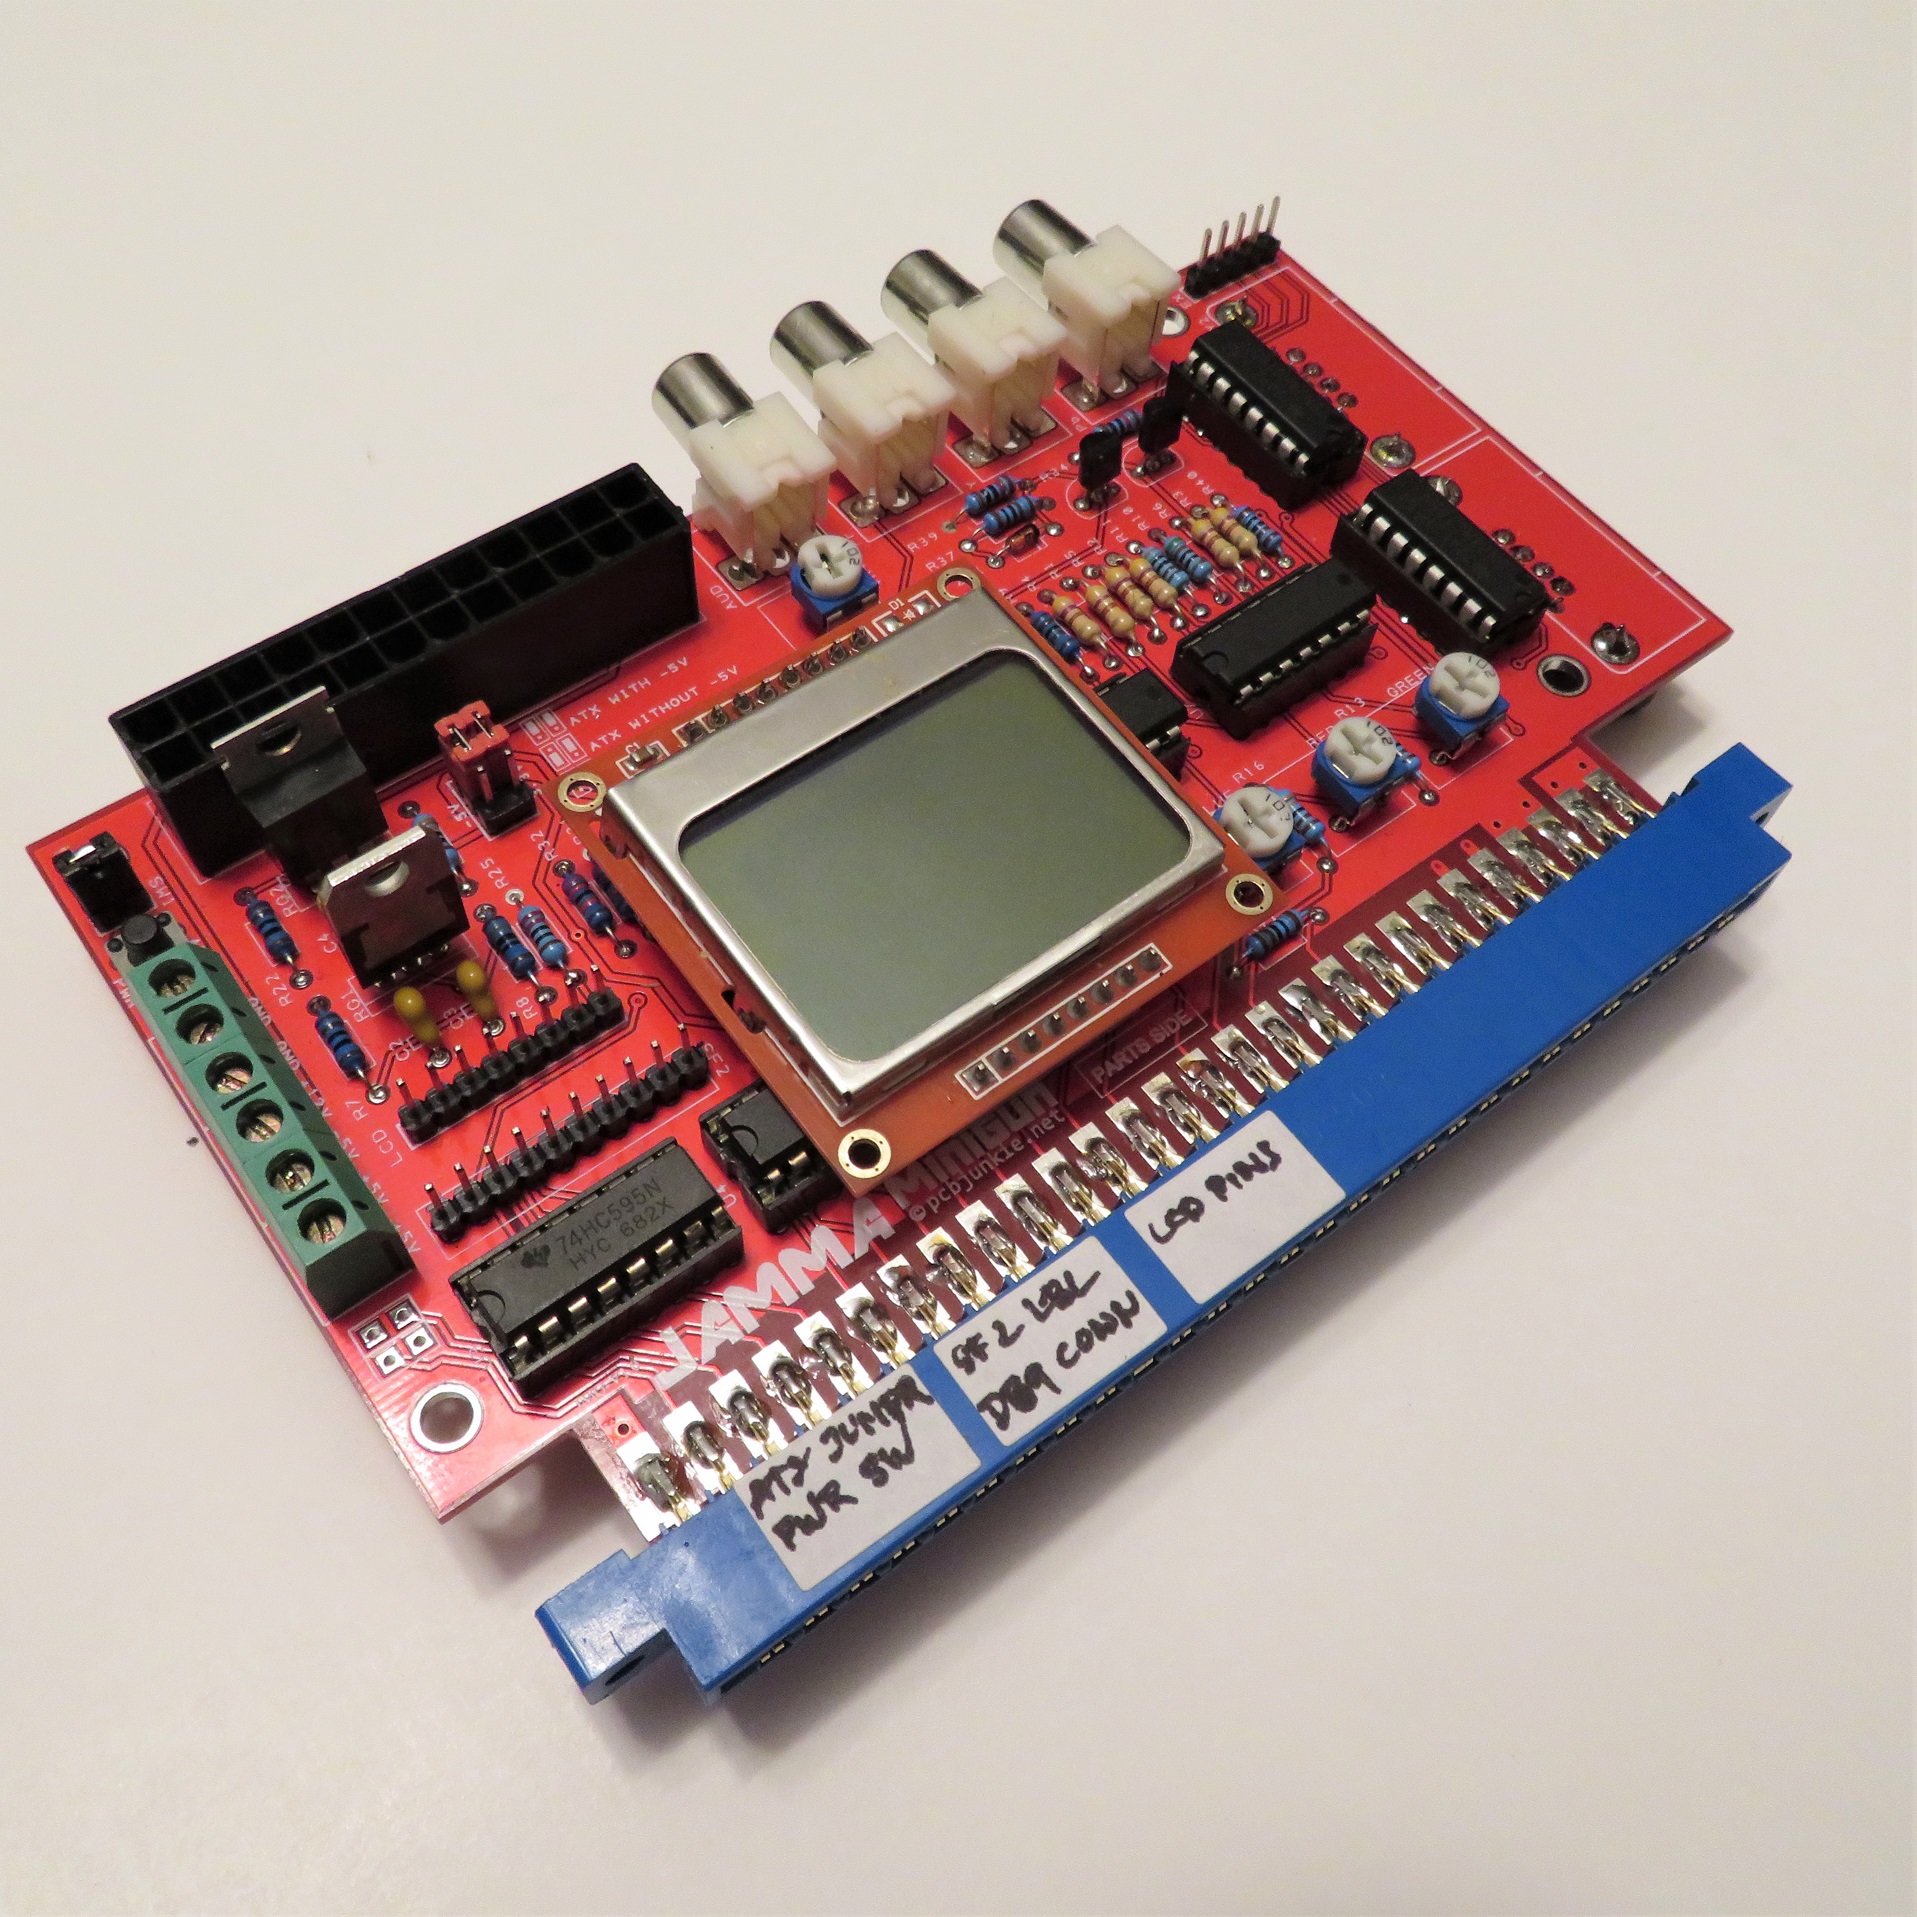
This is a device that is a single PCB supergun that has some neat functionality not found elsewhere. The main features that separate it from the crowd are the ability to use Sega Genesis 6 button controllers, or any other DB9 compatible joystick for that matter, RGB to Component video conversion (requires a TV capable of displaying 240p video) and most importantly, the price.
I’m planning to price is well below any competition, even though I would consider this product to be superior. The price point I’m aiming at is about $70CAD or $60USD without controllers.
As the project continues to move forward I’ll try to update this site with additional information. For now there is very little information on the Minigun page here, but feel free to check it out nonetheless.
I’ve been running low on existing adapter boards as they’ve been selling quite well. Since I had to reorder these, it made sense to expand the order to include alongside some of the other adapter types I’ve been working on recently.
I put aside the JAMMA TestCard and the Minigun work for a couple of days to finish up the design for these adapters, and while they’re in production, the plan was to switch back and work on the code for the TestCard and the Minigun again.
This type of efficiency is so unlike me.
So now, while I wait for the order to arrive, I am back working on the TestCard again. Given how the libraries I’m trying to write will be reused in later projects, the TestCard makes it easy to test the code before it gets reused elsewhere.
The new adapters have now left the fabrication process and are on the way. In the new batch we have:
Midway Space Invaders
This unique adapter will not only convert the composite video to JAMMA compatible RGB video but also create a virtual color overlay that simulates the original cellophane overlay that was used in the original arcade machines. This adapter is for the Midway board variant. I’ll create a Taito version as well as soon as I get my hands on a Taito SI board.
Orca Type B
For orca boards like Espial, Vastar, Zodiack and others. This is a redo of an adapter that I made in the last batch which had the pin order swapped left to right. That’s what I get for not double checking my design!
Data East Cassette
For Data East boards that used the cassette system pinout. This includes games like BurgerTime and Bump’n’Jump on either the cassette type boards or the plain rom based pcbs.
SNK Type B
For boards like ASO, Alpha Mission, Gladiator and others. This is a different pinout used by the Rockola games and in Vanguard.
Gallag
For the awseome and quite popular bootleg of Namco’s Galaga game. I believe there are a lot more of these than the original Galaga pcbs. At least I keep running into those a lot more.
There are also some redesigned adapters in this batch like the Namco Galaga adapter what just simply hell to assemble. I sold as many of the original Galaga adapters to break even, and then immediately redesigned it.
I think the new version will be quite a bit better, at least I’m a lot more happy with it.
With this batch of adapters, I believe this puts the total number of adapter designs to around 35. Not bad for about a year of spare time work.
With every new batch, I’m moving closer and closer to the end of this project, and at this point the next adapters in my sights are going to be for the Nintendo Playchoice systems and Exidy boards.
However, if you have any JAMMA adapter requests that you would like me to make, you can message me through here, and if the board is relatively popular I will likely put in on my list.
I now need to update the JAMMA Adapter project page which is quite out of date. For a more recent list, please check my Ebay listings here.
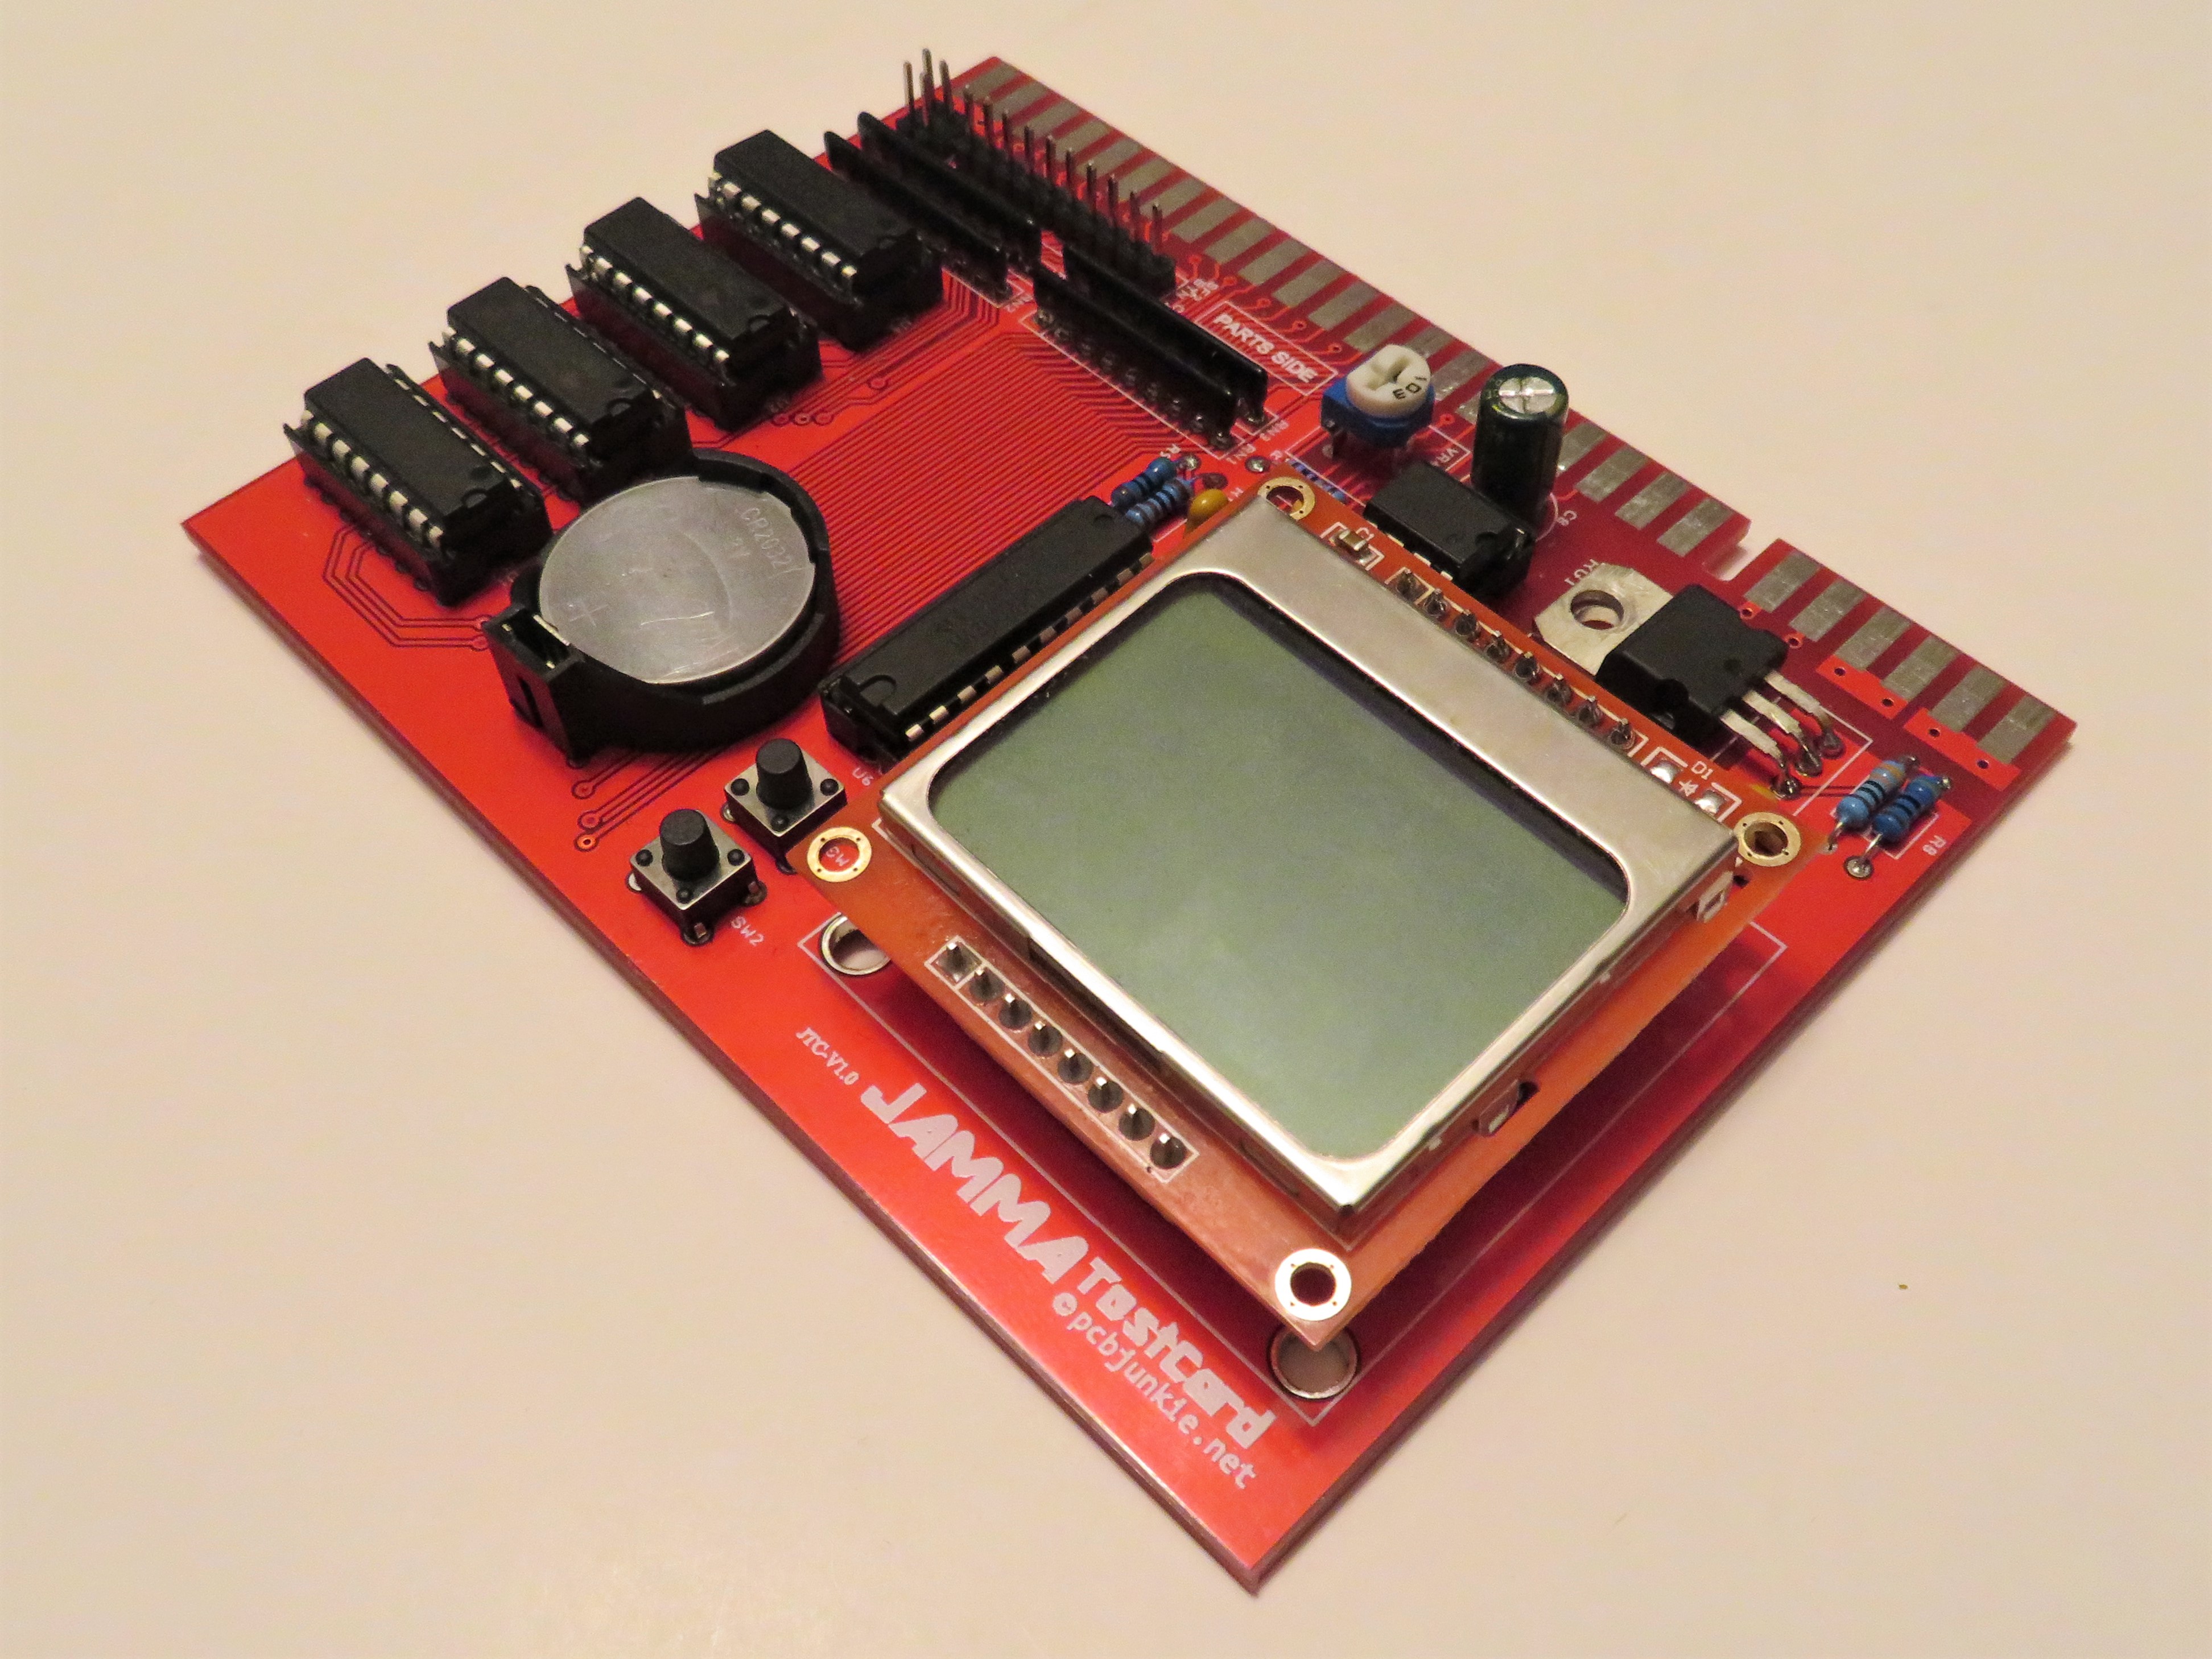
I’m currently working on the JAMMA TestCard, which is a small card that is meant to allow you to test and troubleshoot a JAMMA cabinet. Simply plug it into your JAMMA harness and you can start testing immediately.
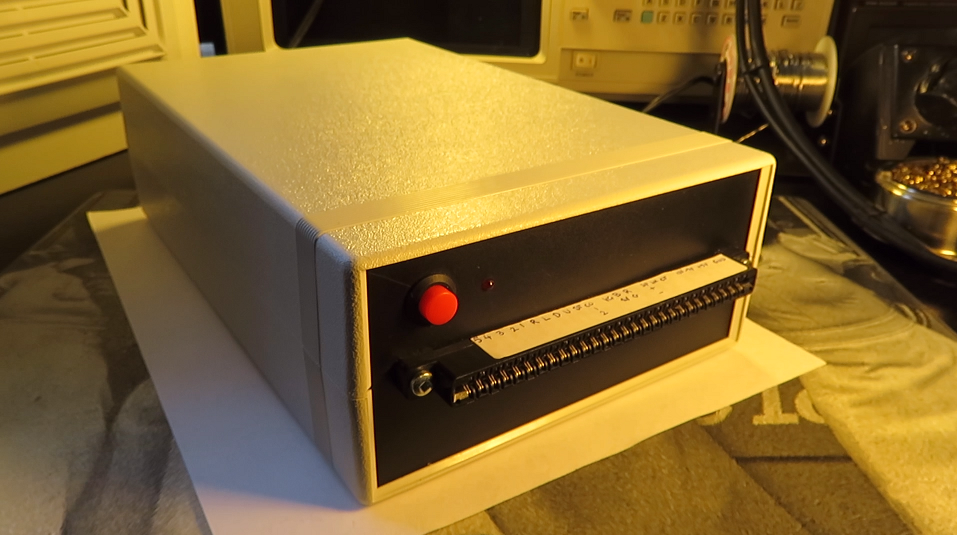
JAMMA Test Card, current prototype version.
This can come in handy in a number of circumstances, whether you’re building your own cabinet, modifying something or adding additional controls and don’t want to risk testing with and possibly damaging a real game.
The most likely scenario where you’d want to use the TestCard is when testing a cabinet just before a purchase, a cabinet that you’re not familiar with that may or may not be working 100%, to make sure you pay exactly what it’s worth.
The card allows you to perform the following test functions:
Power Supply Test
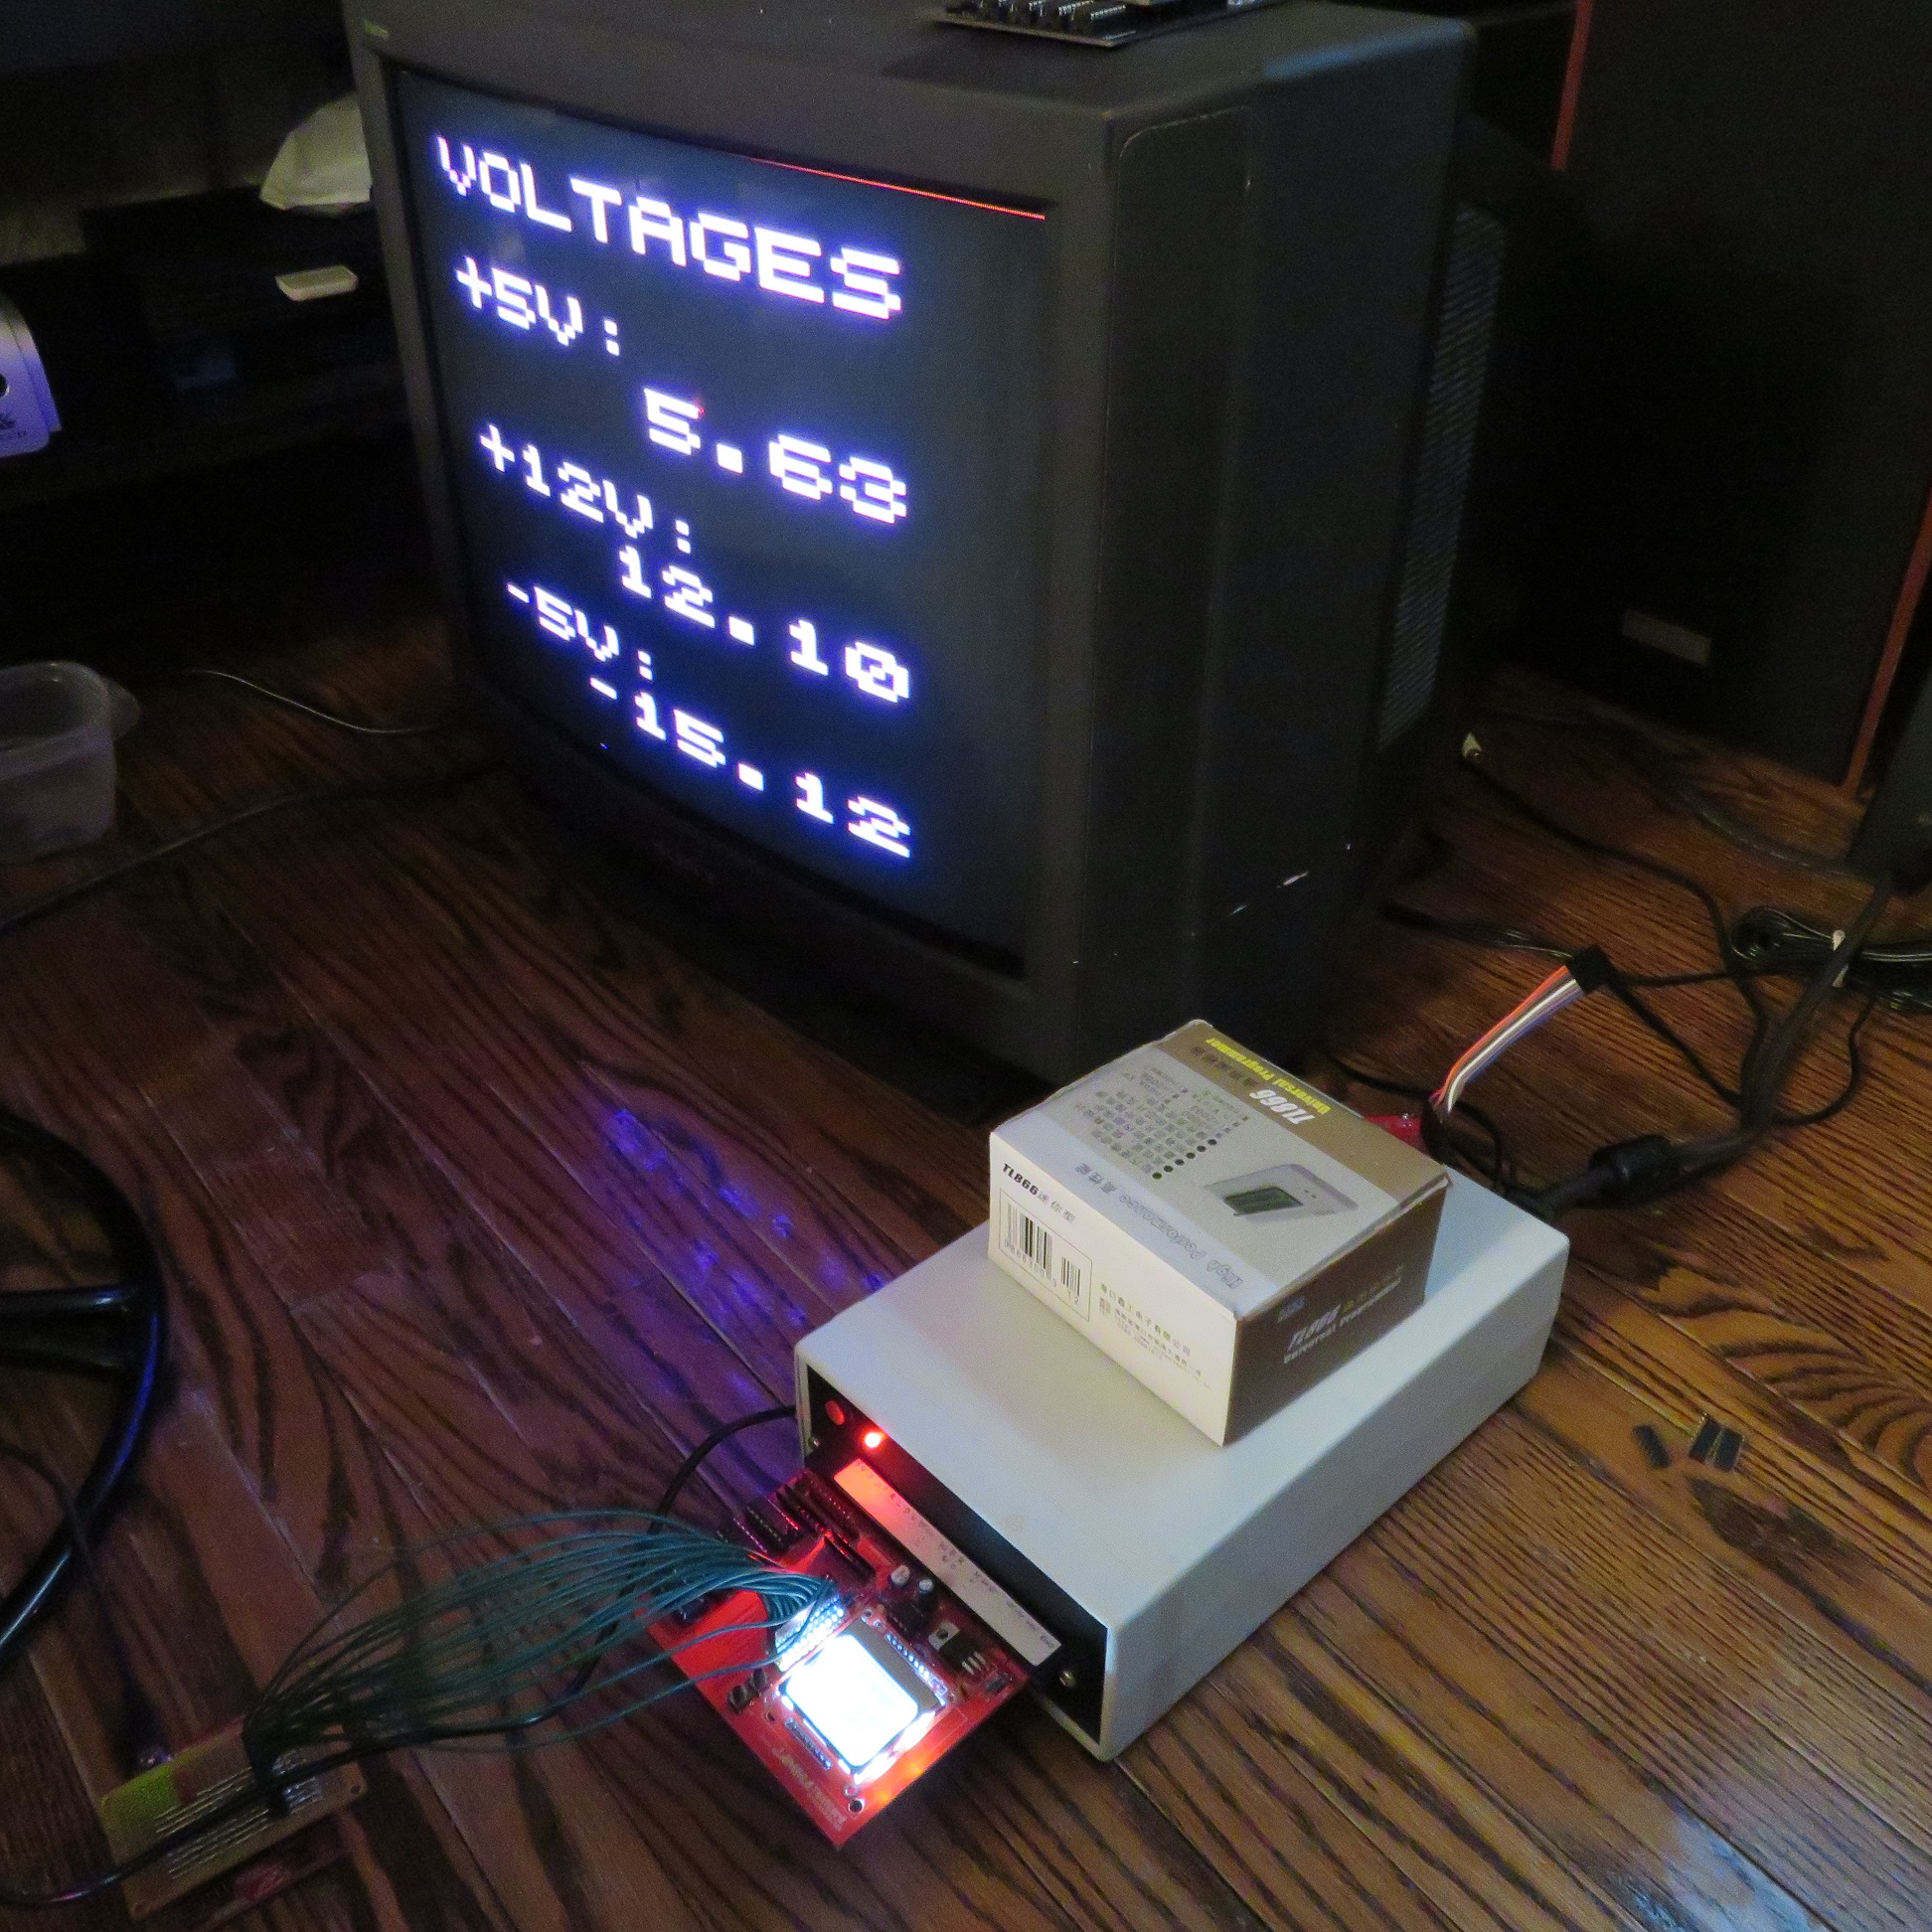
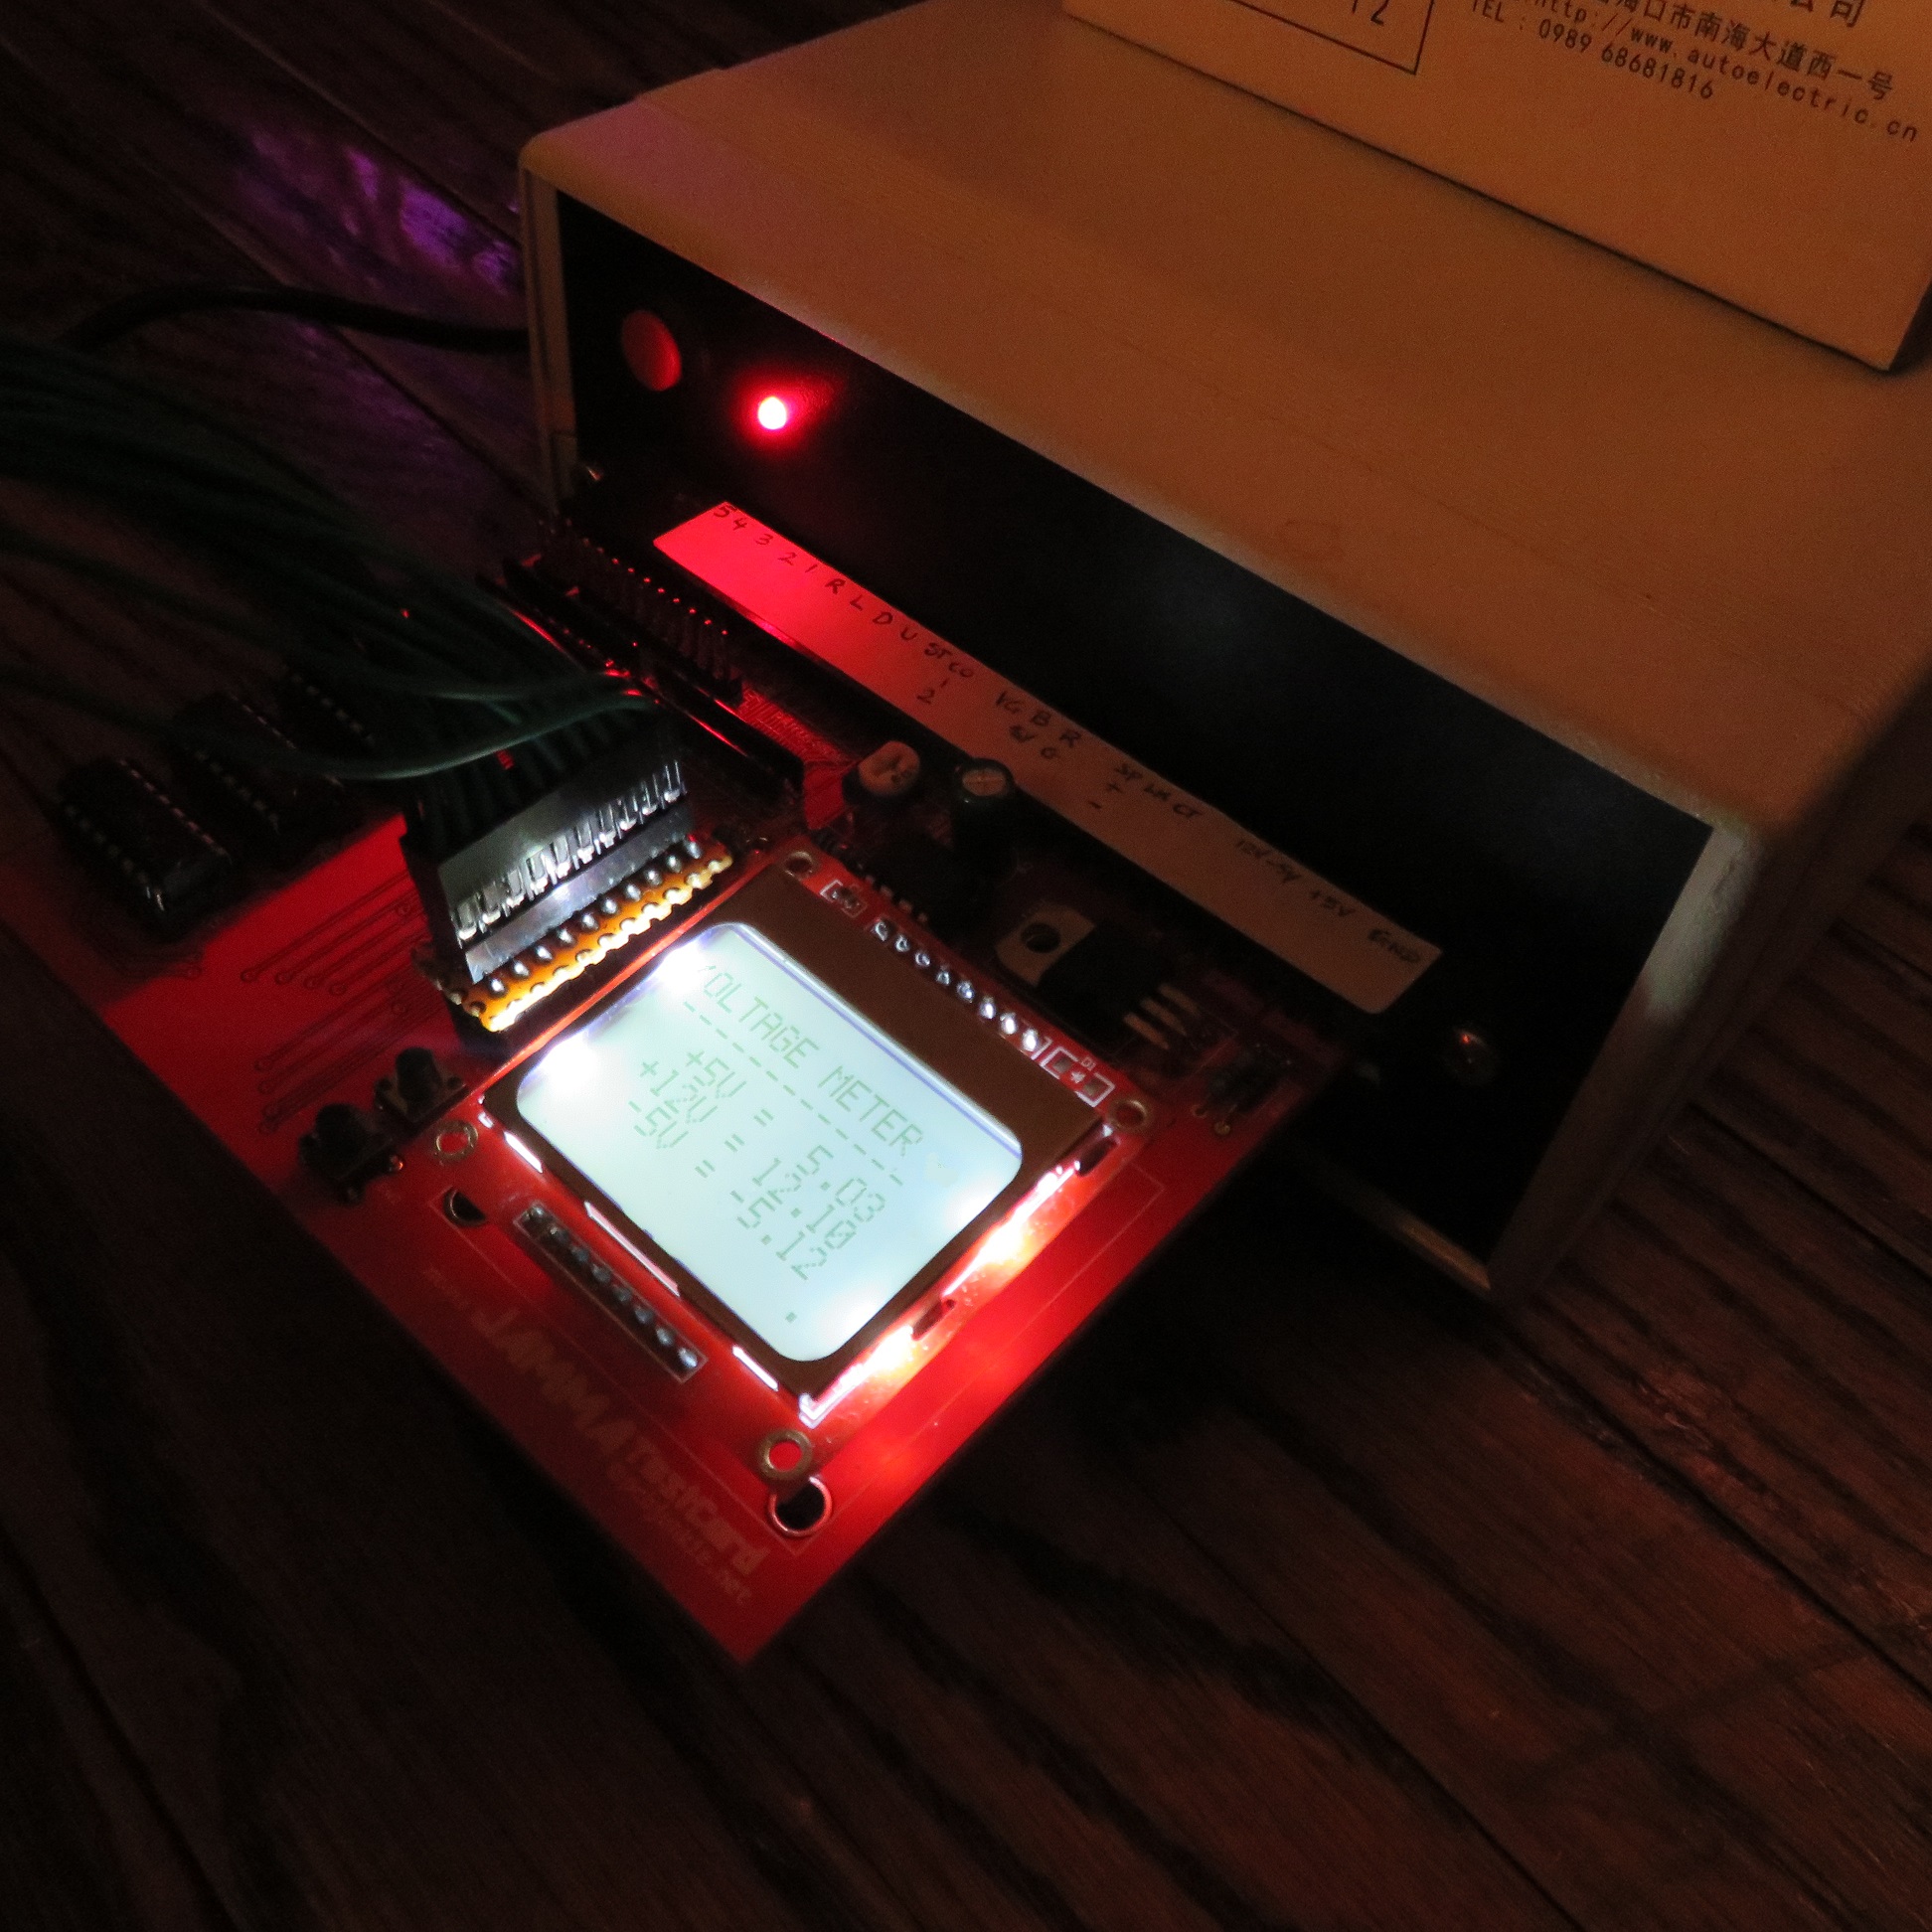
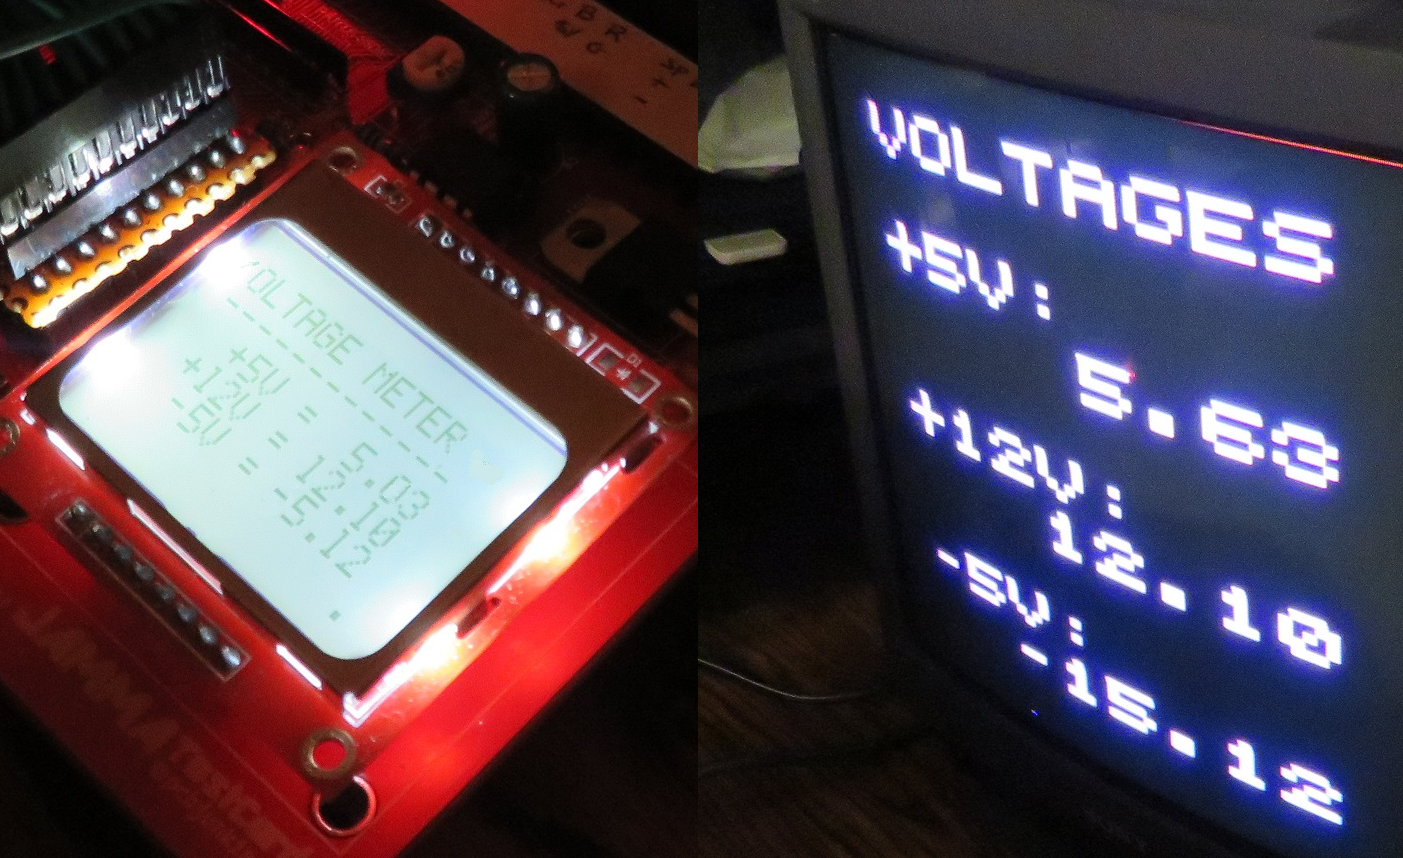
Voltage testing for the +5V, +12V and the -5V JAMMA power rails. The results are displayed on screen and on the LCD display in case the monitor is dead or not working as expected.
Debugging the TestCard on my homegrown Supergun and my Sony RGB modded TV. Power Supply Test shown, values displayed on-screen.Test results also reported on the LCD display.
Test Control Wiring and Switches
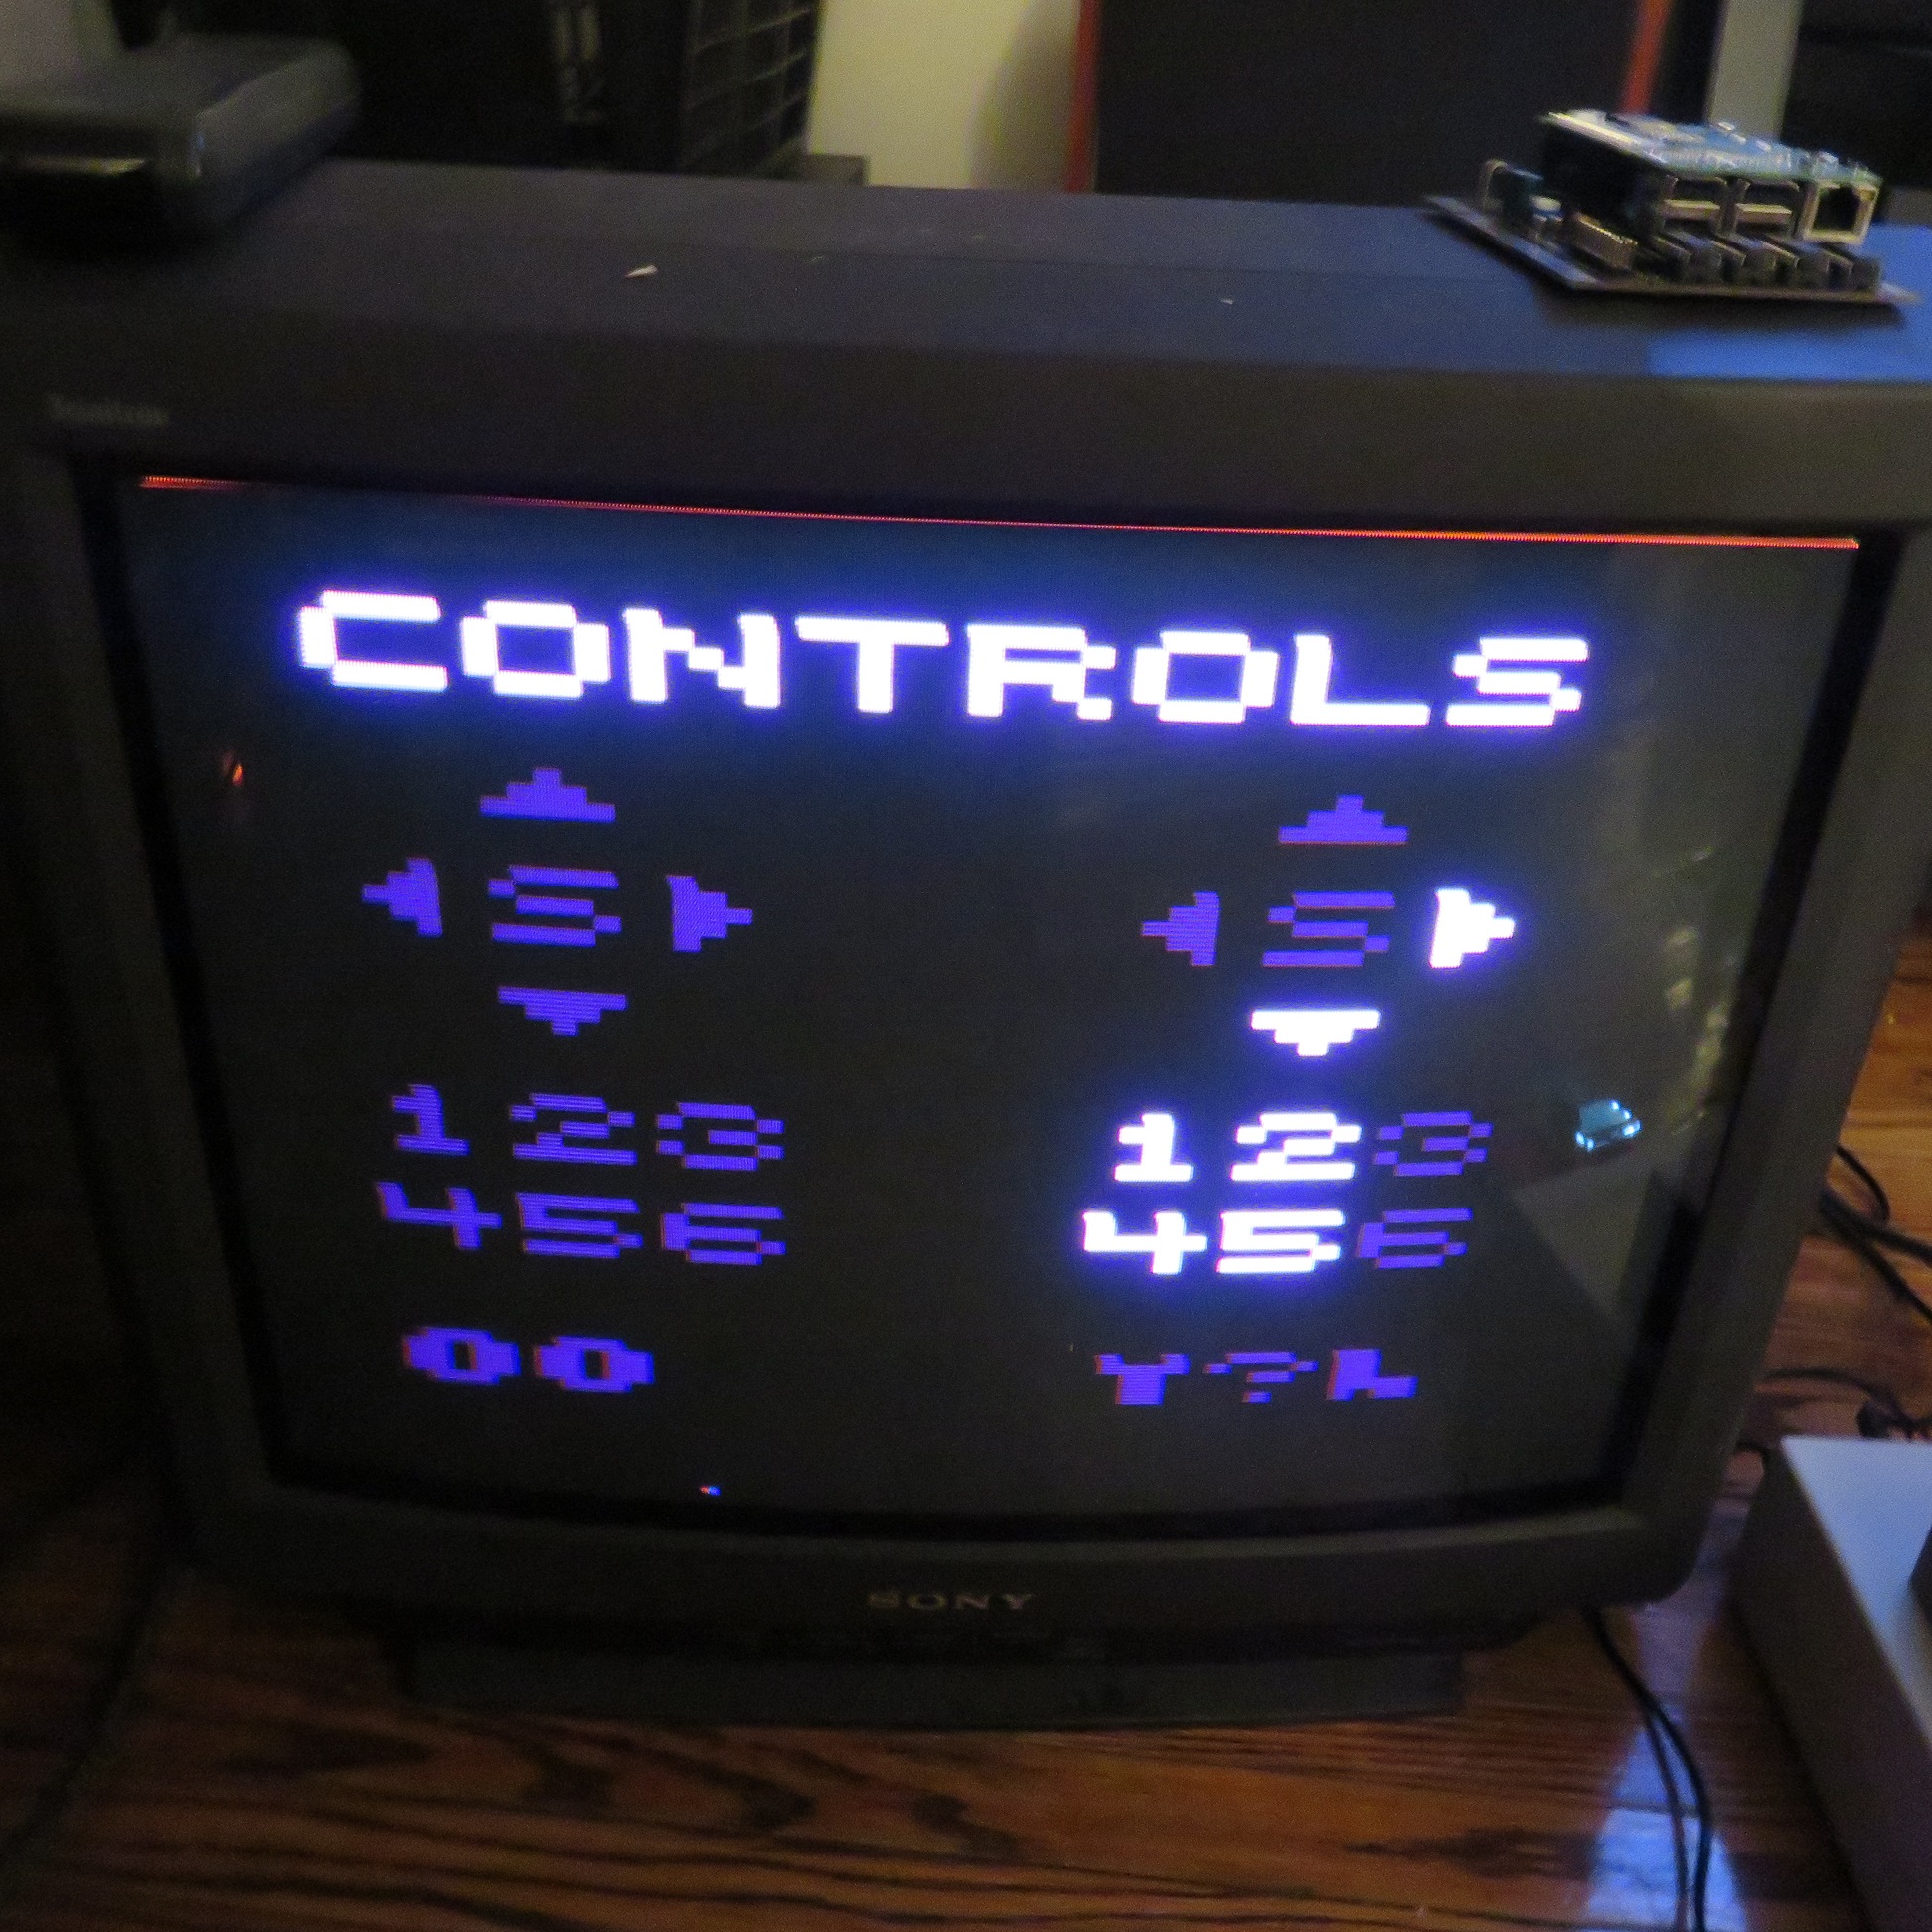
Control Test. All input JAMMA switches and buttons are supported.
Check the controls by pushing a button and watching the on-screen display or LCD display for feedback. All input switches are tested including the service, test and tilt switches as well as 6 buttons on the edge connector and Street Fighter 2 kick button harness header.
Monitor Test
Test the monitor in various ways to ensure it’s functioning correctly. The tests include:
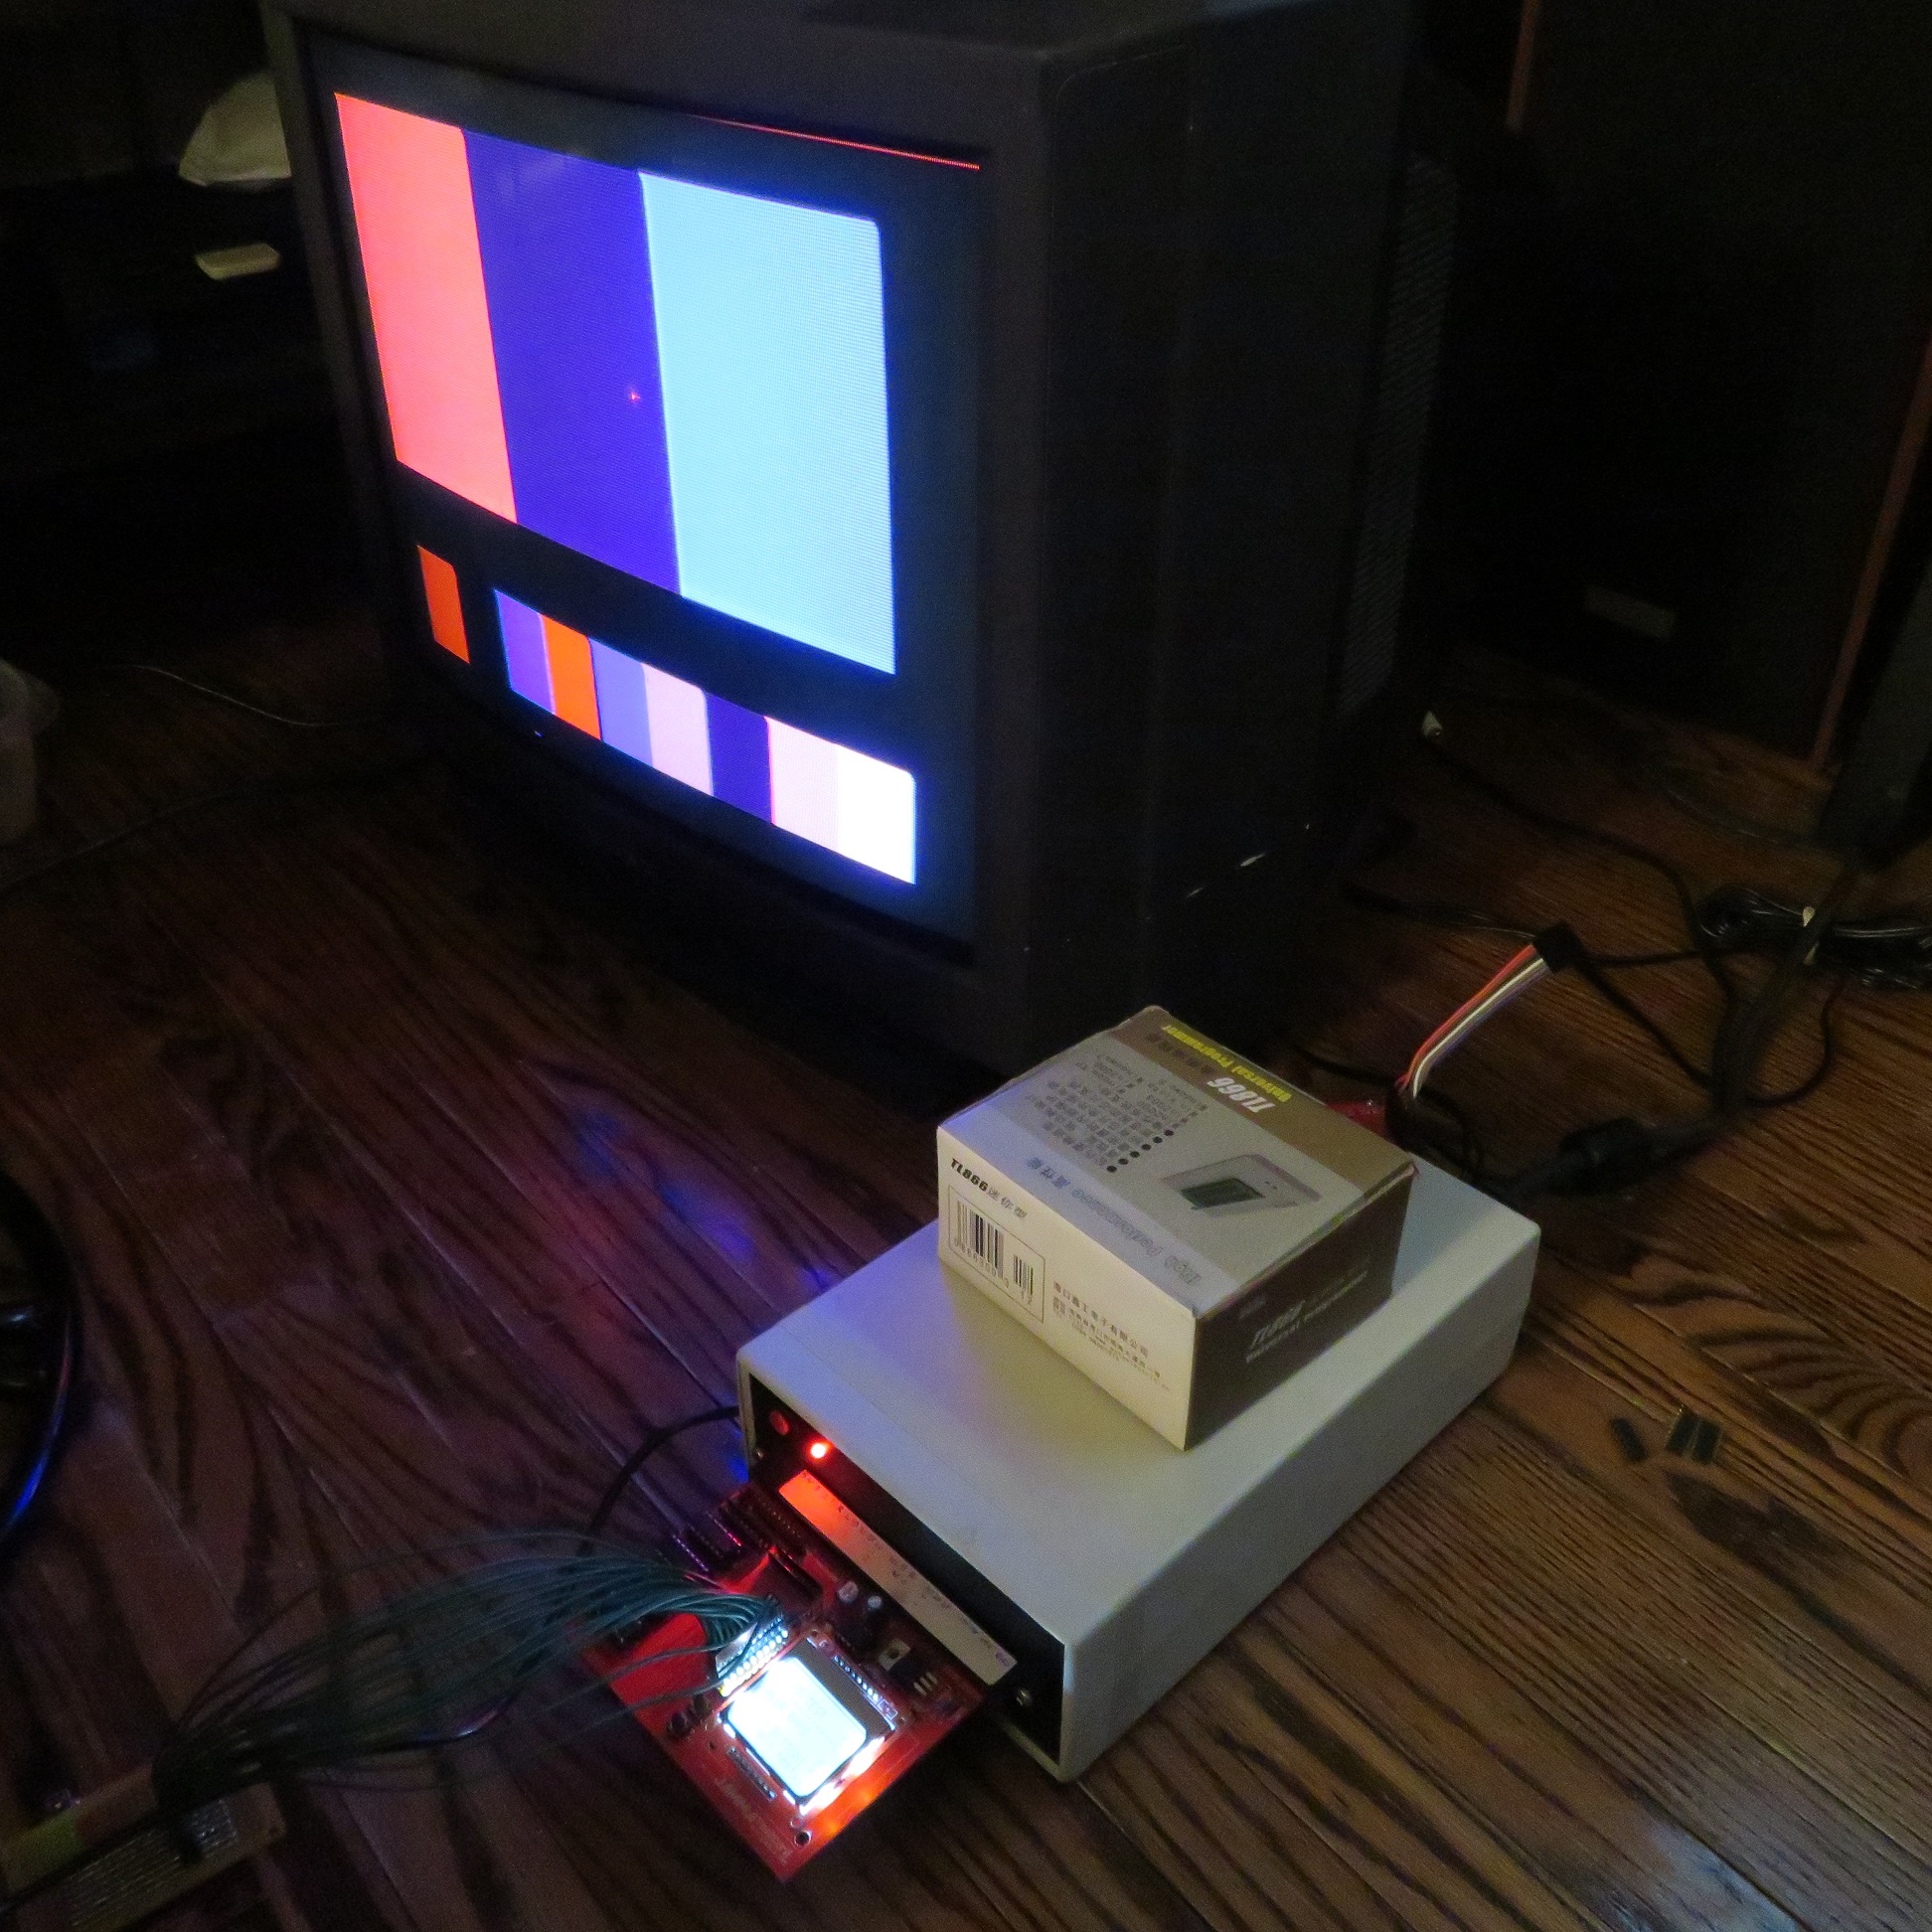
Color Bars.
Color Bars on screen. The G in RGB died recently in this TV. 95% it’s a dead electrolytic cap as the green color on the TV was acting up in the typical dying cap way (until the TV warmed up) before it died completely.
Make sure all of the RGB lines are connected and display properly. Also check for any color bleeding or balance problems.
Alignment and Convergence Grid
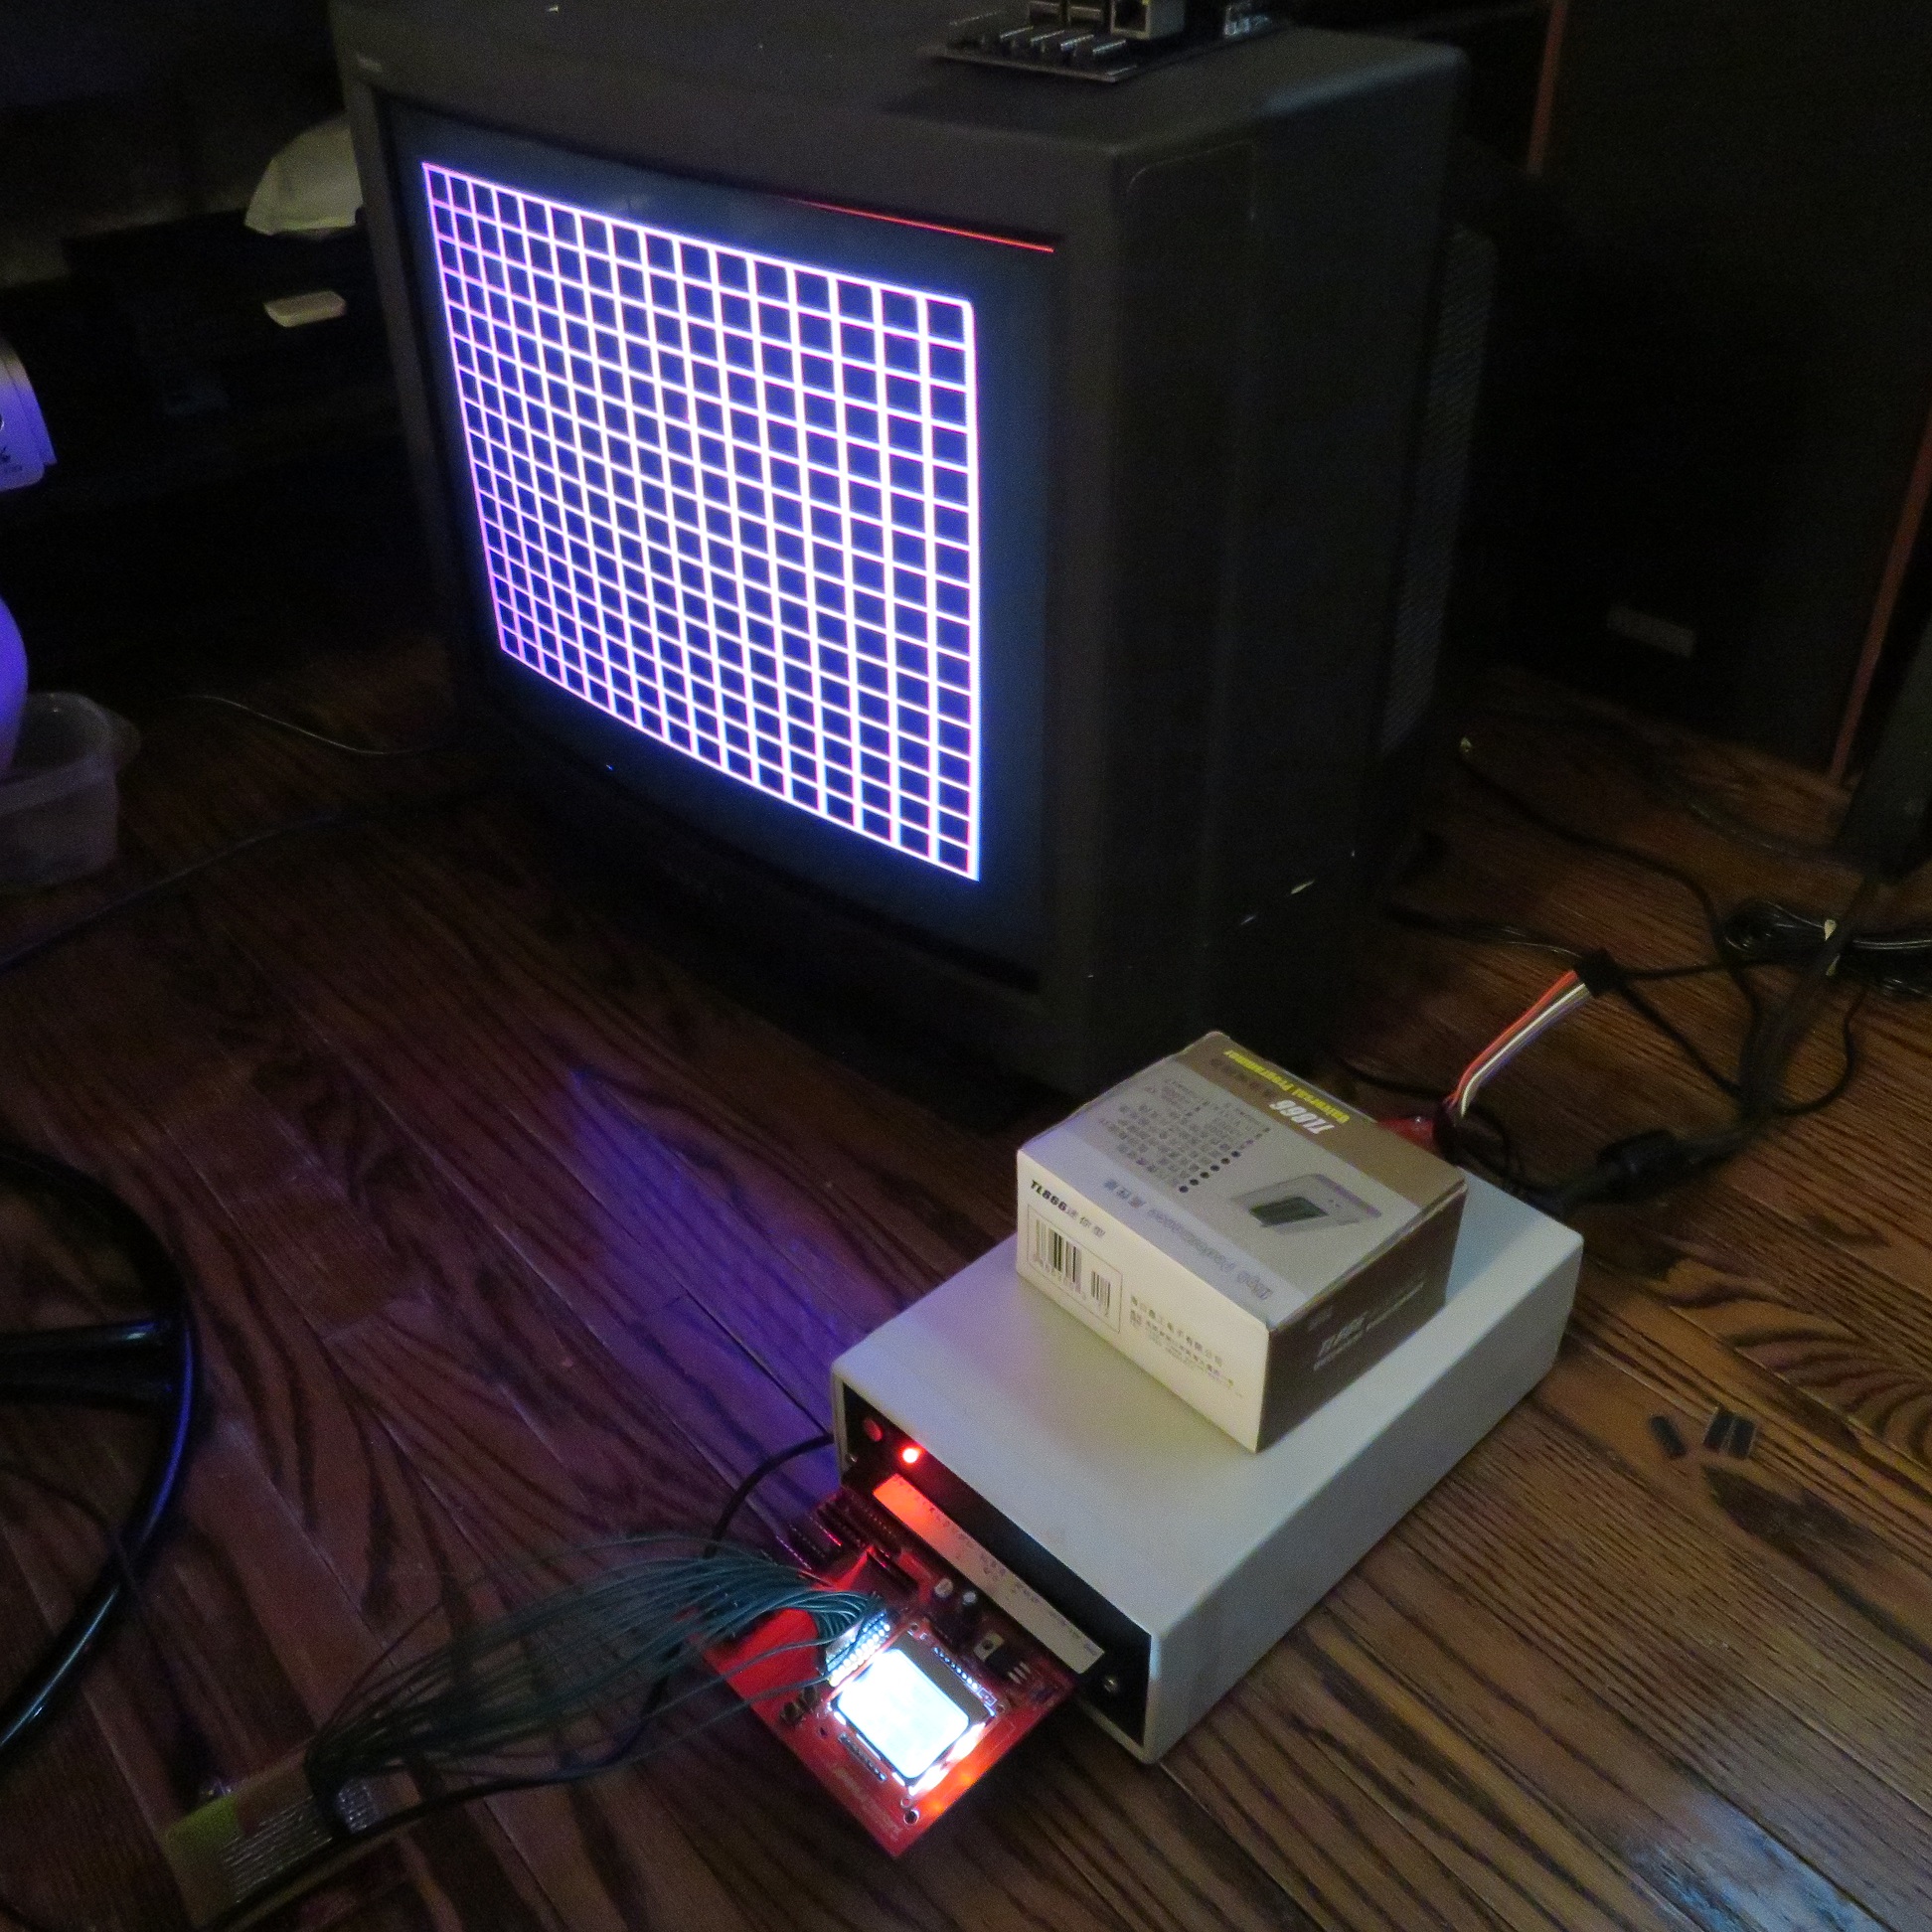
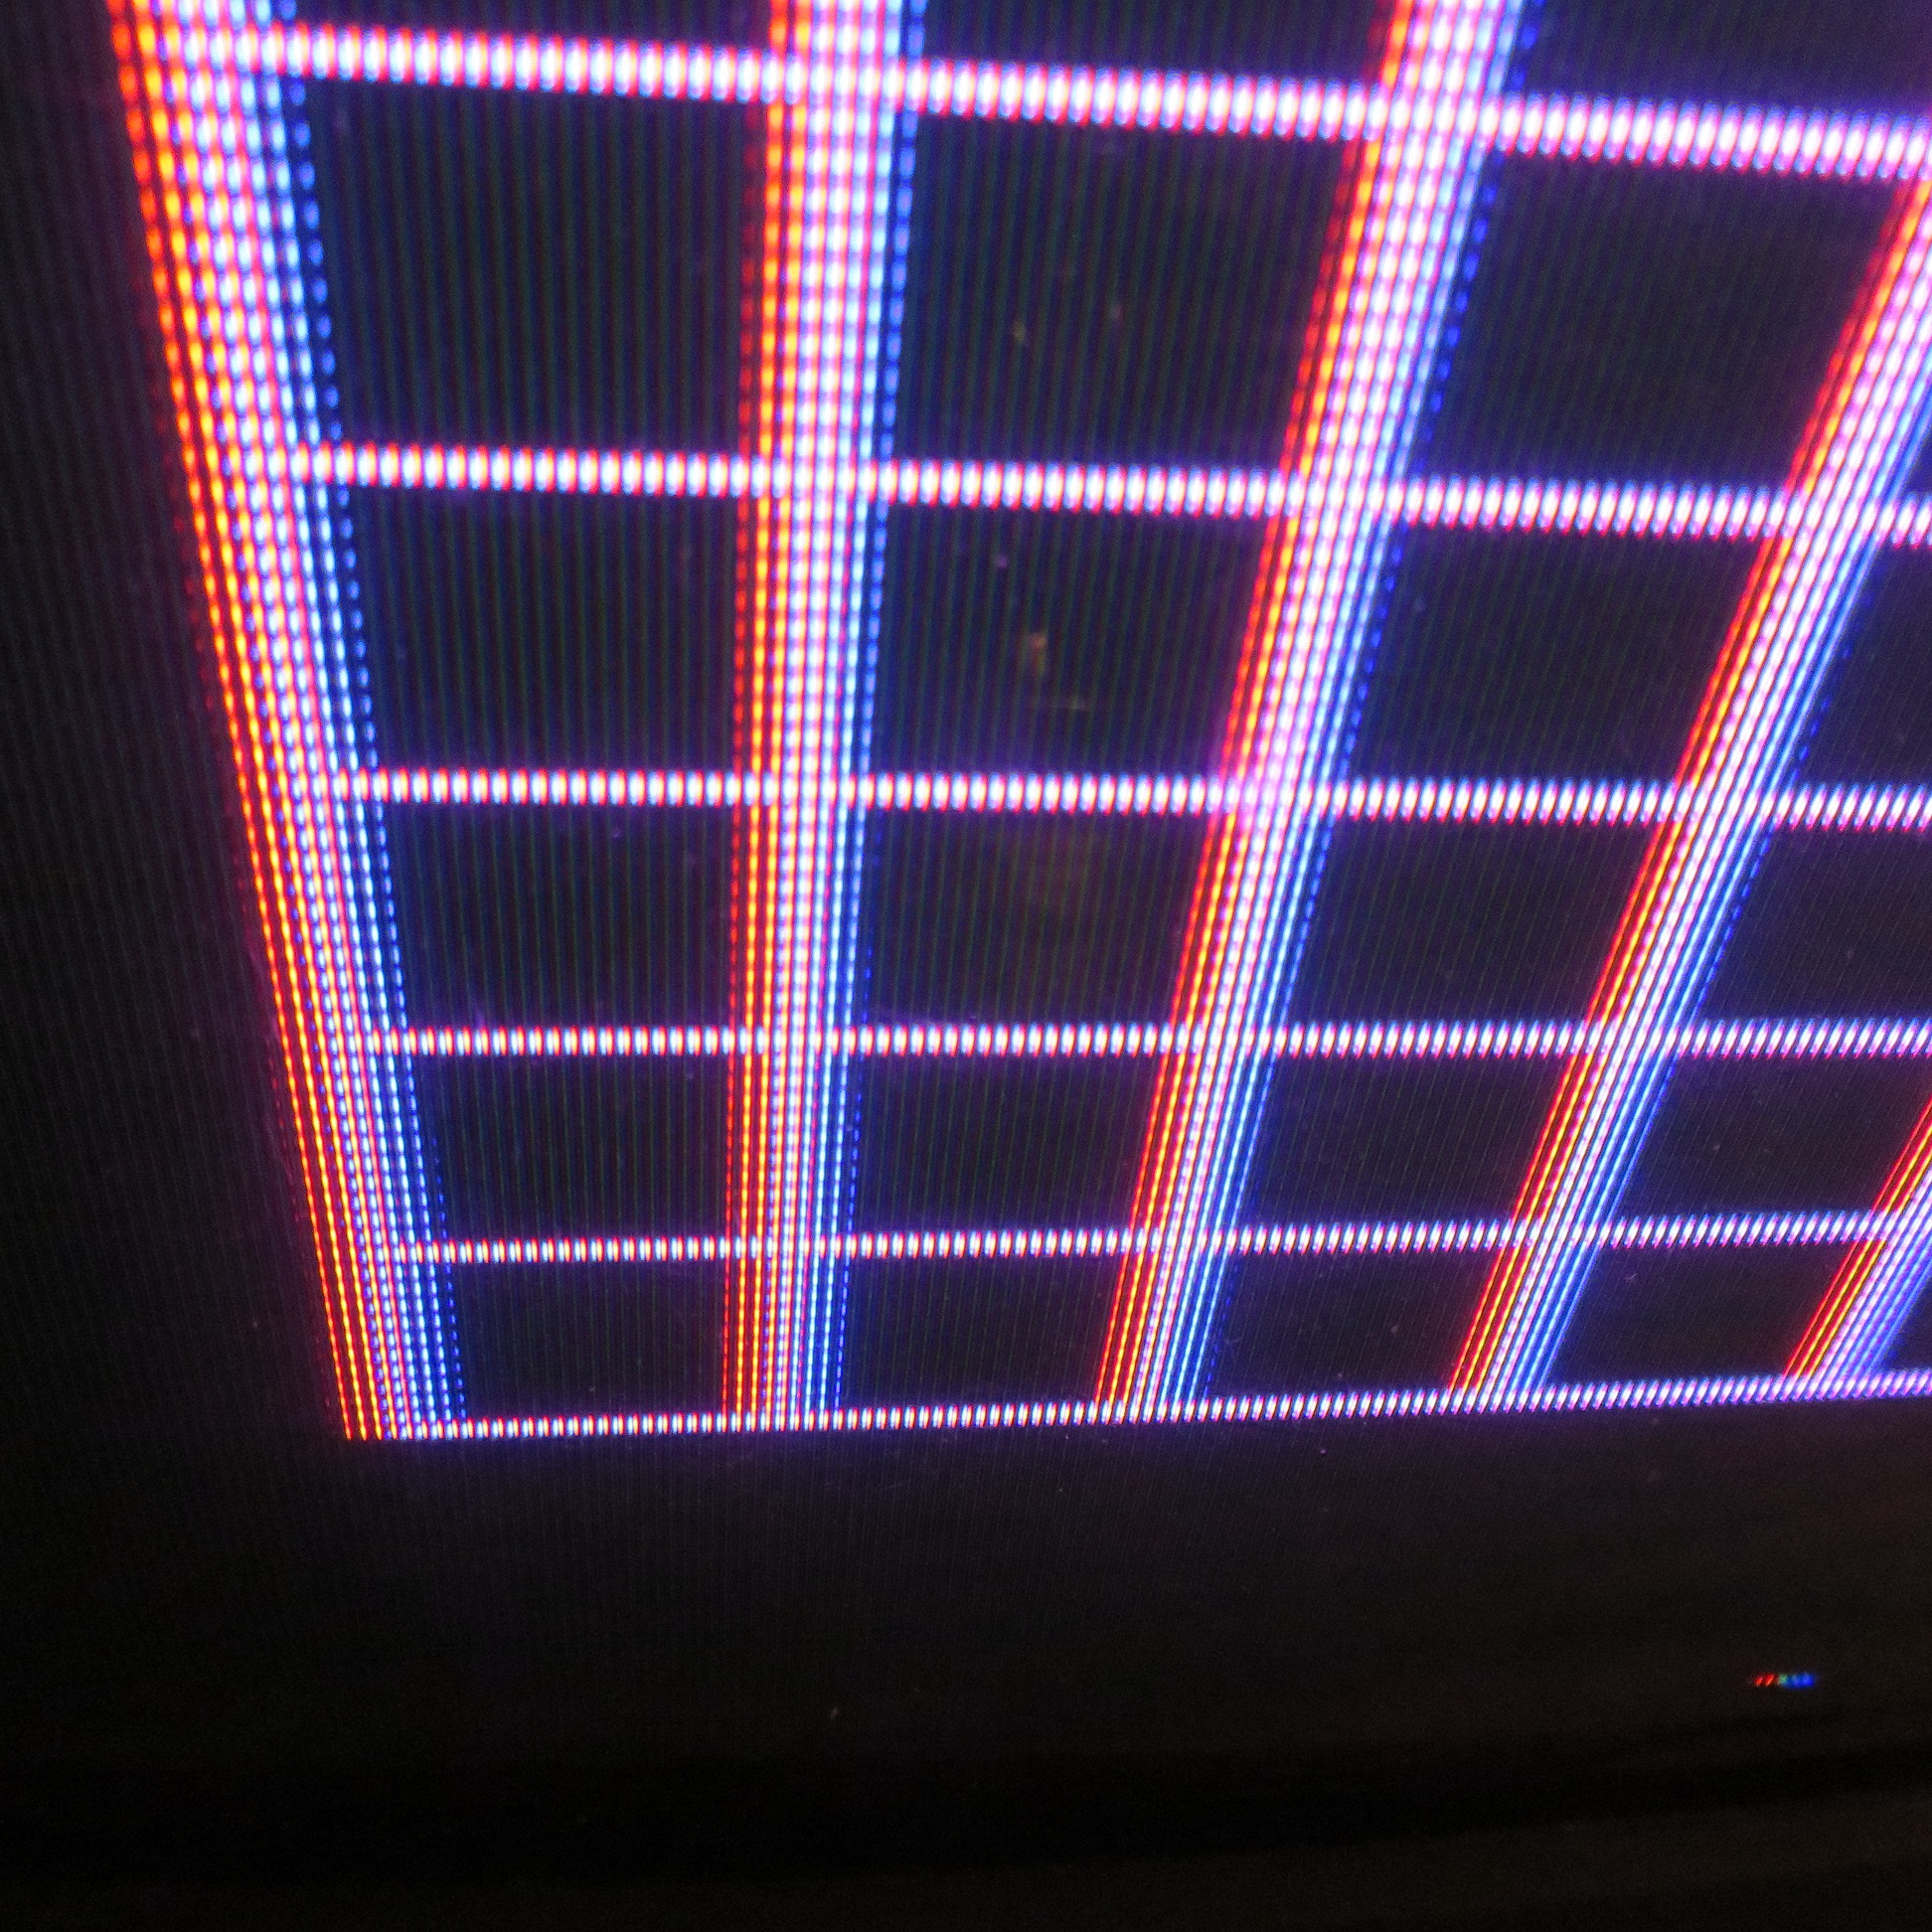
Grid test in action.
Check to see whether the display geometry is correct and whether the color converges in all area of the display. The grid can also be used to see if any color bleeding is occurring, and to help to center the display.
My Sony RGB has a bad convergence problem in the lower corners. This card will help me align the yoke.
Burn-In Check
A white screen is displayed to reveal any burn-in that might have occured from prior games.
Sound Test
A simple sound test outputs various frequencies to the cabinet speaker to test the connection to the speaker and to confirm that the speaker is able to generate a distortion free sound.
Battery Powered
The JAMMA TestCard can be optionally powered by a 3V button battery and will allow you to check the monitor and control switch functionality even if the power supply inside the cabinet is dead.
Test a cabinet that has a dead power supply.
Dual Display
If the monitor is dead or malfunctioning, you’ll still be able to gather some information on the remaining state of the cabinet by checking the build in LCD display. All functions and feedback are displayed on both the monitor and the LCD. Try to do this with a real game, or any other test board for that matter.
So the next time you go out to buy another arcade cabinet, don’t take a real game to test with. Take the TestCard instead and you can be certain that you’ll get the best possible cabinet testing experience in a tiny package
Easy to Fix
If anything goes wrong with the card, it can be fixed easily. There are only 6 ICs on board, the main MCU (microcontroller) responsible for most of the magic, 4 ICs that deal with the inputs and protect the MCU from the dangers of a potentially messed up cabinet. There is also a sound amplifier and a voltage regulator. Most active parts, with the exception of the voltage regulator, are socketed and can be replaced easily if needed.
Save Money!
Now that you know what the TestCard is capable of, I hope you will find it as useful as I have, testing the various monitors and cabinets while developing this product.
Now you can identify issues with your cabinet yourself without having to call a professional.
You can also use it to find issues (what used arcade cabinet doesn’t have issues?) and use it as leverage to get a deal on your purchase! 🙂 The first time you use it, it will likely pay for itself.
Since this project isn’t 100% completed yet, the price isn’t final, but I’m aiming to initially price these at around $40USD or $50CAD.
I really wanted to get some info out on this project, but just never found the motivation to do it. Recently though, I’ve been getting many questions regarding the progress so I figured it’s probably a good time to post some information now.
While this work is progressing quite well, it is a rather complex project and it’s taking time. There are also options I’m exploring as well, as the design is being tested. There is a chance to simplify the audio section as the cost of control response. I haven’t completed the audio work yet and don’t know if it’s going to be worthwhile. This is probably the last piece in the puzzle before the design is finalized.
As I’m exploring options, I’ve been looking at the possibility of making something like this for the Orange Pi as well. This may or may not be possible. I mean, it is most likely possible as technically most things are, but I don’t know if I can deliver good video quality at a low enough cost and complexity. I may need to experiment a little.
Orange Pi would be ideal for this project, as it’s lower cost, readily available and has significantly better performance than the Raspberry Pi. Unfortunately, unlike the Raspberry Pi, it doesn’t have the capability of outputting video over the gpio headers, not out of the box at least. I think though, that it may be possible to sacrifice the performance of one of the four CPU cores of the Orange Pi, and via some additional circuitry, bit-bang the low res video out. I will experiment with this for a bit and report back on it later.
Anyway, before I digress any further, here’s the link to the project page.
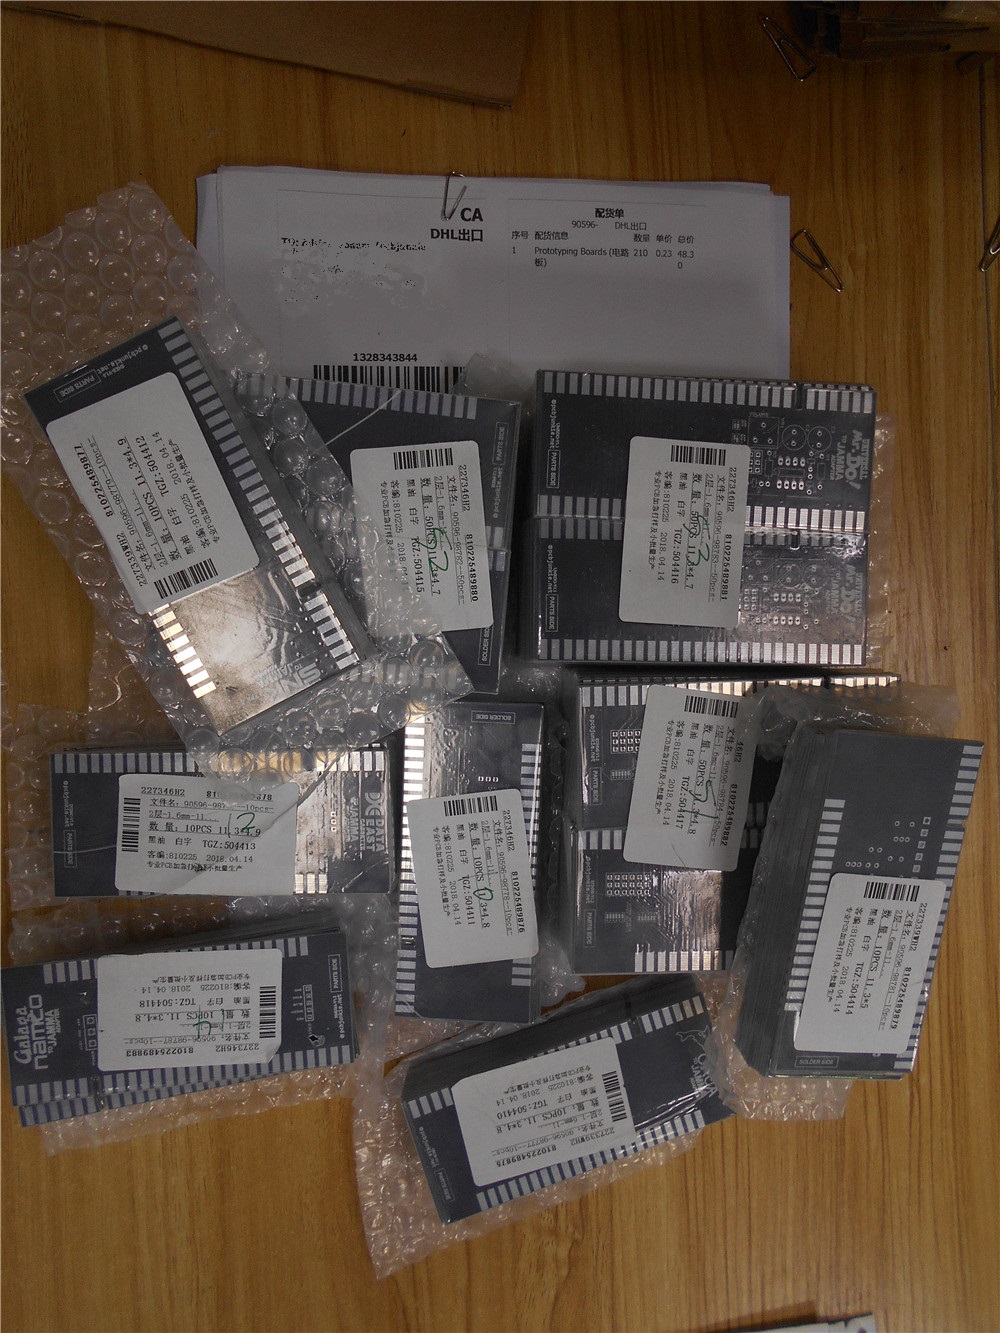
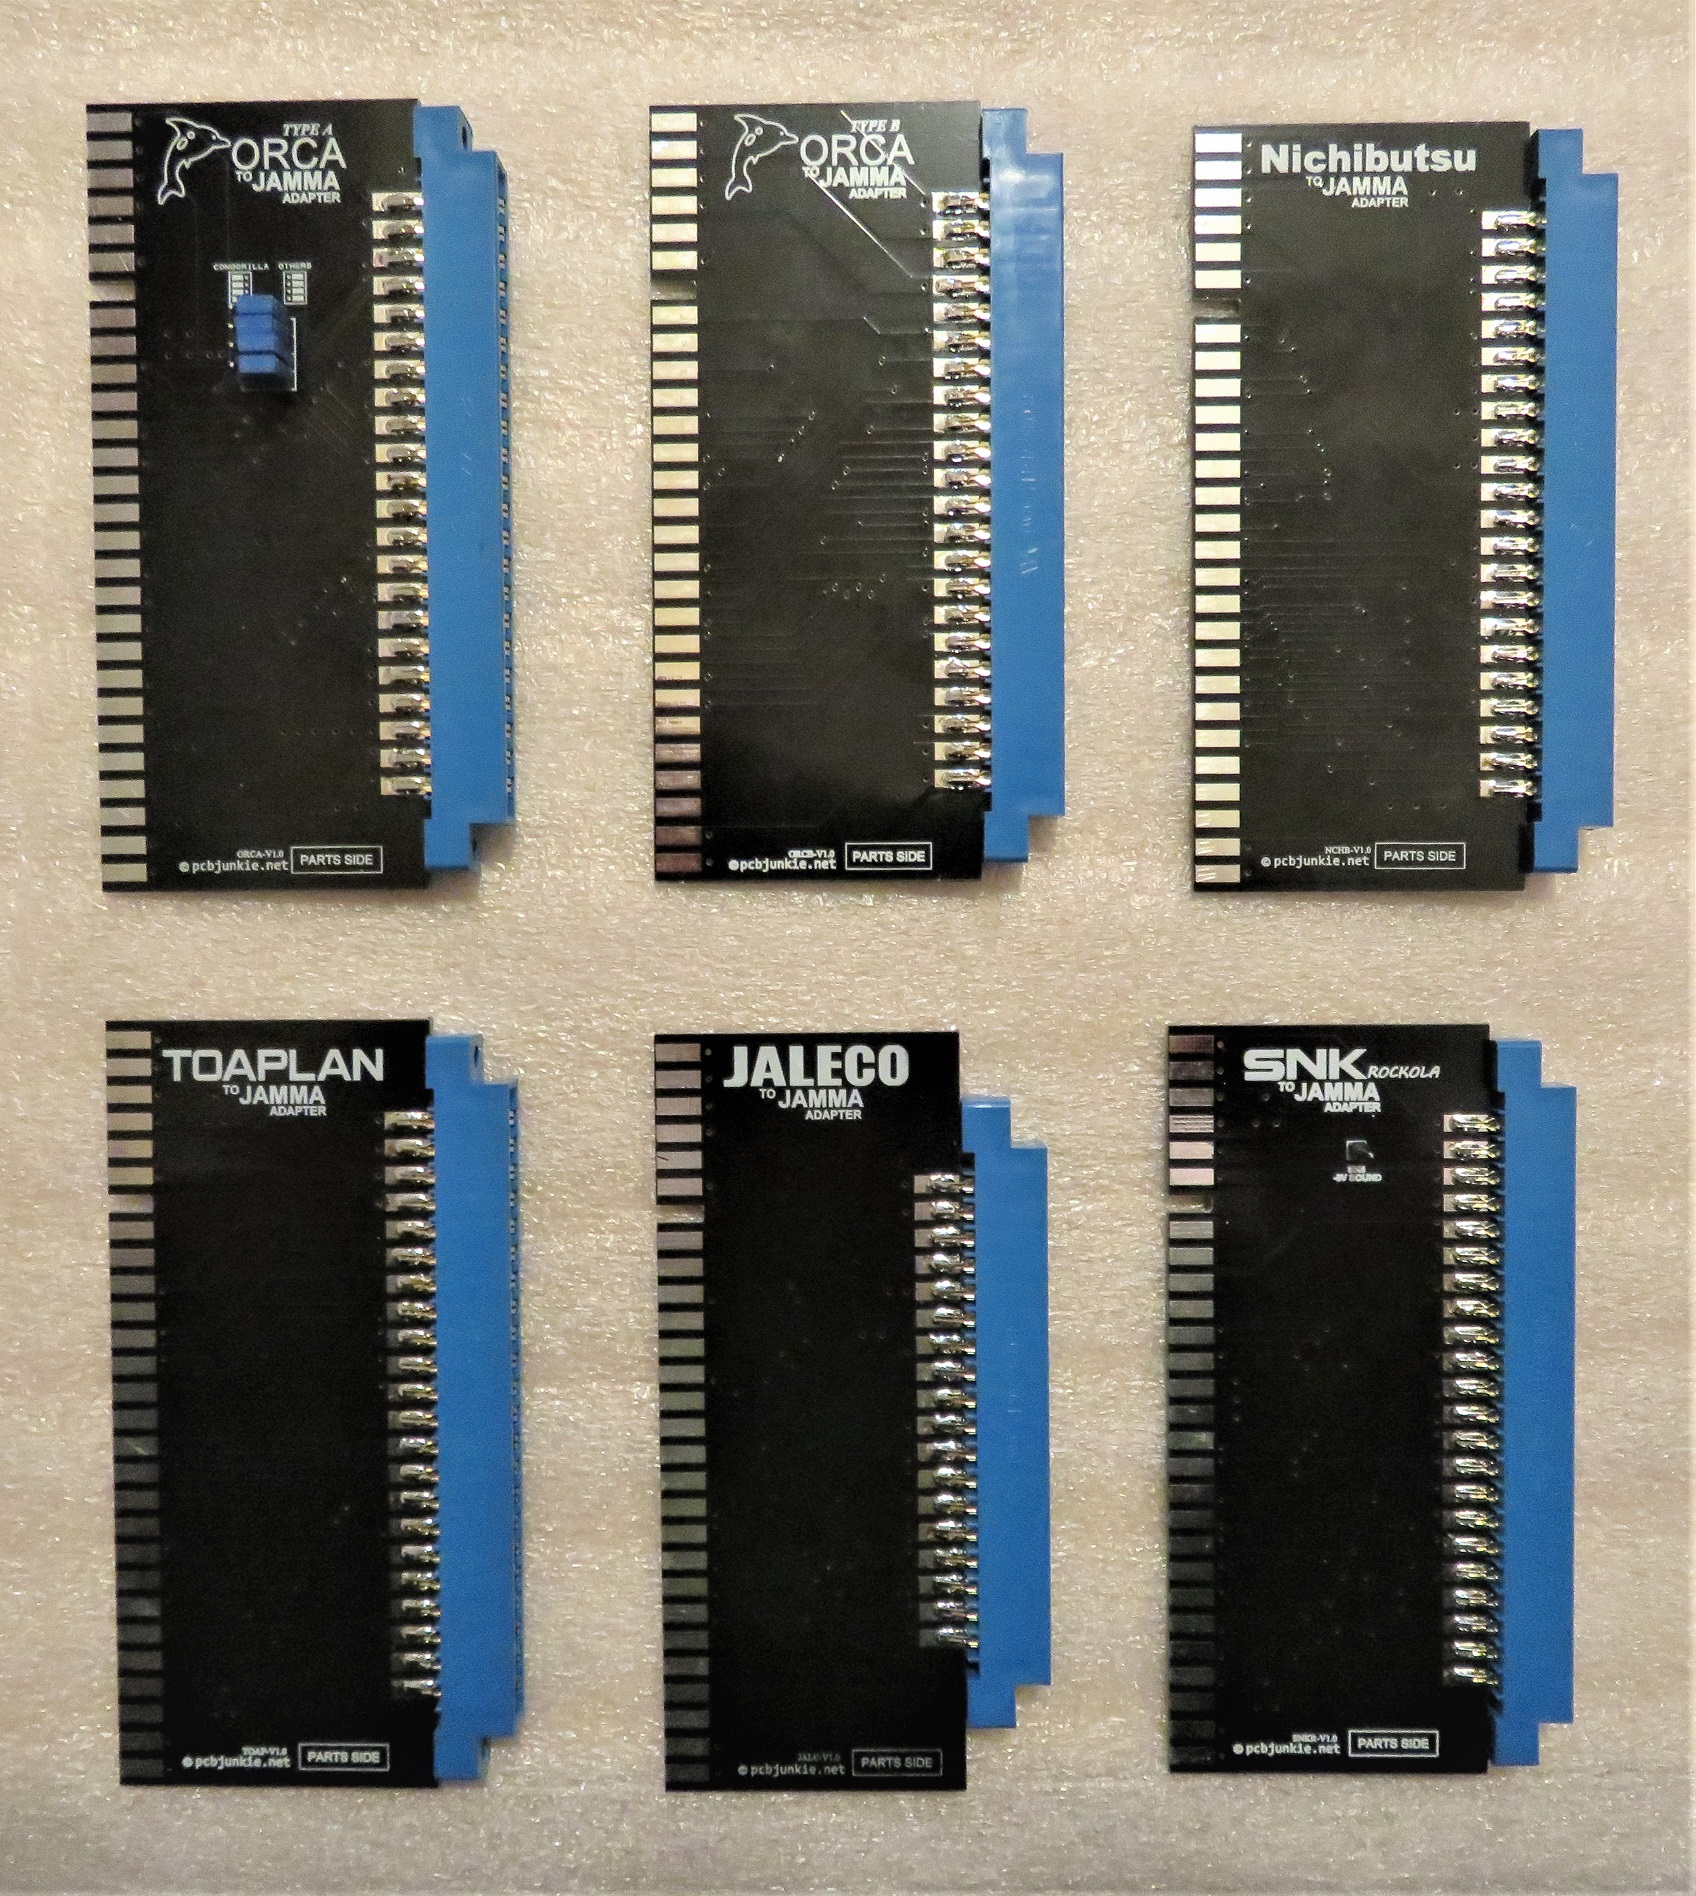
As I mentioned in the last post, there are several new adapter boards that I received last week. Here’s a pic of these assembled:
So far, the following of these have been tested:
Orca A adapter has been tested with Crazy Kong and Changes and it seems to work perfectly.
Nichibutsu adapter has been tested with MagMax, and other than a weird issue where pushing the player 1 button 2 causes the game the speed up, everything seems to fine.
Toaplan was tested with Tiger Heli and no issues found.
Jaleco was tested with Exerion and works great.
I still need to dig out boards the I have to test these more, but I’ll be listing them on Ebay as soon as I feel confident they work as expected.
Not that I’m complaining or anything, but the whole JAMMA adapter thing has got me overwhelmed a bit. I could not imagine it would keep me as busy as it has for the last couple of months. Actually it’s quite motivating because these adapters have been very well received and as a result I’ve been working on a few more to add to the list. As of right now, I’ve made 31 distinct JAMMA adapters, and I’m planning to do at least a few more in the next couple of months.
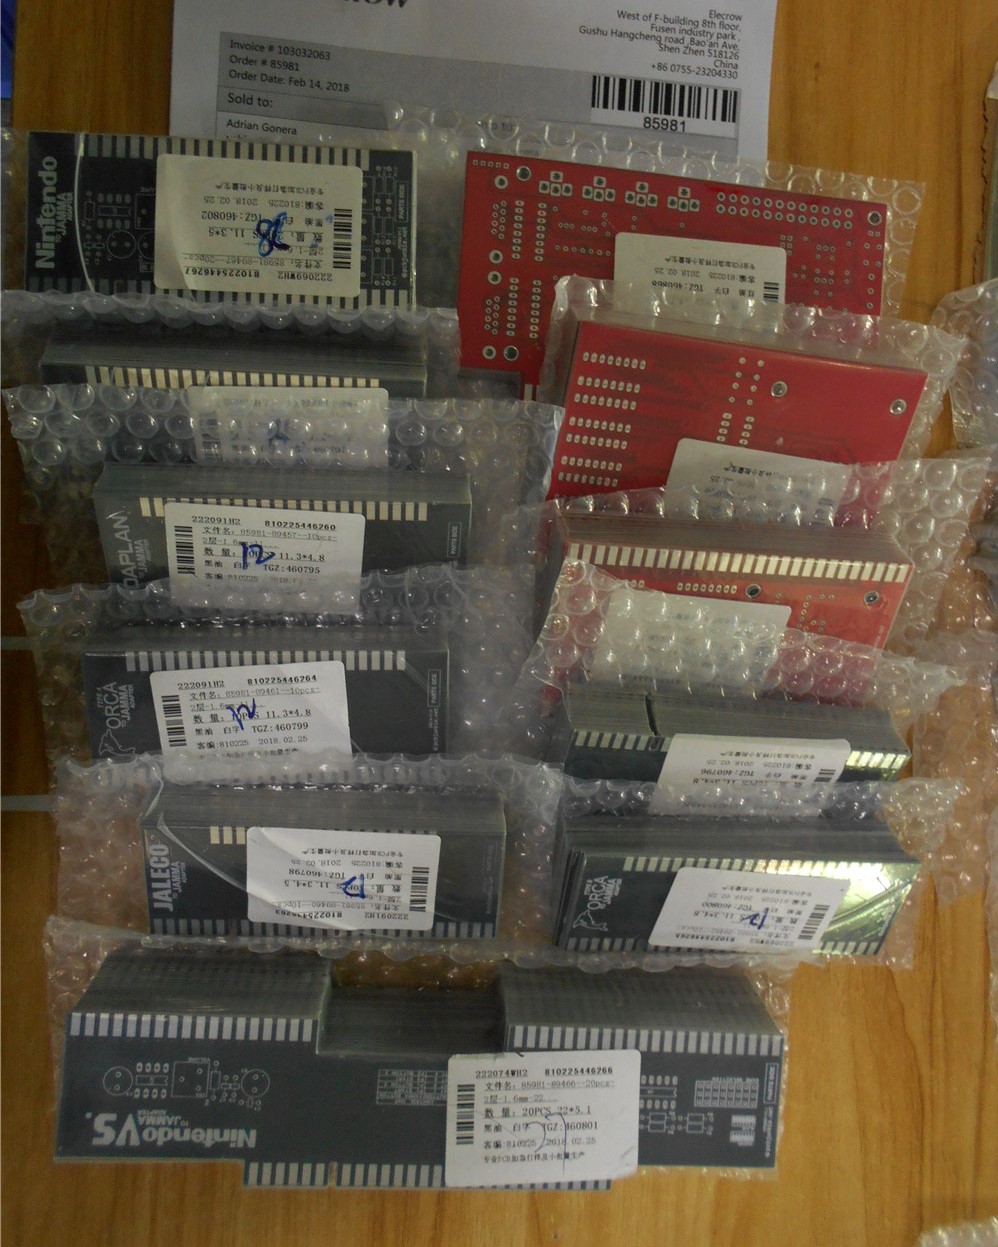
The last batch of adapter boards pictured above, has arrived about a week ago. This batch consists of the following new adapters:
Jaleco (Exerion, City Connection, etc…)
Toaplan (Tiger Heli, Guardian, etc…)
Nichibutsu (MagMax, Terra Cresta, etc…)
SNK / Rockola (Vanguard, Nibbler, etc…)
Orca A (Congorilla, Changes, etc…)
Orca B (Espial, Vastar, etc…)
I’ve been trying to dig through my collection of boards to find some to test these with, and as that happens I’ll make periodic updates.
I’ve also designed the PCB prototypes for three new projects:
Minigun – a mini supergun adapter that allows you to play your JAMMA game on a tv using component (not RGB) video output and 6 button genesis compatible controllers.
JAMMA Mate – a helper adapter for button macros, autofire, voltage readings and power monitor, auto coin / freeplay, video sync converter, internal coin counters, etc..
JAMMA Test Board – a battery powered board to allow for testing of monitor sound and power components and controls inside of a JAMMA cabinet.
You can see these are the red pcbs in the picture above. At this point I haven’t been able to do anything with those other than give them a quick inspection to make sure they look alright.
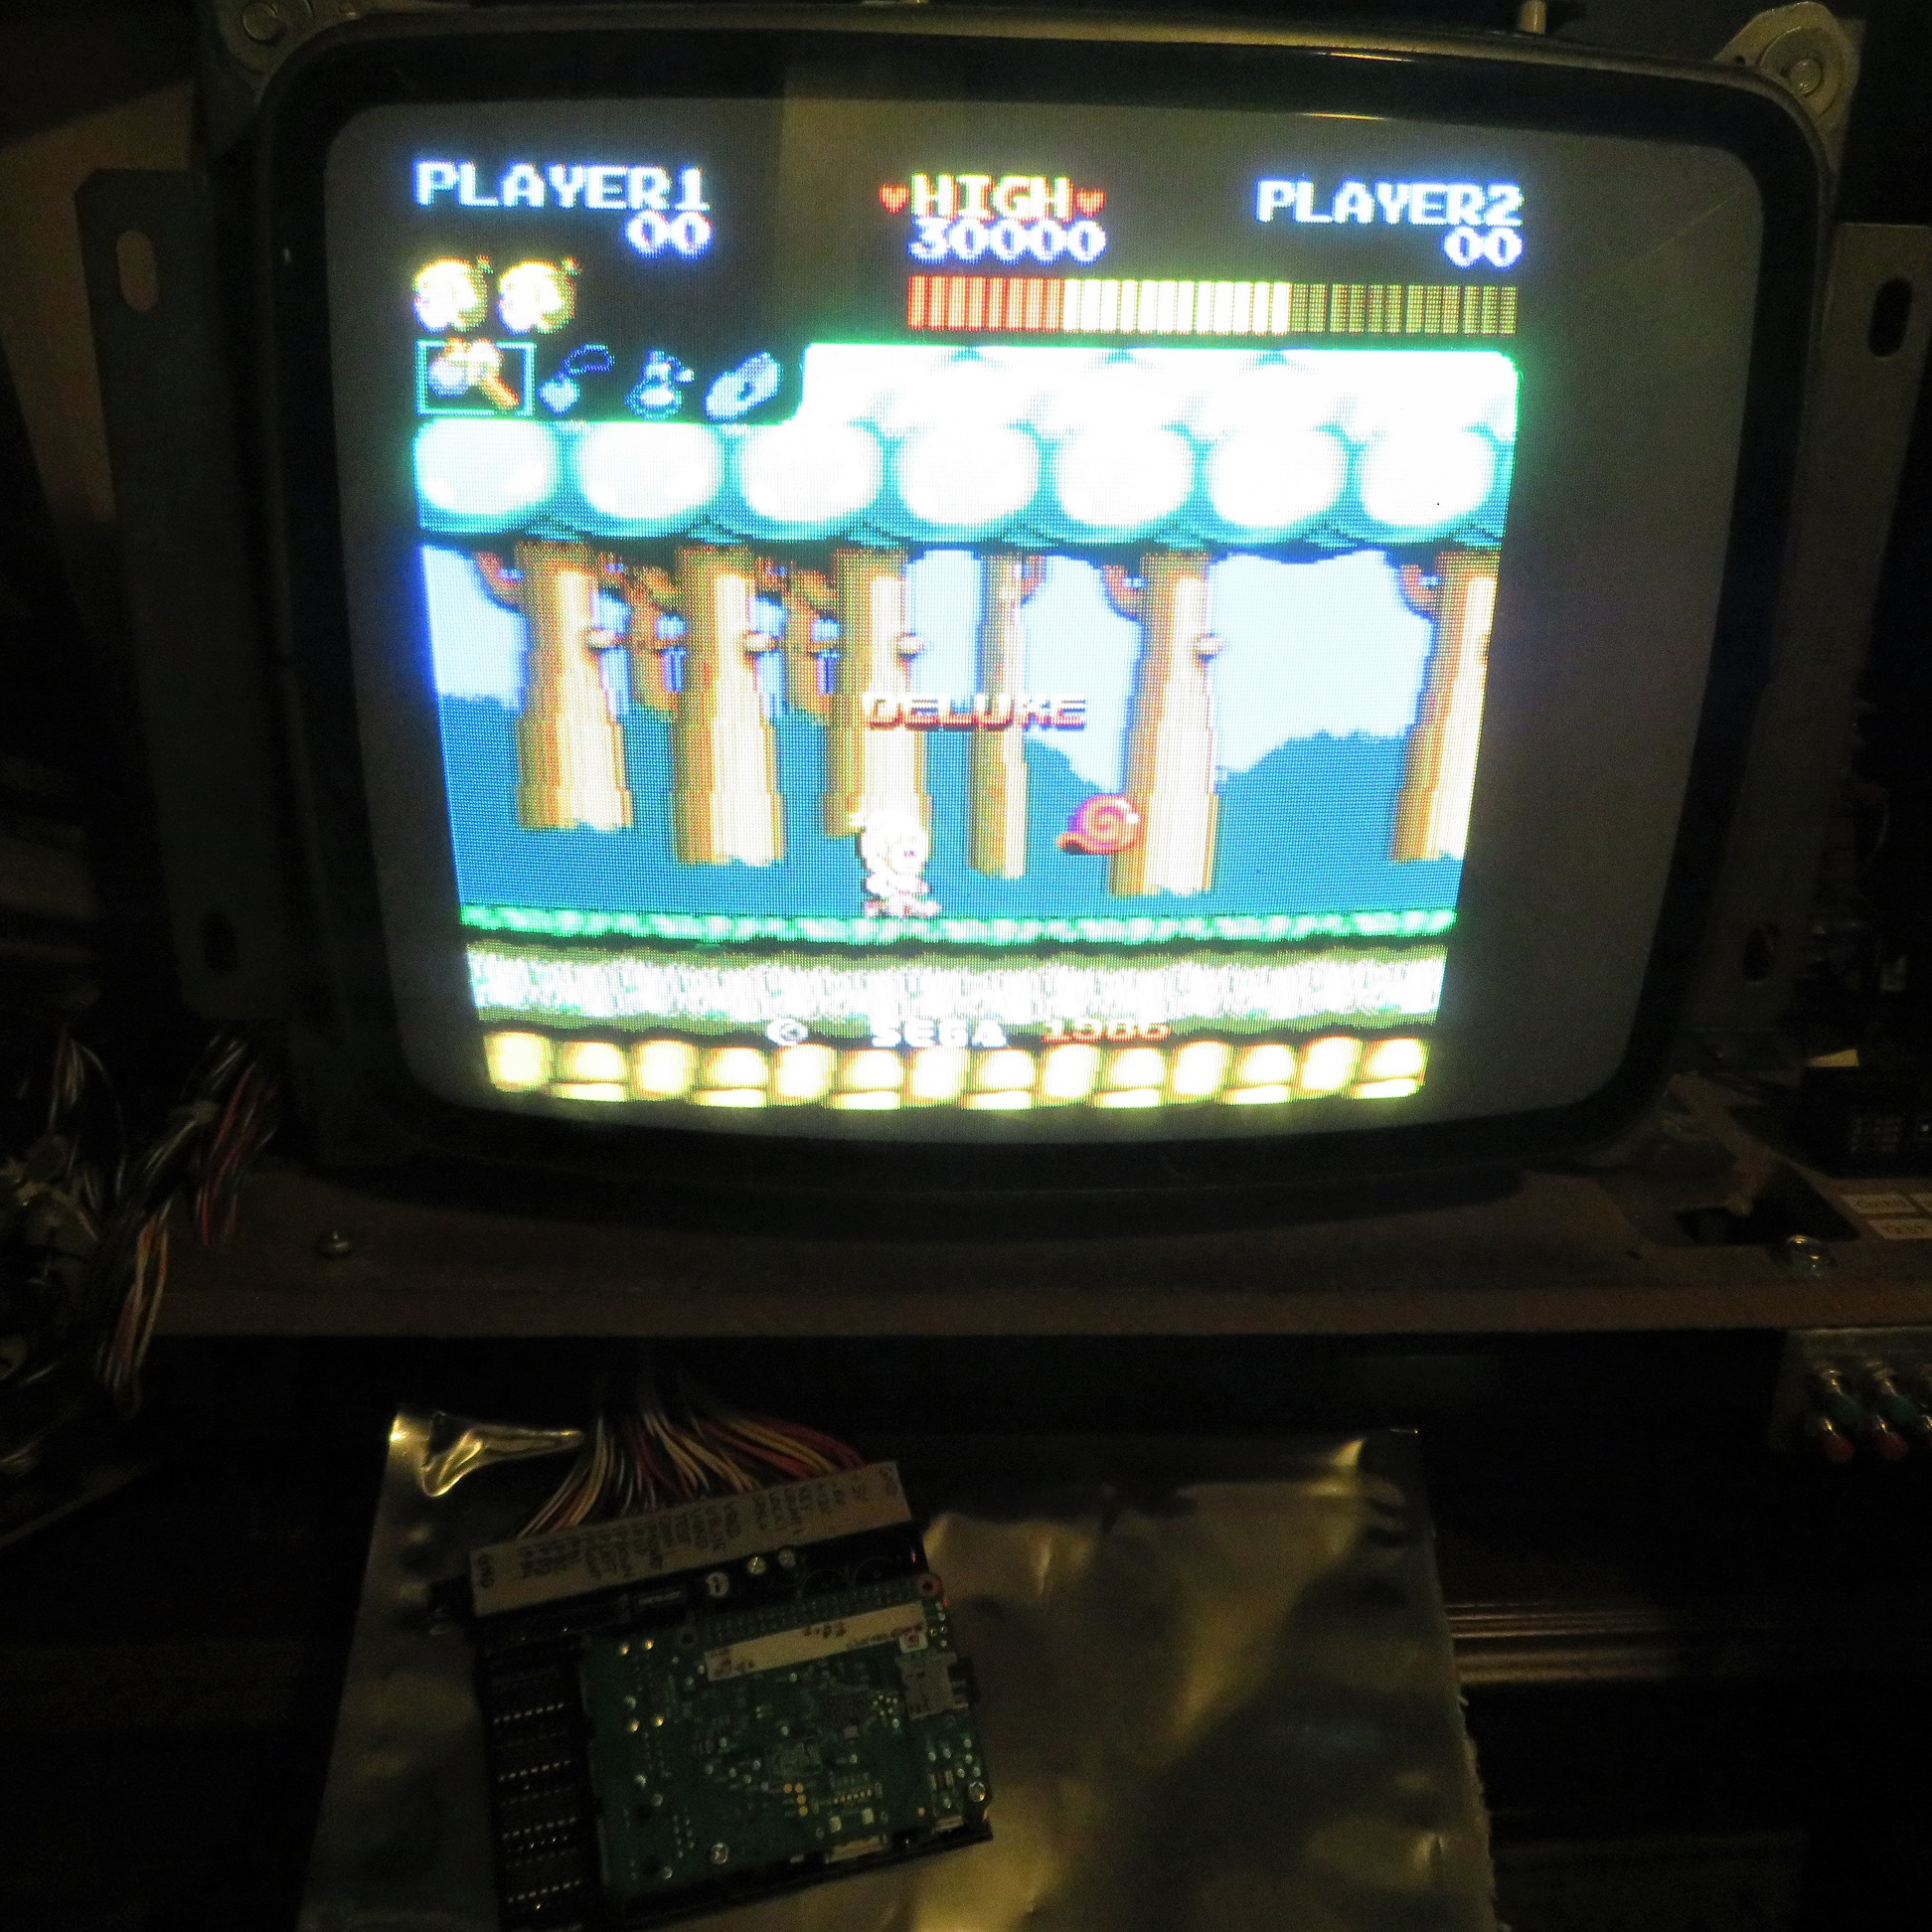
Finally my Rasberry Pi board project is moving along. I’ve got it working and usable to a certain extent but not without issues. The project is proving quite doable and it appears to be moving forward faster than even I imagined. I would say, in a couple of months I may be testing the final prototype and soon after that it will be available for sale.
For now here’s some crappy pics of the board in action in my dark basement, but I’ll post new info on this project, along with proper pics later.
I haven’t made any updates here for a while, but I have been working on a number of projects in the mean time.
I created a few additional JAMMA adapters. The total number of adapters is now about 25. Most aren’t listed here due to the fact that I lost the site again and wasn’t in the mood to restore it, but the ones that have been thoroughly tested have already been listed on Ebay.
This project is mostly completed. I’m now mostly creating adapters for games that have a unique pinout, but I’m only doing this for games that are very popular, or games that I really enjoy. I would like to design maybe 5 more and then I’ll only create new ones if necessary, every so often.
I’ve also been working on the logic analyzer adapters. The second set of prototypes is looking good (first wasn’t good due to a pretty serious design flaw). I’ll be posting more info on these as I test them. I got a new Tektronix unit for which I’ll be making these as well, in addition to the Agilents.
Finally, I have been working on a Rasperry PI to JAMMA board. The first prototype board is done, and I’ve done some work on the kernel drivers for he controls and custom sound hardware. This will be my focus going forward.
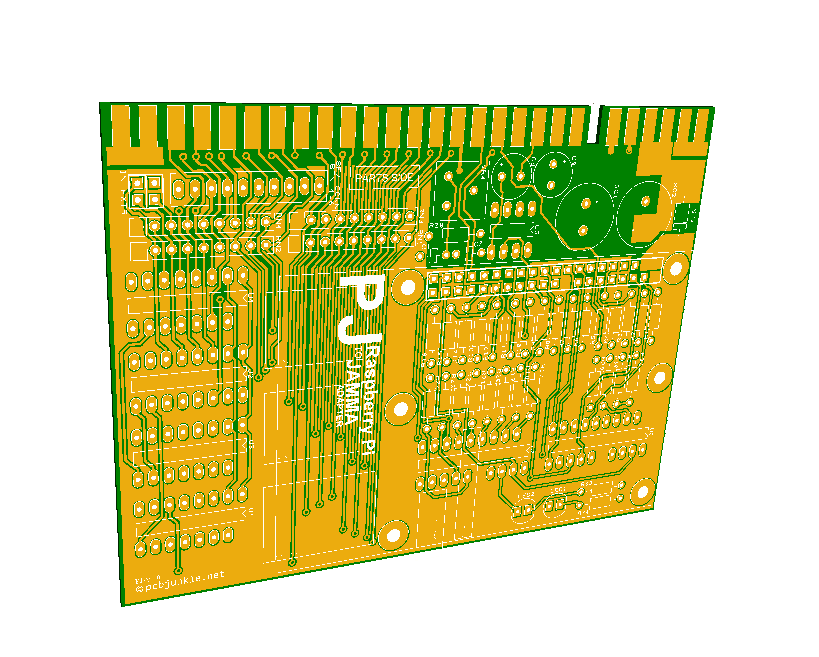
Screenshot of the prototype Pi to JAMMA board from designspark.
Thanks to all that have purchased my adapters in the last few month or provided feedback or help with testing.
For the second time in the last 4 months or so, Cloud at Cost has lost my VM and was unable to recover it. It’s starting to get on my nerves.
In a way, not a big loss since I think I had everything backed up this time and I already scripted the recovery process, but it still took a few hours of my time that I could have spent elsewhere.
I have many updates planned, but I will make a separate update about that.
I lost the site in late July when I was on vacation, and wasn’t quick enough to respond and fix it. When I got back it was too late for the recovery. It was all gone!
The last backup was from early May, so I lost all the content that I added in those three months. I was in the process of adding the lost content to the site slowly… when it happened again!
This time I had a fairly recent backup, and I didn’t wait too long to try to fix it… but unfortunately it didn’t help. Cloud at cost lost my VM and didn’t seem to eager to restore it. This is seriously demotivating…
Sorry once again about all the dead links, I’ll get around to it eventually.
In the mean time I’m creating a backup after every update and have scripted the recovery process so I should be ready for the next time I have to do this, which I feel is going to happen sooner than I would like it.

 Screenshot of the prototype Pi to JAMMA board from designspark.