Modular Supergun project

If you have been following my blog, you know that I’ve been building a single board supergun device which I named the Minigun. Project page can be found here.

While I’ve been developing this product, I realized that there may be a need for a simplified device, or rather a set of smaller, distinct components that can be easily integrated together to create a supergun like device that is customized to the user’s need. 

This became very apparent when I began to build an arcade / JAMMA test rig for my new lab. A test rig may not require fancy features like autofire or button mapping, but may require the ability to output video in several formats, or more than one way to add controls to a game.

The result of this is a set of boards that can be easily connected via inexpensive dupont cables, that create the required functionality. The current set of boards include:

  • JAMMA to pin headers board – this is the hub of the system. Plenty of 2.54mm dupont headers allow other boards to be connected. Screw in headers for power rails for easy power supply.
  • RGB to Component board – allows RGB video to be displayed on a 240p capable TV that can accept component video.
  • RGB to Composite / S-Video board – allows RGB video to be displayed on a TV that can accept Composite and S-Video signals. Due to the difficulty in creating proper chroma signals from non standard arcade RGB video, this may not be viable for all arcade boards and televisions. 
  • DB9 controller board. Allows you to use a DB9 joystick or Sega genesis controllers as inputs. 
  • USB controller board. Allows you to use a USB joystick as your inputs.

Pick and chose the functionality you need and connect the boards together to create a custom test rig or supergun device. 

These boards will eventually be sold either as already assembled or low cost DIY kits. More information on this project will be available soon. 
Generic JAMMA conversion kits

As I’ve been building a test rig in my new lab, I recognized the need for JAMMA fingerboards and generic JAMMA adapter boards.

Normally I’m against this type of stuff. I used to build adapters the old fashioned way with fingerboards, an edge connector and some wire, and I hated every minute of it. Not only is it time consuming, but the results end up looking ugly and have a tendency to break over time.

So why do this when I already have an awesome set of universal JAMMA adapters? It turns out that building a JAMMA extension harness is impossible without a decent fingerboard. For quick testing and prototyping, it helps to have a bunch of low cost boards available that can be abused and recycled time after time.

I’m going to make these available as a low cost DIY option for when it’s not practical to use a more expensive matrix style JAMMA adapter.

More to come on these soon. I’m a bit backlogged at the moment and don’t have the cycles to handle any more new orders.

New JAMMA adapters coming soon.

I have received a new set of JAMMA adapters that I’ve been designing over the last few weeks. This set includes new adapters and updates to old designs. 

New adapters include:

  • Tecfri – for Tecfri developed games like Hole Land, Sauro, Crazy Rally, etc… 
  • Rally-X – for Namco Rally-X which differs from the typical Galaxian / Pacman pinout type Namco used during this period.
  • Atari Digdug – for the Atari licensed variant of the Namco developed game. 
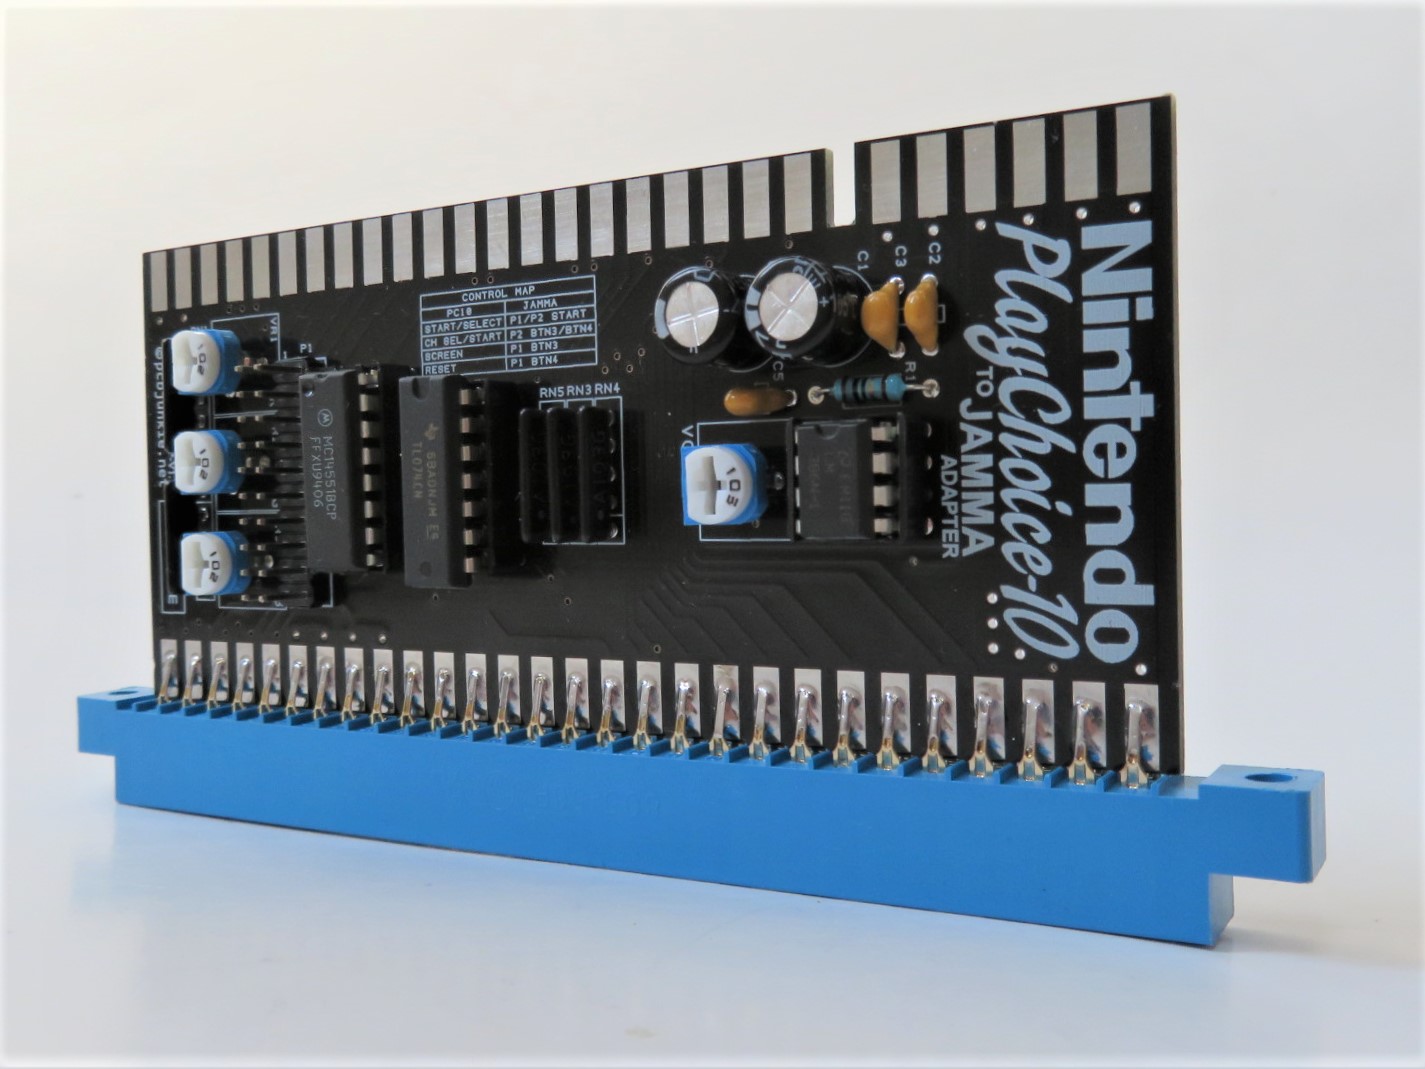
  • Nintendo Playchoice 10 Single Monitor – for the single monitor version of the PC-10 hardware. This adapter will be capable of displaying the counter on-screen as an overlay on top of the game video.
  • Taito Gladiator – for the somewhat popular Taito Gladiator that I’ve been getting a lot of requests for. 

Changes to existing adapters include:

  • Galaxian – added support for Eagle and better handling of bootleg audio
  • Nintendo VS – improved video and audio section
  • Nintendo – improved video and audio section
     

These adapters will be listed on Ebay after they are thoroughly tested. 

No posts for a while

I’m moving. Actually I already moved in April, but the process has been ongoing for a while, since January to be exact. There have been no posts or updates to projects since I don’t have a lot of time to focus on that at the moment.

The new place is about 4 hours away. It’s on old home with some history and charm. I took it on as a project too. It’s got great bones and lots of potential, although it has been neglected the last few years and needs a lot of TLC. It’s taking most of my time but I am really enjoying doing something different for a change.

Once everything is settled and more organized I’ll be able to dedicate more time to my projects again. More space means a new lab and rec room. Hopefully that means no more working on the floor and dining room table, and pissing off the wife, but we’ll have to see about that.   

Ebay’s Global Shipping Program breaks your stuff.

I live in Canada. Unfortunately the arcade market in Canada is pretty weak most of the time, so to get all the good stuff I have to buy games from the US every so often. 

Most eBay users that sell internationally from the US, are “encouraged” into using Pitney Bowes’ GSP program for shipping abroad. 

Ebay users pay for shipping to the Pitney Bowes GSP hub in Kentucky, which is cheap. What they don’t realize is that the cost that they see for shipping is only a fraction of what GSP will cost the buyer.  As an example, a $100USD PCB may cost around $10USD to ship a typical PCB to KY, but a Canadian user will likely pay around $35USD plus about $15USD in customs fees. A similar package to Canada via USPS direct, would cost about $16-20USD and it would most likely avoid customs fees.

The benefit to the sellers are pretty obvious though. There is no need to fill out customs forms and GSP shields the sellers from negative feedback as long as the item arrives at the hub in one piece.  

Upon receiving the items Pitney Bowes will typically repack the items to save on the remaining shipping costs. This is where my story begins. 

A few months ago, I ordered a Sega ST-V motherboard and Die Hard Arcade cart. The package arrived in a crushed box. There was very little protection in the box, basically only the anti-static bag and the PCB itself.

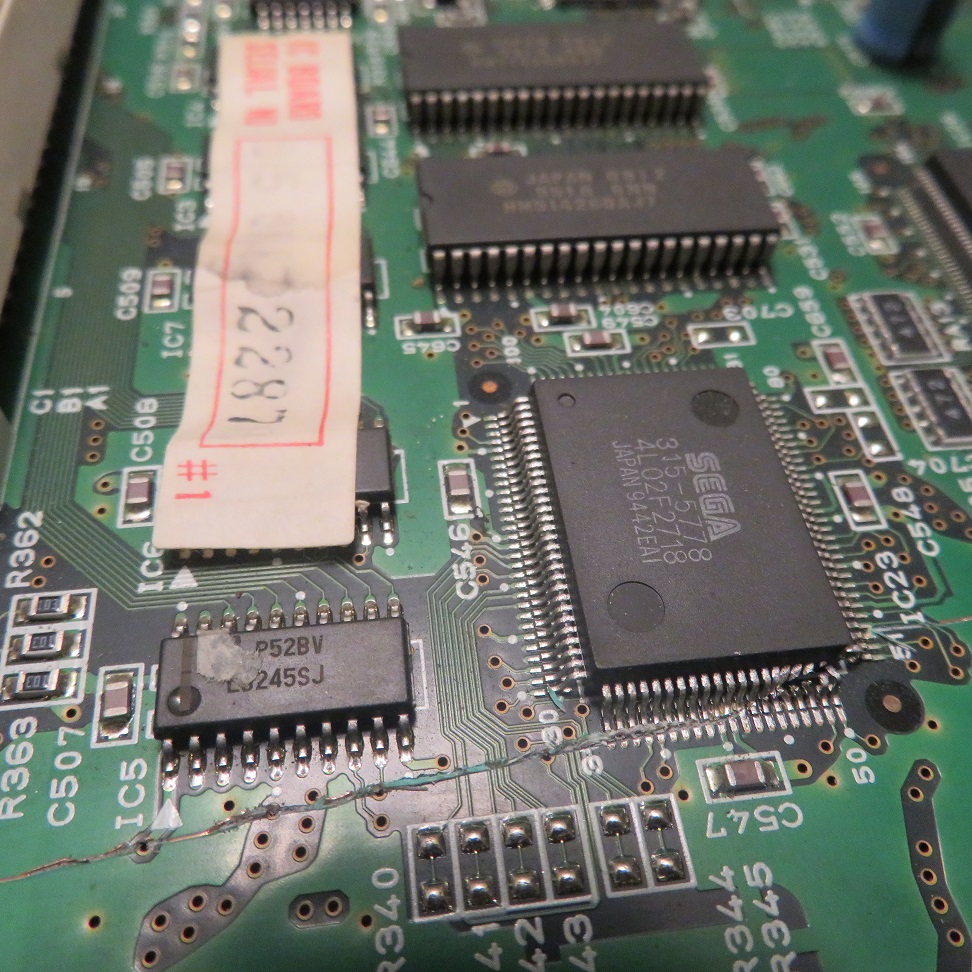
I connected the PCB and turned in on and got nothing… black screen… DOA. Upon closer inspection I noticed a long, deep gash on the PCB that ran across at least 2 inches in length. It looked hopeless. The cut went across several small pitch IC legs knocking them completely off. It severed many, very thin traces, it damaged vias, and appeared to be deep enough to penetrate at least a couple of inner layers of the PCB.

GSP repacking gone too far.

I contacted the seller. Seller swears the game was tested and worked before he sent it. I check the packaging and sure enough, the gash appears in both the anti-static bag and the box iteself.

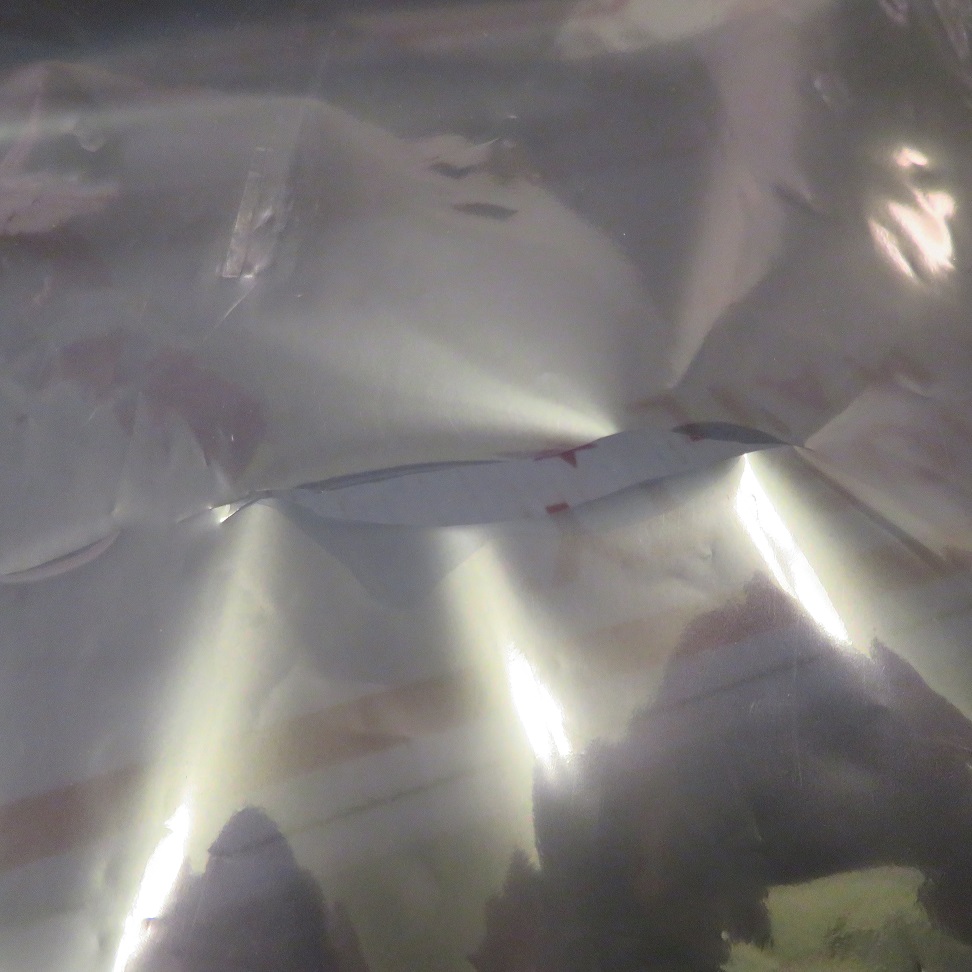
Cut right through anti-static bag… proof that the blade that cut open the box, got too close to the PCB.
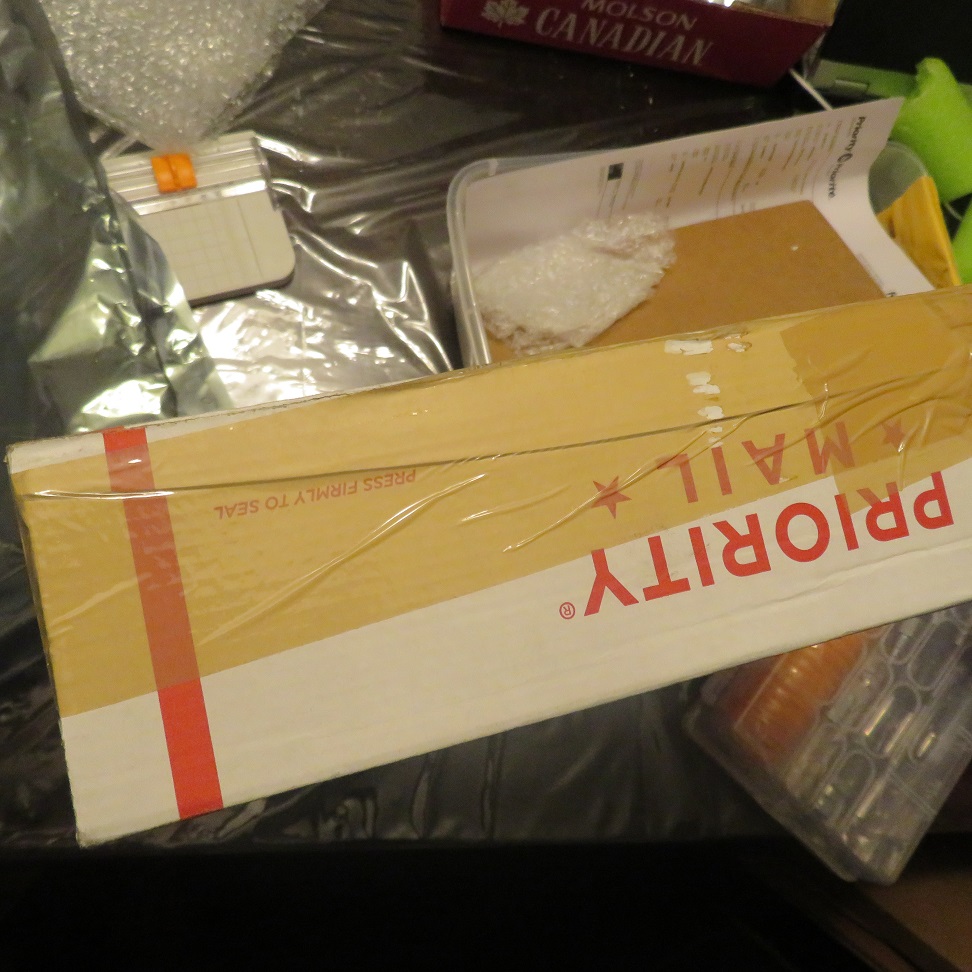
…and here’s how they sealed the box after cutting it open and removing “excess” padding.

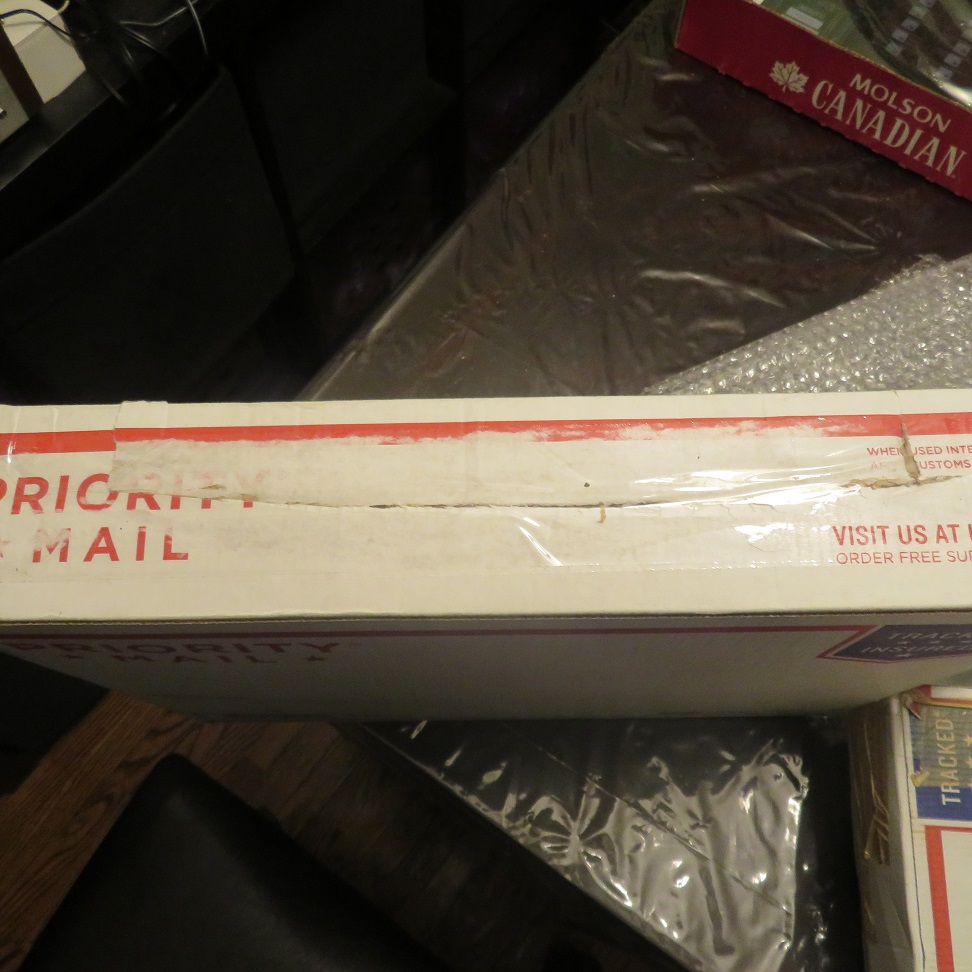
I became curious, and went through all the boxes that I still had from previous purchases, and sure enough, similar cuts appear on those boxes as well.

Another sliced box from earlier.

I contacted eBay about the situation. They made it very easy to get my money back for this purchase, but I was made to feel like they’re doing me a favor and in the future this favor may no longer be available. Strange, because I’ve been seeing lots of similar problems from other eBay users, and you’d think they would take more ownership of something that seems to be a pretty widespread problem.

This item was easily replaced, but what if you bought something that’s one of a kind? What if Ebay or Pitney Bowes deny any wrong doing and you are stuck with a broken item? They obviously don’t care about your items to begin with if they’re willing to slice the packaging open in this manner and remove padding to save a few bucks.

You may want to keep this in mind the next time you chose to use eBay’s GSP program.

Cloud at Cost is at it again

They lost my site again. Hilarious and sad at the same time, because I just made a number of updates and I thought that I made backups along the way. It turns out that the backups I made stayed on the VM and were not all downloaded to my home PC. 

I normally keep a backup of this site on a secondary VM that can be swapped in when the primary is lost. The backup site was almost up to date too. I thought I was pretty safe here, and since there hasn’t been a major problem in a while, I let my guard down.

But, Cloud at Cost is awesome at keeping you on your toes. They showed me that I’m not as clever as I seem to think I am. By wiping all of my VMs simultaneously, they made it clear who’s the boss around here.

So I managed to combine a 2 month old backup along with some info from Google cache to restore this to what you are seeing right now. 

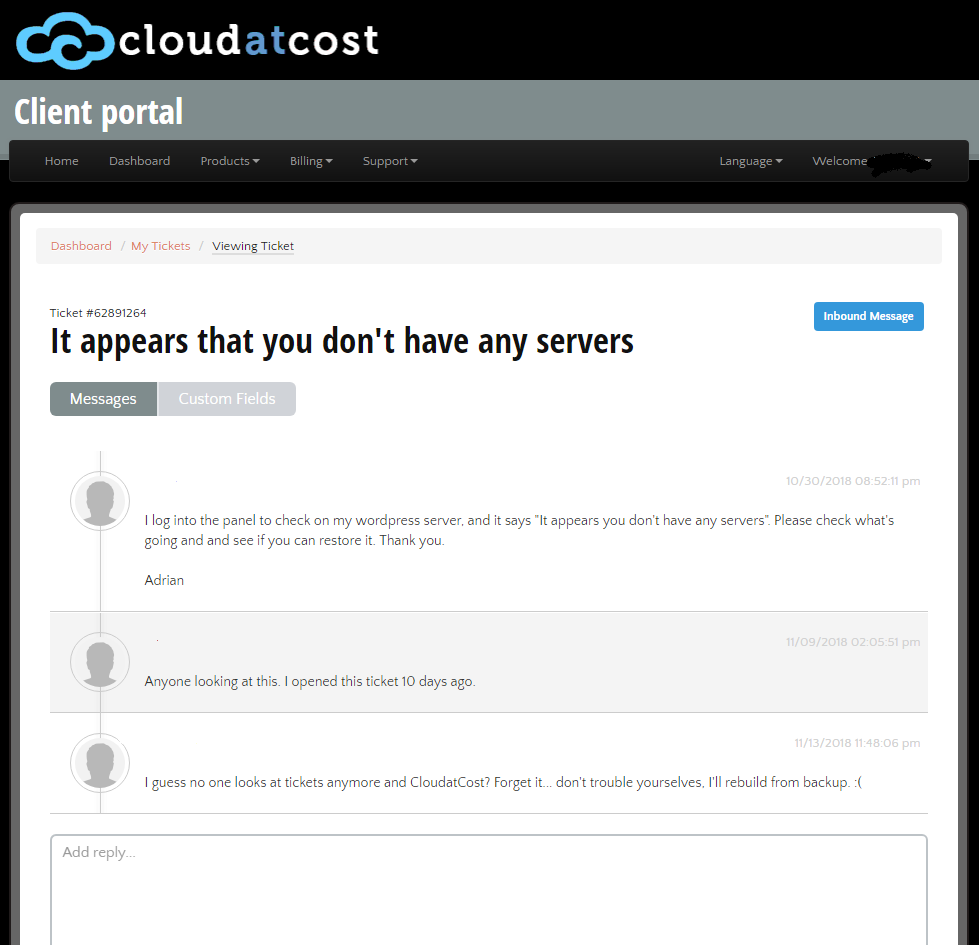
Silly me, I even opened a ticket to inquire, politely at first, to see whether there is a way to maybe find out what happened, and maybe get my data back. Given how it’s been 3 weeks and I don’t even have an acknowledgment yet, I may be waiting on this for a while I think.


More JAMMA adapters about to be released!

It’s been a lazy summer. Not very motivated to do work. Being addicted to the internet isn’t helping. Stuff that should have been done months ago is still on the back burner.

But… I’ve somehow been able to get a number of things accomplished. There are four new JAMMA adapters that I’m about to release. These are:

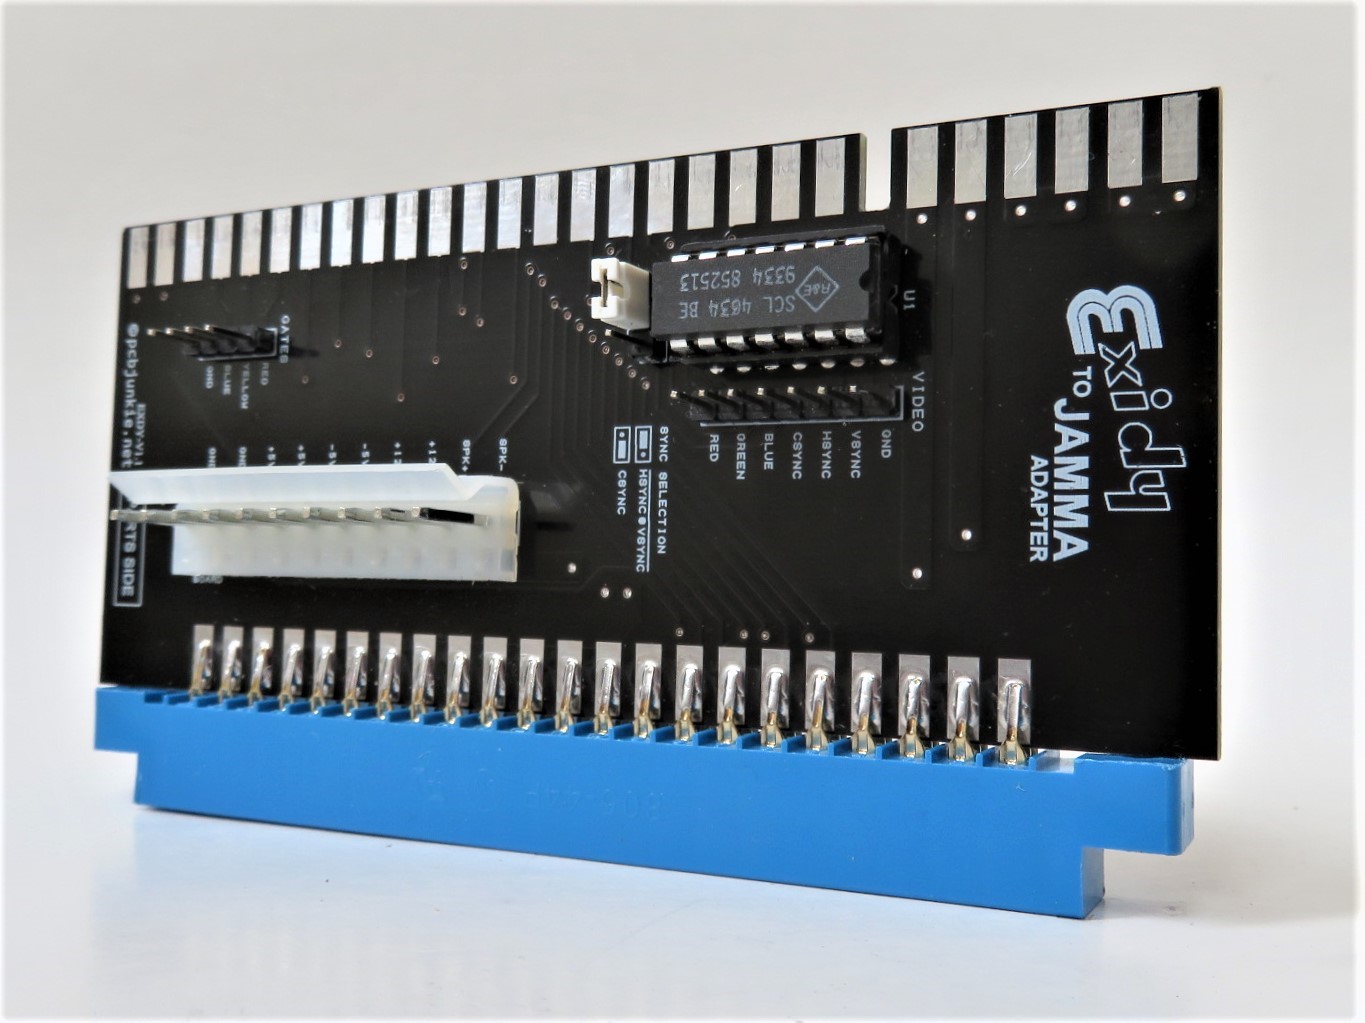
  • Exidy to JAMMA – For games like Mousetrap, Venture, Targ, Spectar, Pepper II and Victory

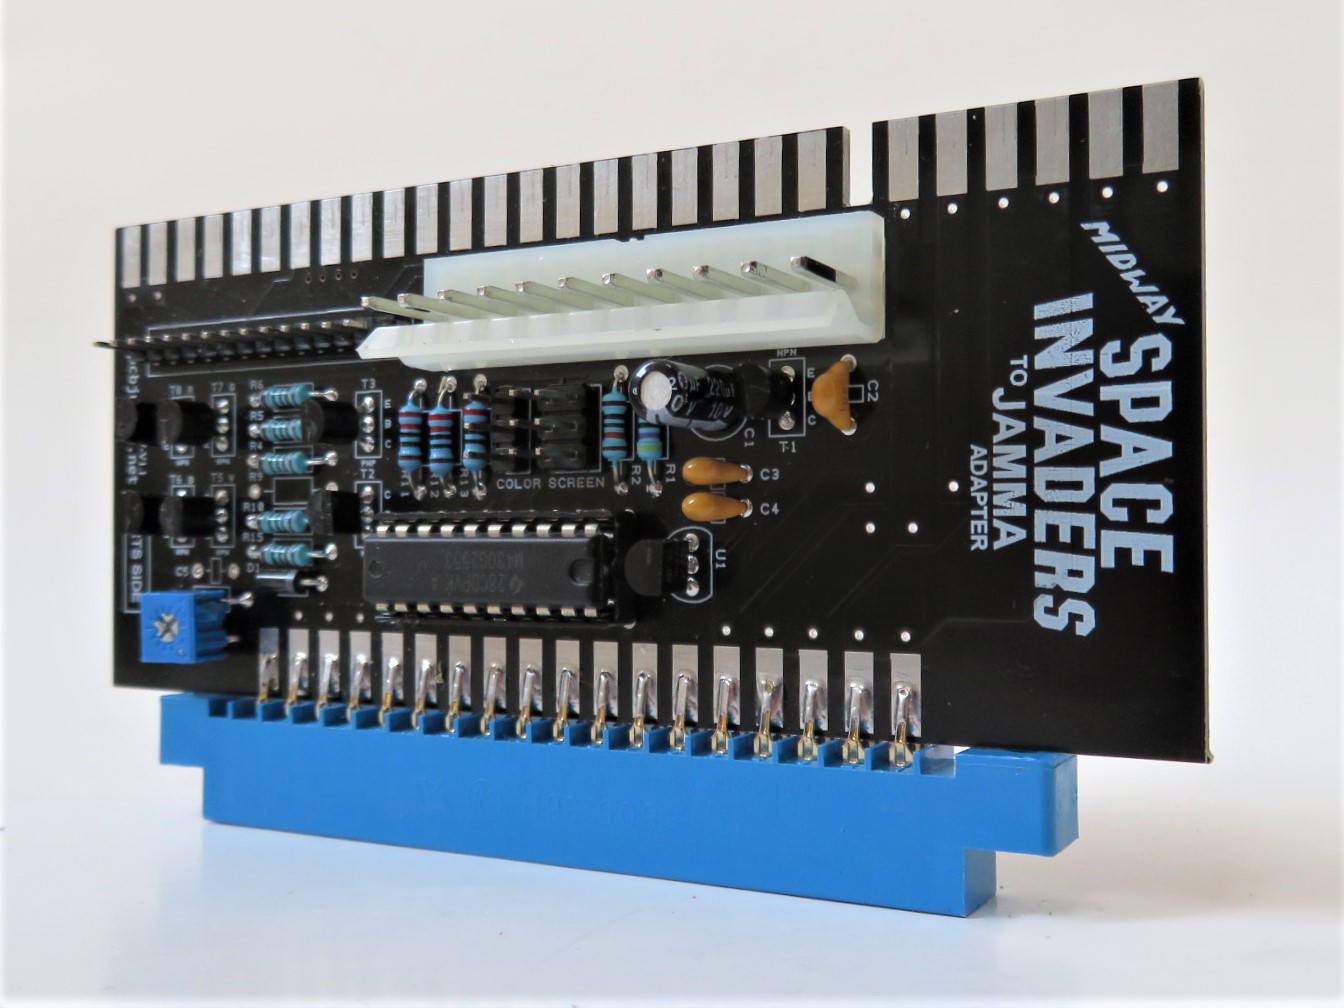
  • Space Invaders to JAMMA – For the Midway variant of Space Invaders and Space Invaders Deluxe

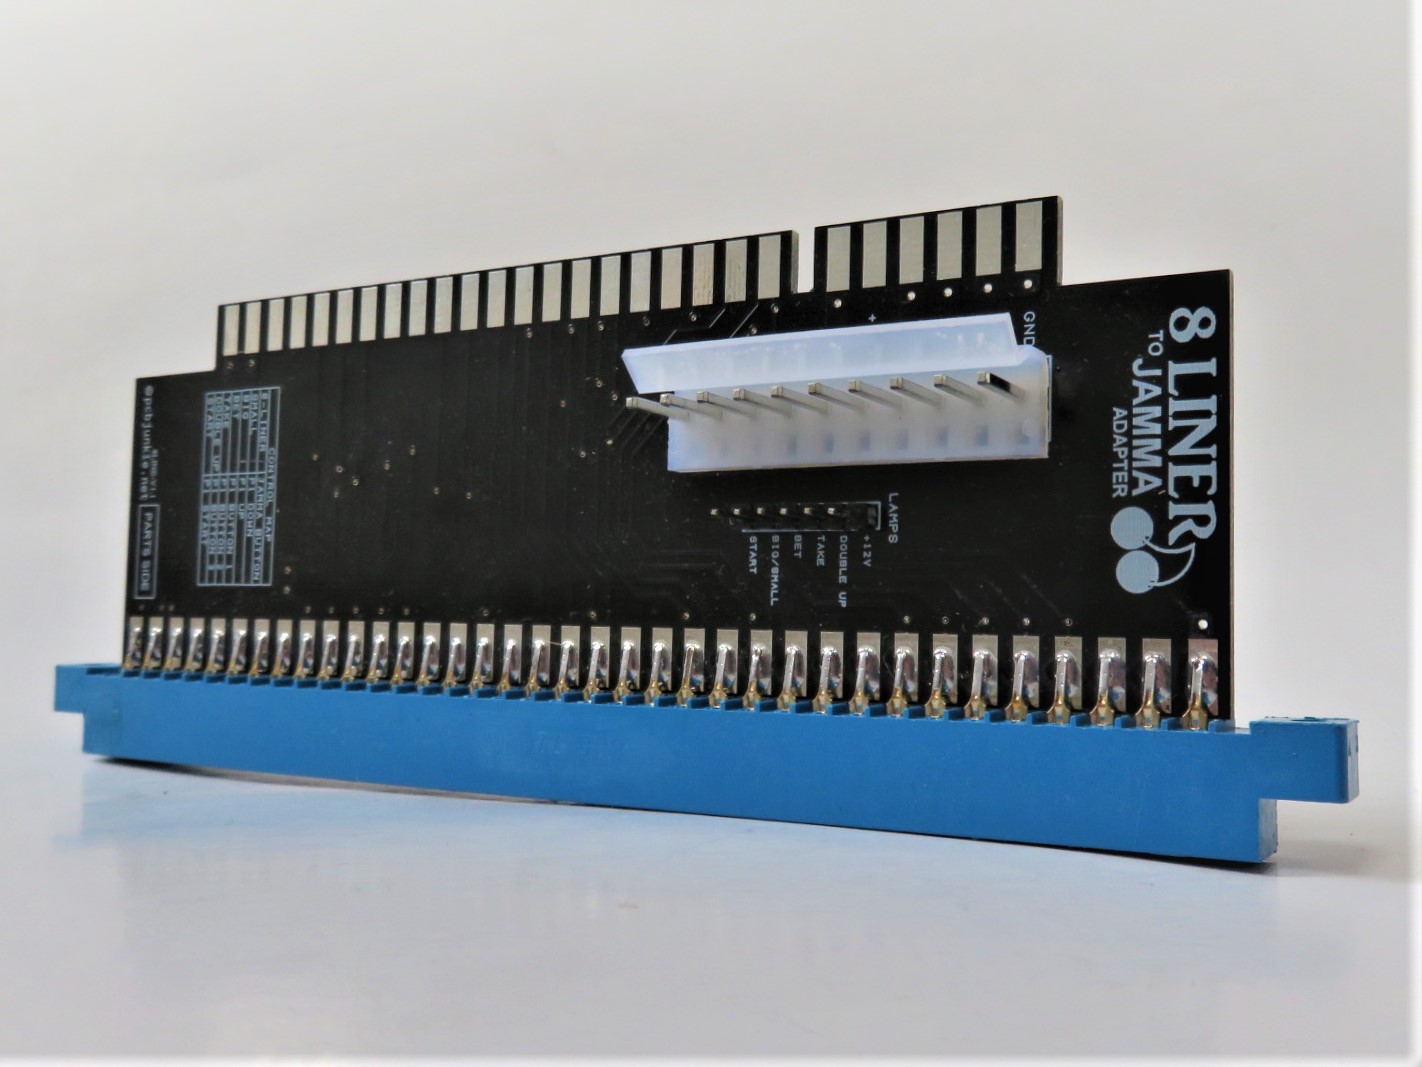
  • 8 Liner to JAMMA – for your poker and video slot games.

  • Nintendo Playchoice 10 to JAMMA – for the dual monitor version of the PlayChoice 10 board. Still looking for the single monitor version of the PCB if anyone has one and wants to sell it.

These adapters are fairly complex and took a few months to develop. I hope you’ll appreciate the quality, functionality and the price of these adapters and support my work by buying a few of them, from my Ebay page here.

Thanks!

Monitor and TV test dongles

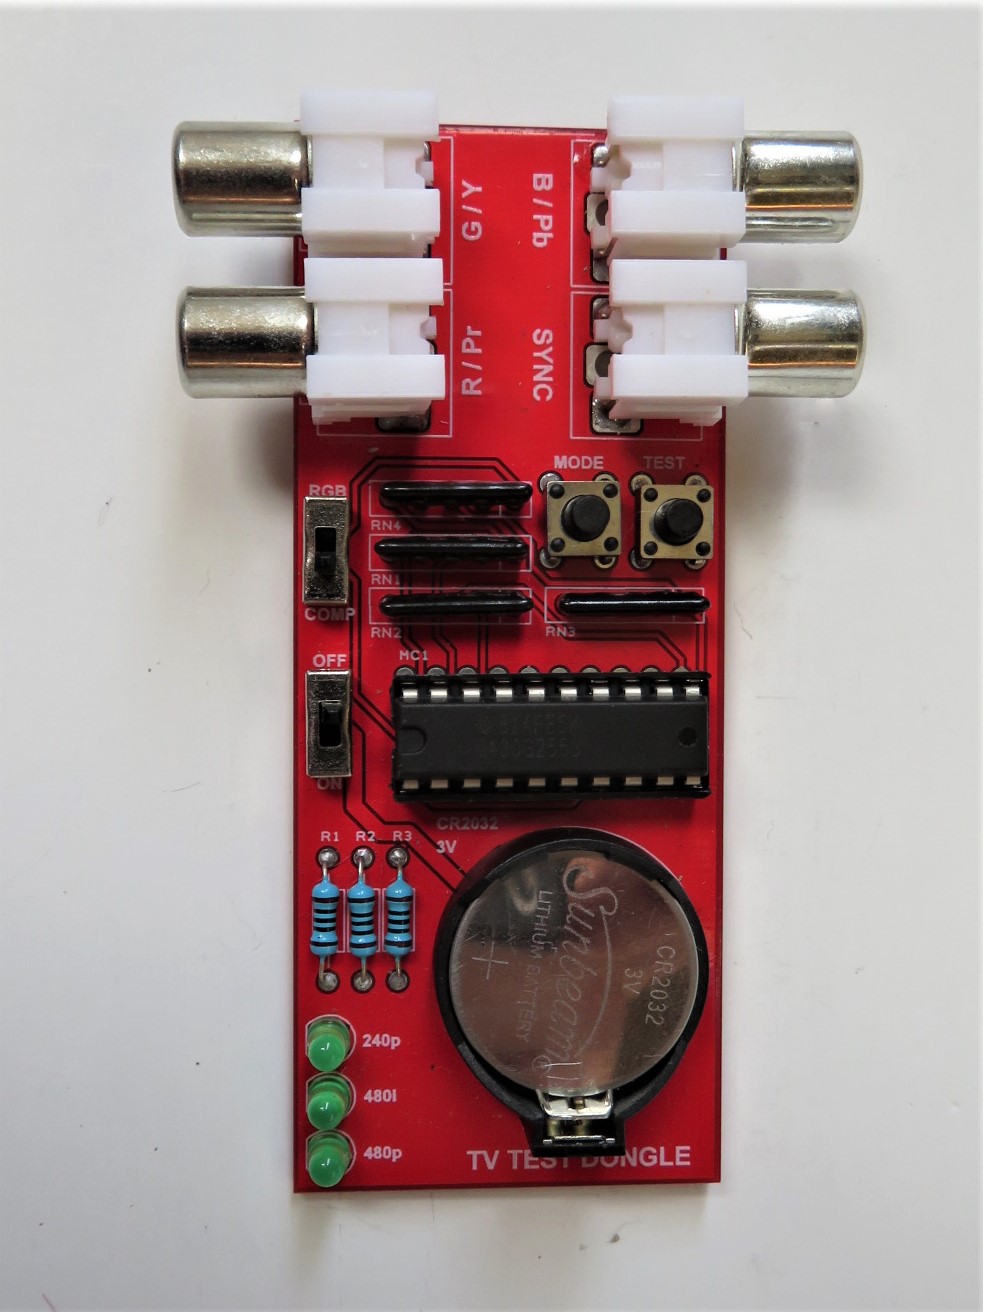
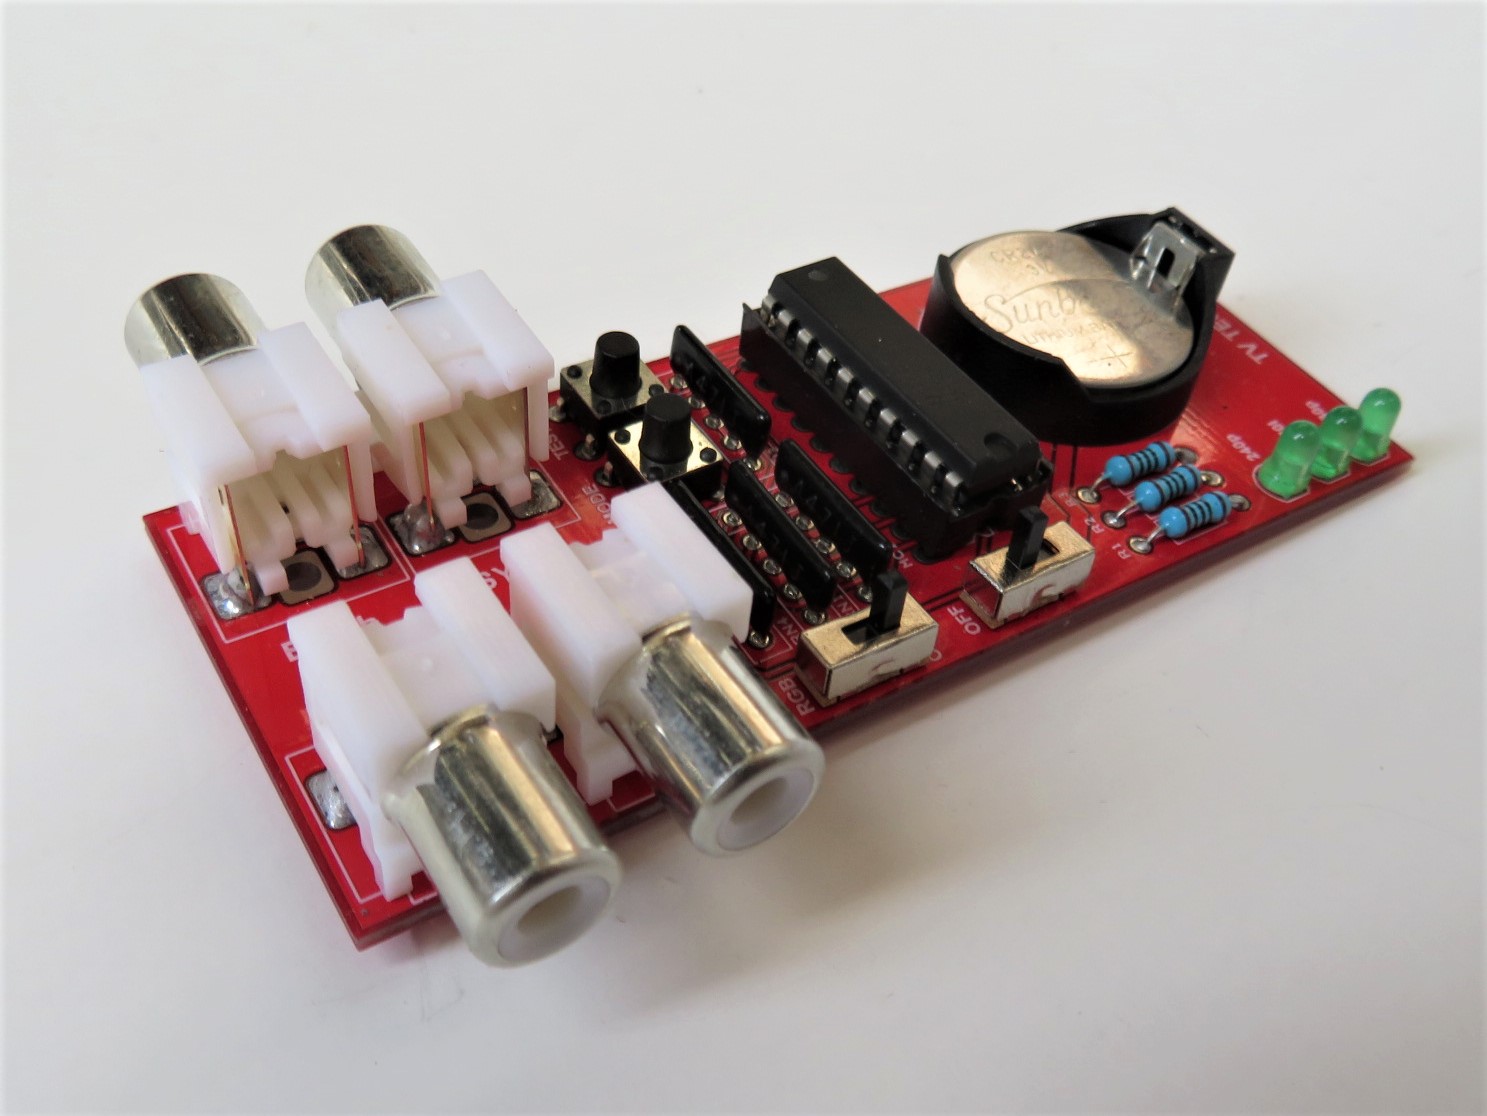
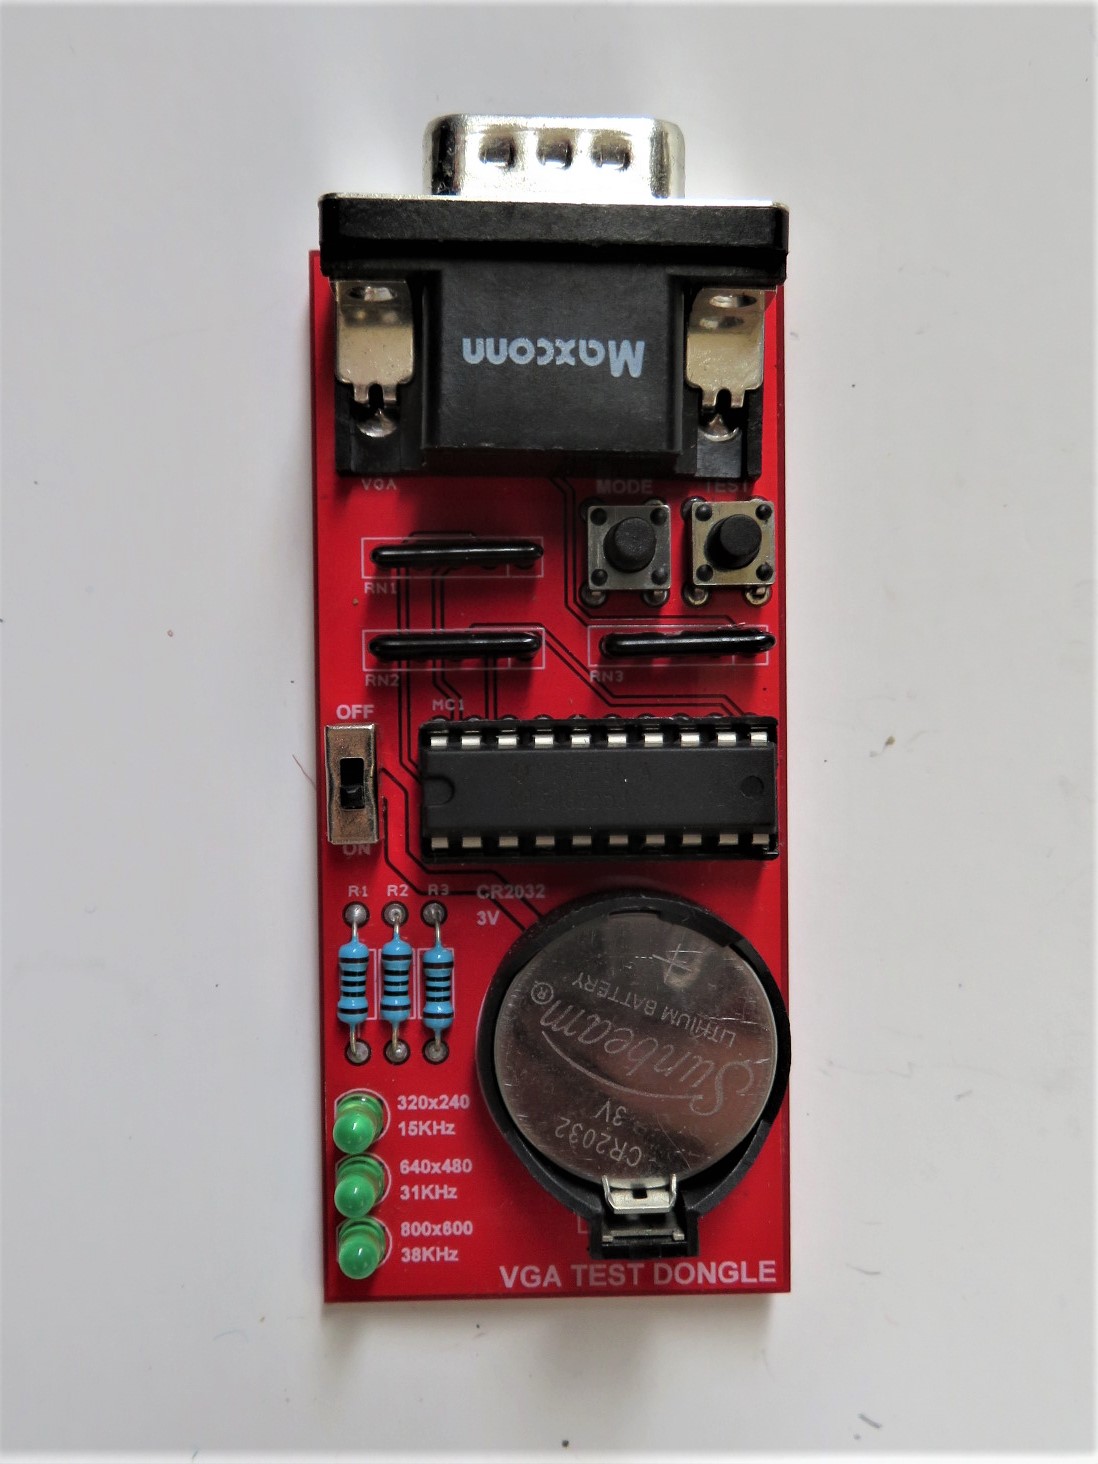
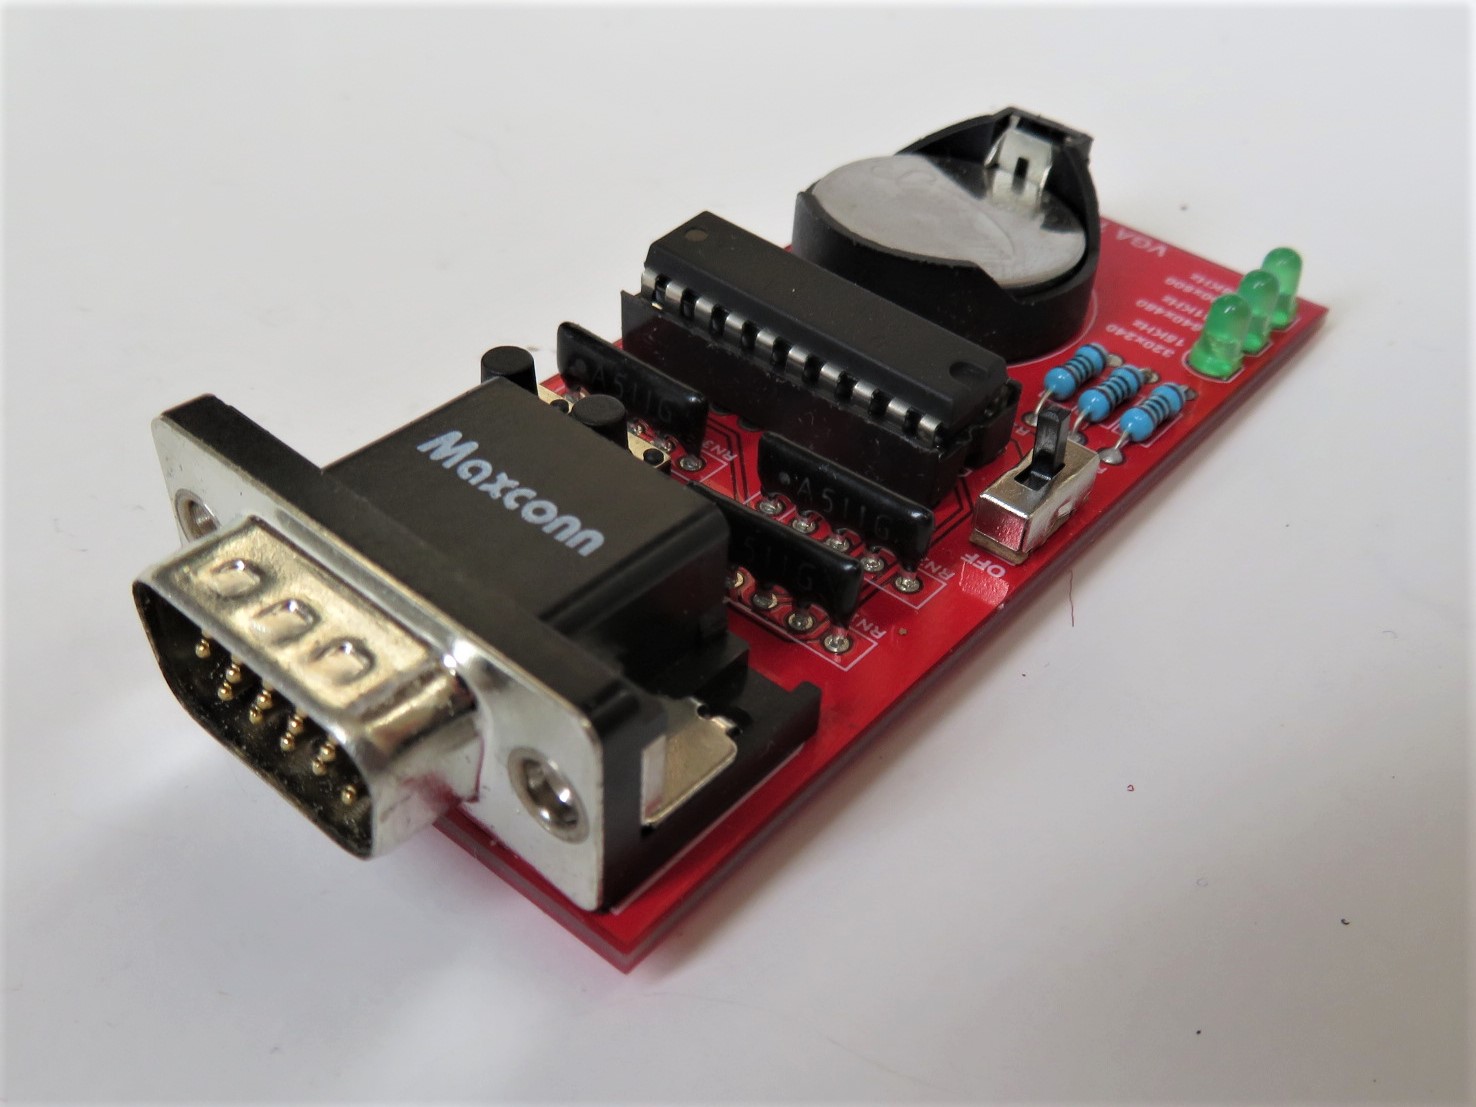
I made a couple of battery powered CR2032, TV and monitor test donges, using an MSP430 microcontroller. These dongles plug into either a VGA port or the RGB or Component plugs and allow you to test the TV or monitor without having to bring with you bulky test gear.

  • TV Test Dongle

  • VGA Monitor Test Dongle


I intend to use this to test TVs and monitors when I go thrift hunting.

I’ll put up a page with more information soon. While these are already usable, they wont be released for a while longer due to some minor design issues that have to be dealt with.

More stuff….

While I haven’t made any recent updates for a while, there is actually a lot of stuff going on. I put aside some of the long term projects (probably a bad idea) in favor of some quickies.

I spent the last few weeks working on RGB modding Sony Trinitron TVs. I ran into some issues with that but in the end was able to overcome them. As a result I made a Sony modchip board that can be used to enable an unused RGB input on Sony YC Junge chips inside of their TVs. I’ll put up a page with more details soon, but in the meantime here’s a link to the Youtube videos I made on the subject.

RGB Modding a CRT TV for Retro Gaming part 1

RGB Modding a CRT TV for Retro Gaming part 2

While working on the videos I decided to make a small dongle boards for testing TVs and monitors. These dongles will be battery powered and will output various signals to allow you to quickly test the equipment. Mainly this is for people that go thrifting and need to make sure the gear is working as expected. The vga dongle will output a 15khz test signal to help you find those elusive 15khz capable lcd panels.

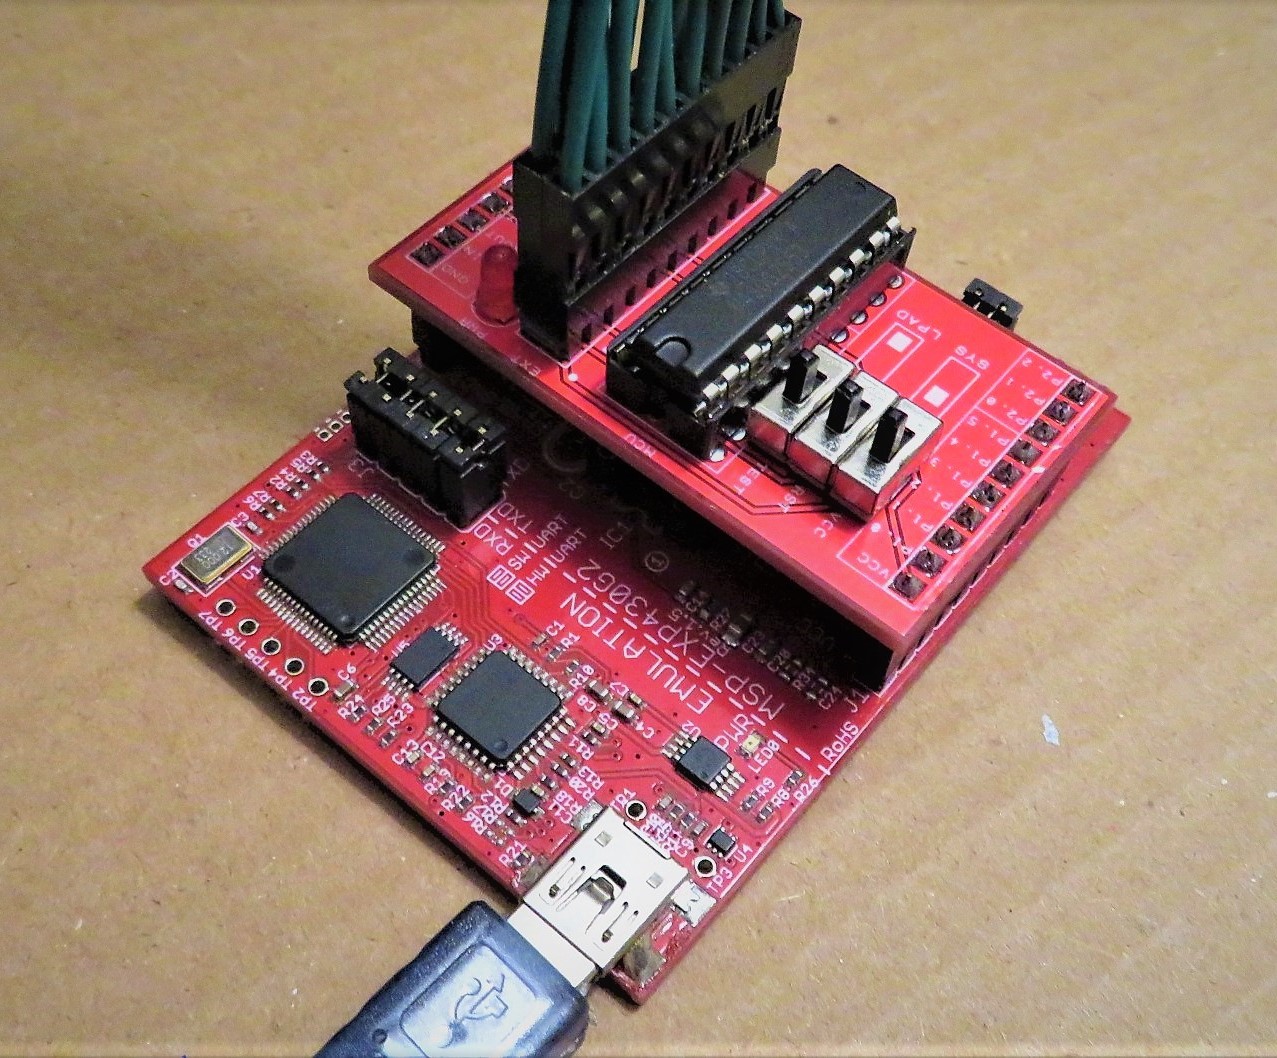
In addition to that I made a simple yet effective in system debugging board for value line msp430 microcontrollers. The idea here is to use your existing msp launchpad and connect it with an extension ribbon cable to your system. The board provides switches for the TEST, RESET and VCC pins to quickly go from programming to in system debugging.

This board design is available for free, but if you want to get a fully assembled kit I will make it available that way as well (coming soon).

Finally I’ve been working on more JAMMA adapters. The current batch consists of adapters for Exidy, Nintendo Playchoice 10, standard 8-liner pcbs with 72pin + 20pin edge connectors, Space Invades with virtual color overlay, and improved designs for the existing Nintendo adapters.


Recent Site Updates

I spent the last couple of weeks or so testing the new JAMMA adapters, and updating this site. Most of the JAMMA adapter pages are now online and are complete.

According to what’s on the site, I have 30 game / conversion class specific adapters listed, 3 universal adapters listed, and 2 more adapters which are work in progress. The 2 unlisted adapters are the Orca Type B adapter (needs redesign for 2 button games) and the Space Invaders adapter which I literally just assembled and still need to write the code for.

I will also be working on a couple more adapters. One that I’m kind of excited about is a Sega Naomi to JAMMA adapter which will eliminate the need for a Naomi / Capcom adapter and will allow the use of a ATX power supply with your Naomi system.

I’ll post some news on this as the project moves forward.