Description
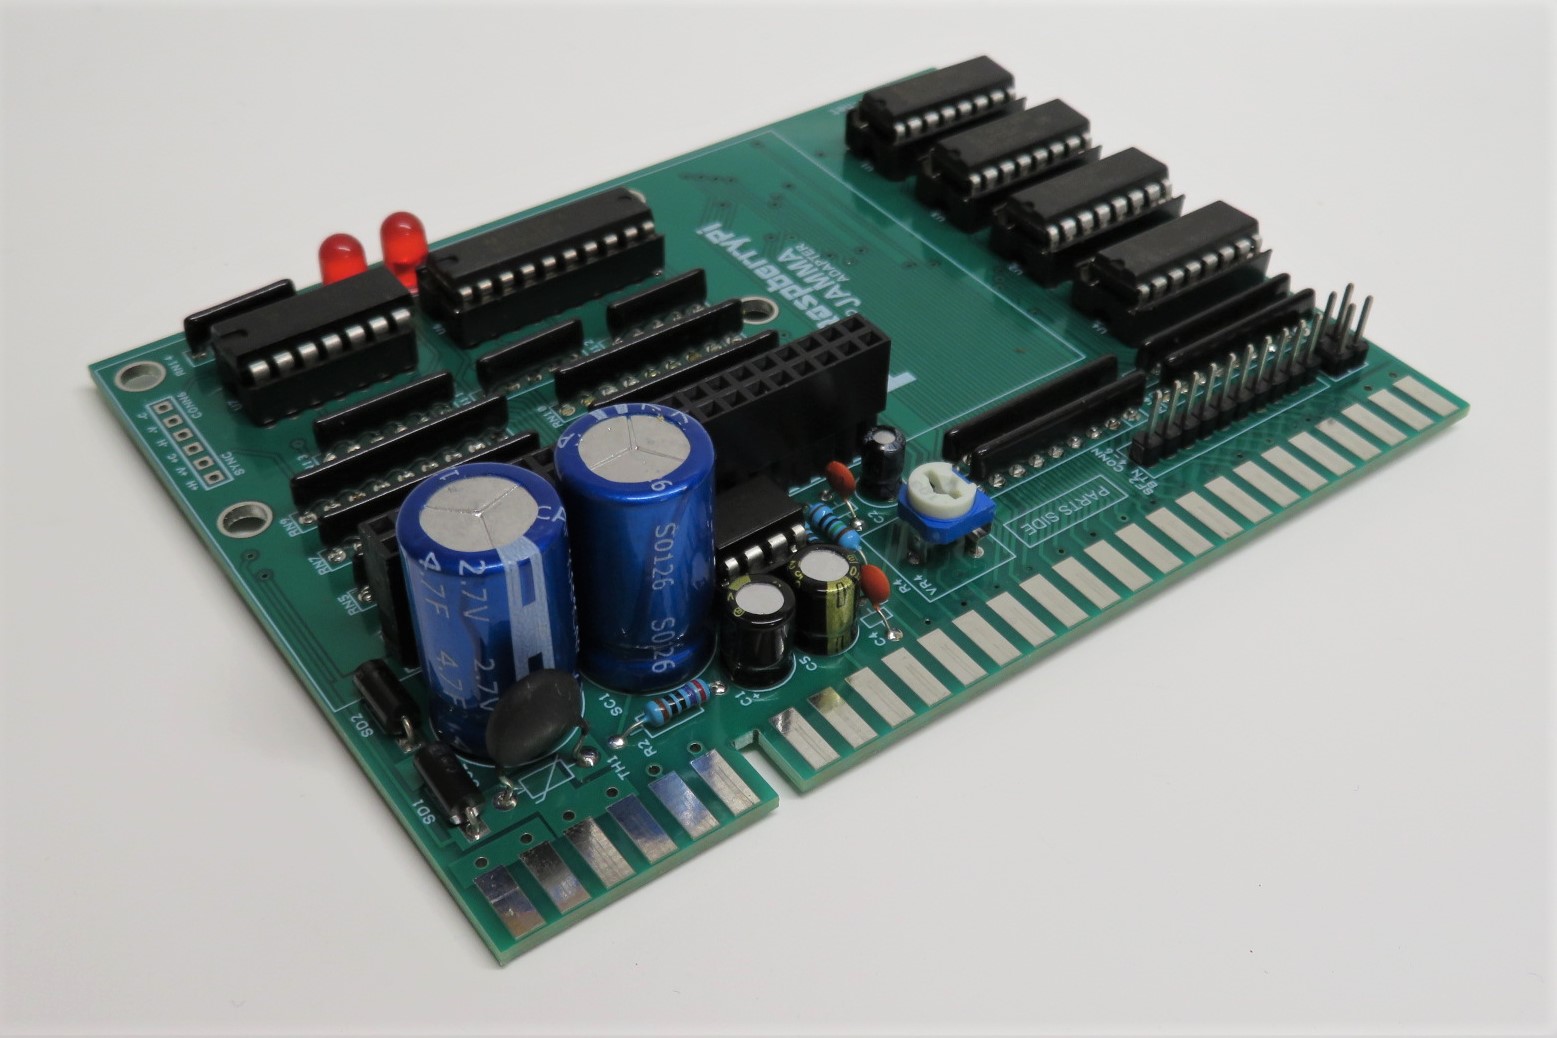
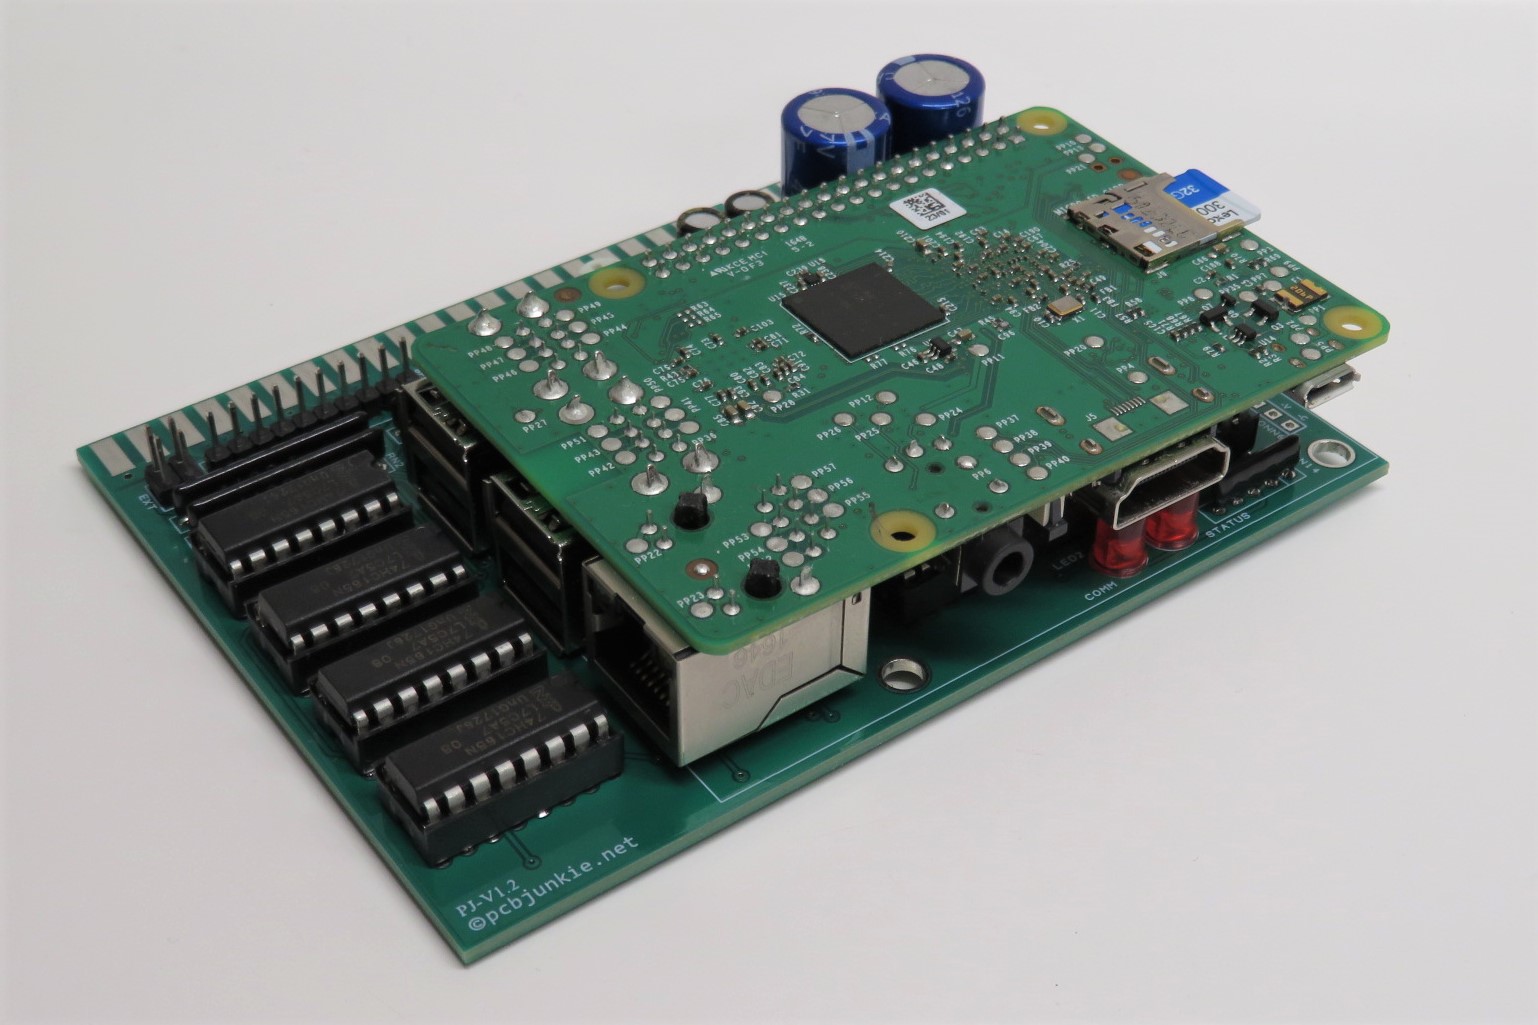
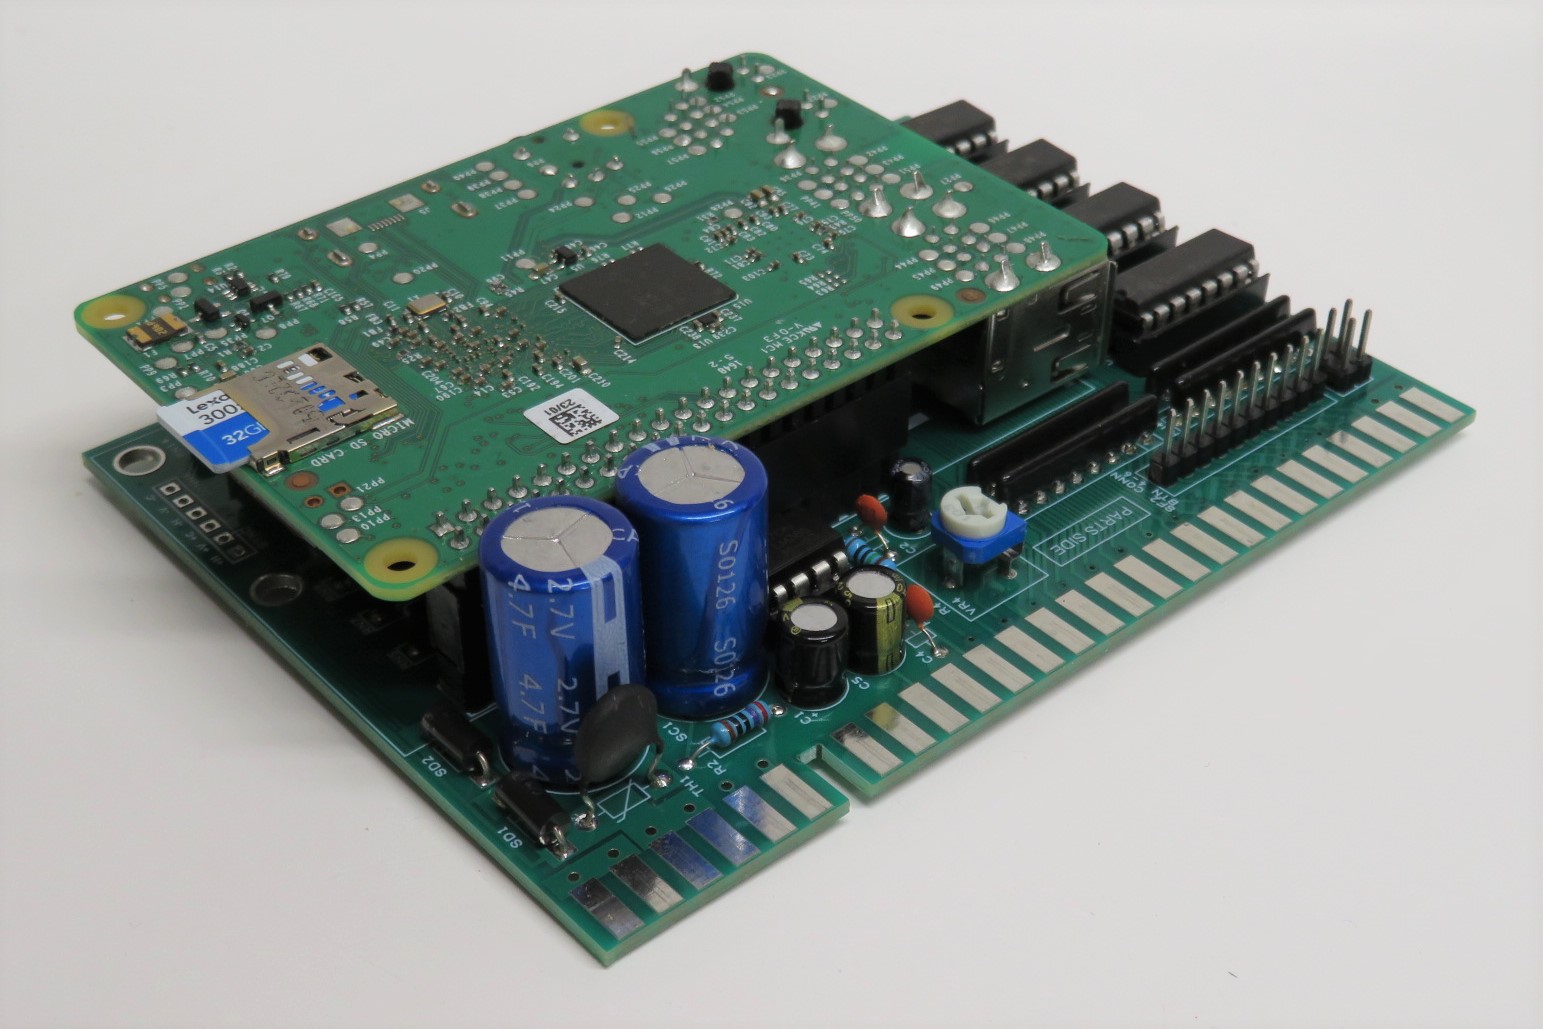
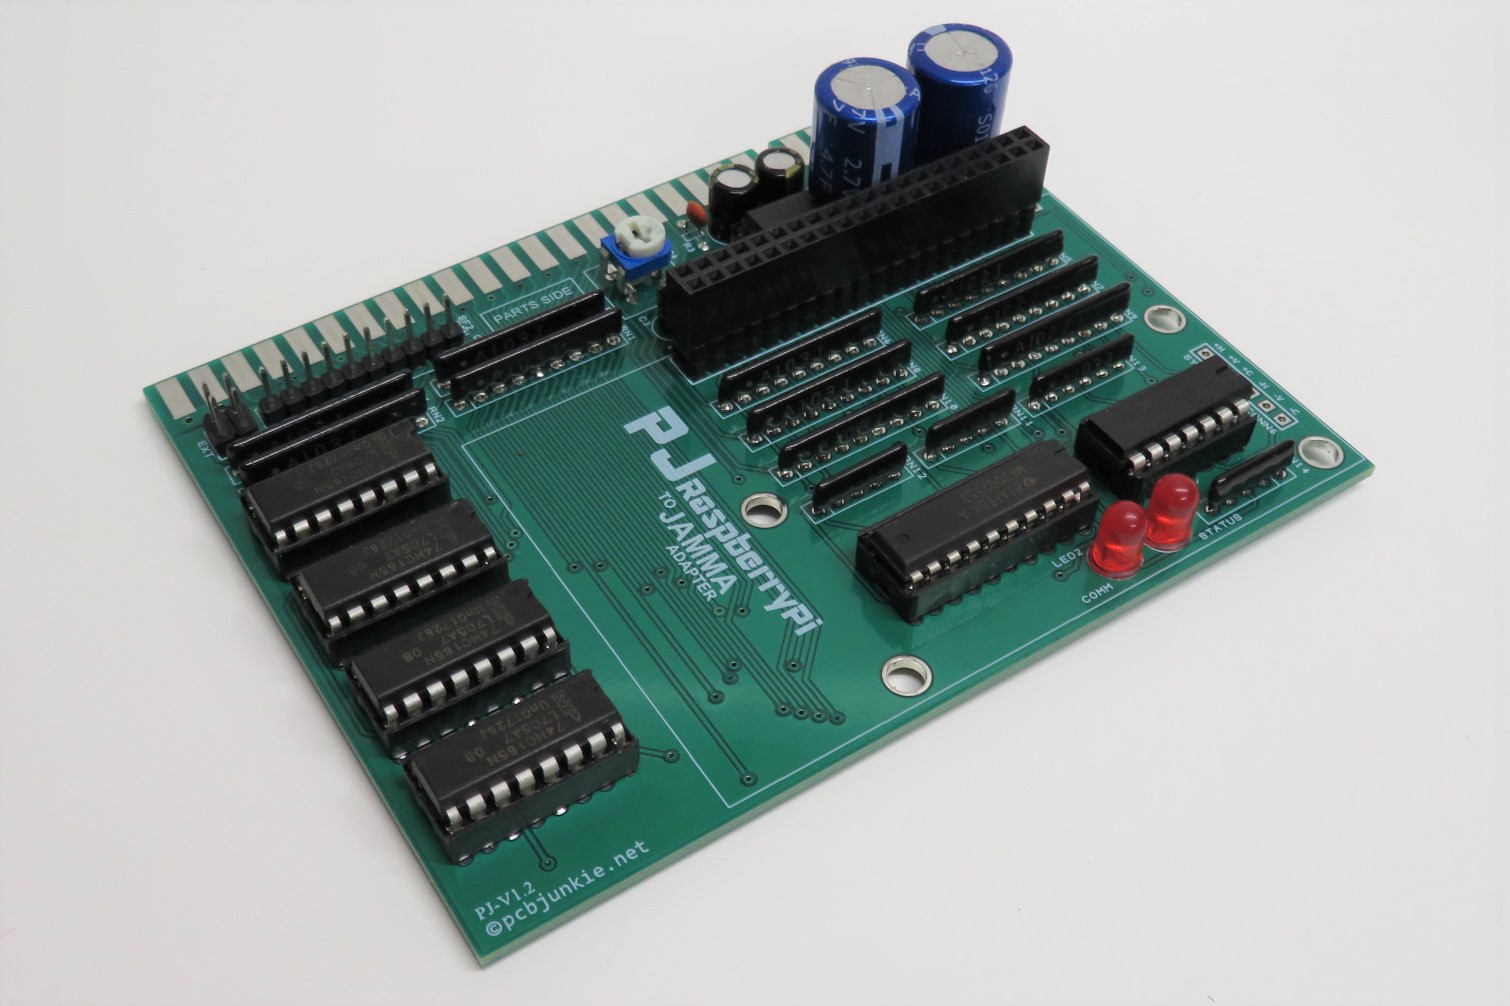
The Raspberry Pi to JAMMA is an adapter that will allow your Raspberry Pi to connect to a JAMMA compatible arcade cabinet for an unbeatable multi-game emulation experience.
Features
Here’s a quick summary of the features of the PJ Raspberry Pi to JAMMA adapter.
- Inexpensive. See pricing information above.
- Works on all Pi devices with a 40 pin header (no Pi 1 A models unfortunately)
- Low latency control hardware – joystick and button status updates each frame.
- Straight, one step digital to analog, video and sound conversion for a clean picture and sound.
- Native video resolution – no scaling or shimmering artifacts with standard resolution games.
- Zero latency video – one step digital to analog conversion, no scaler buffering required.
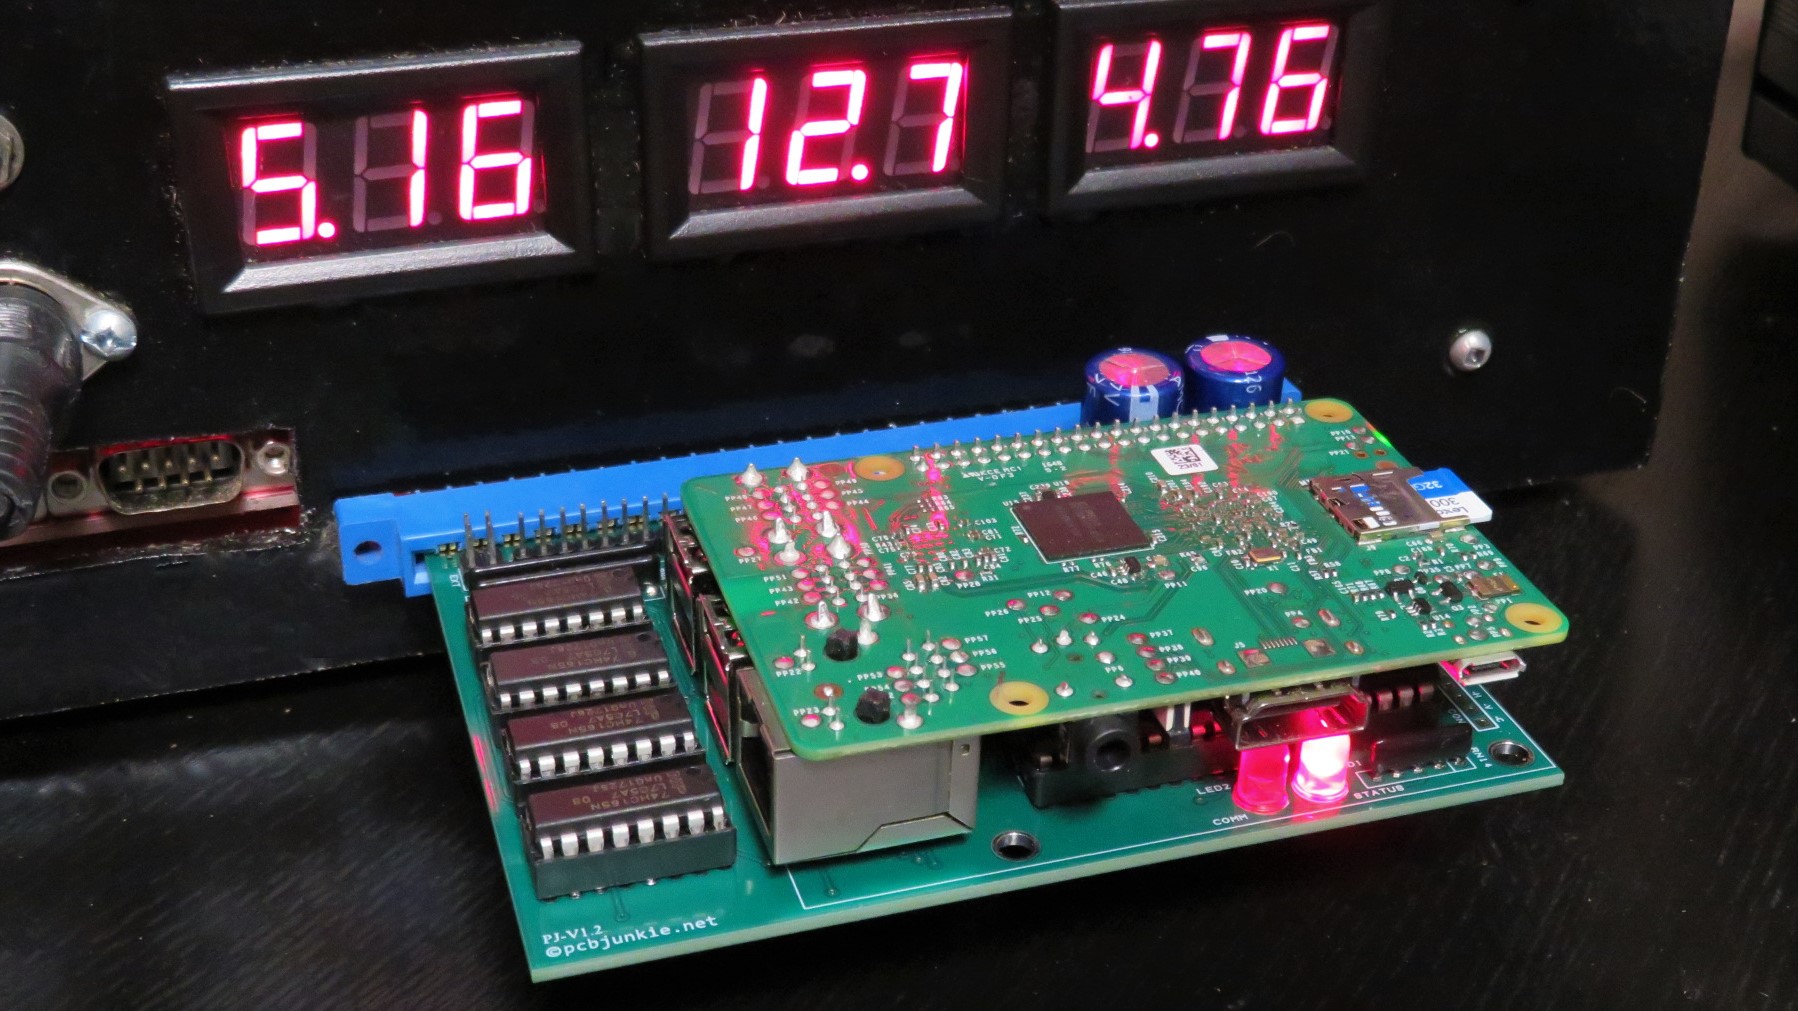
- Power monitoring and reporting.
- Auto shutdown on brownout (with a super capacitor bank) will not chew up your SD card. Just turn off your arcade machine and walk away.
- Images for major Retropie releases will be provided.
- Opensource drivers and configuration for more customization.
- Plugs into JAMMA with SF2 kick harness support.
- All IO done through GPIO header. Nice and clean with no messy wires.
- Old skool, through hole design with IC sockets for easy repair and troubleshooting.
Or you can visit the one of the sites the bottom of this page and help support my projects that way.
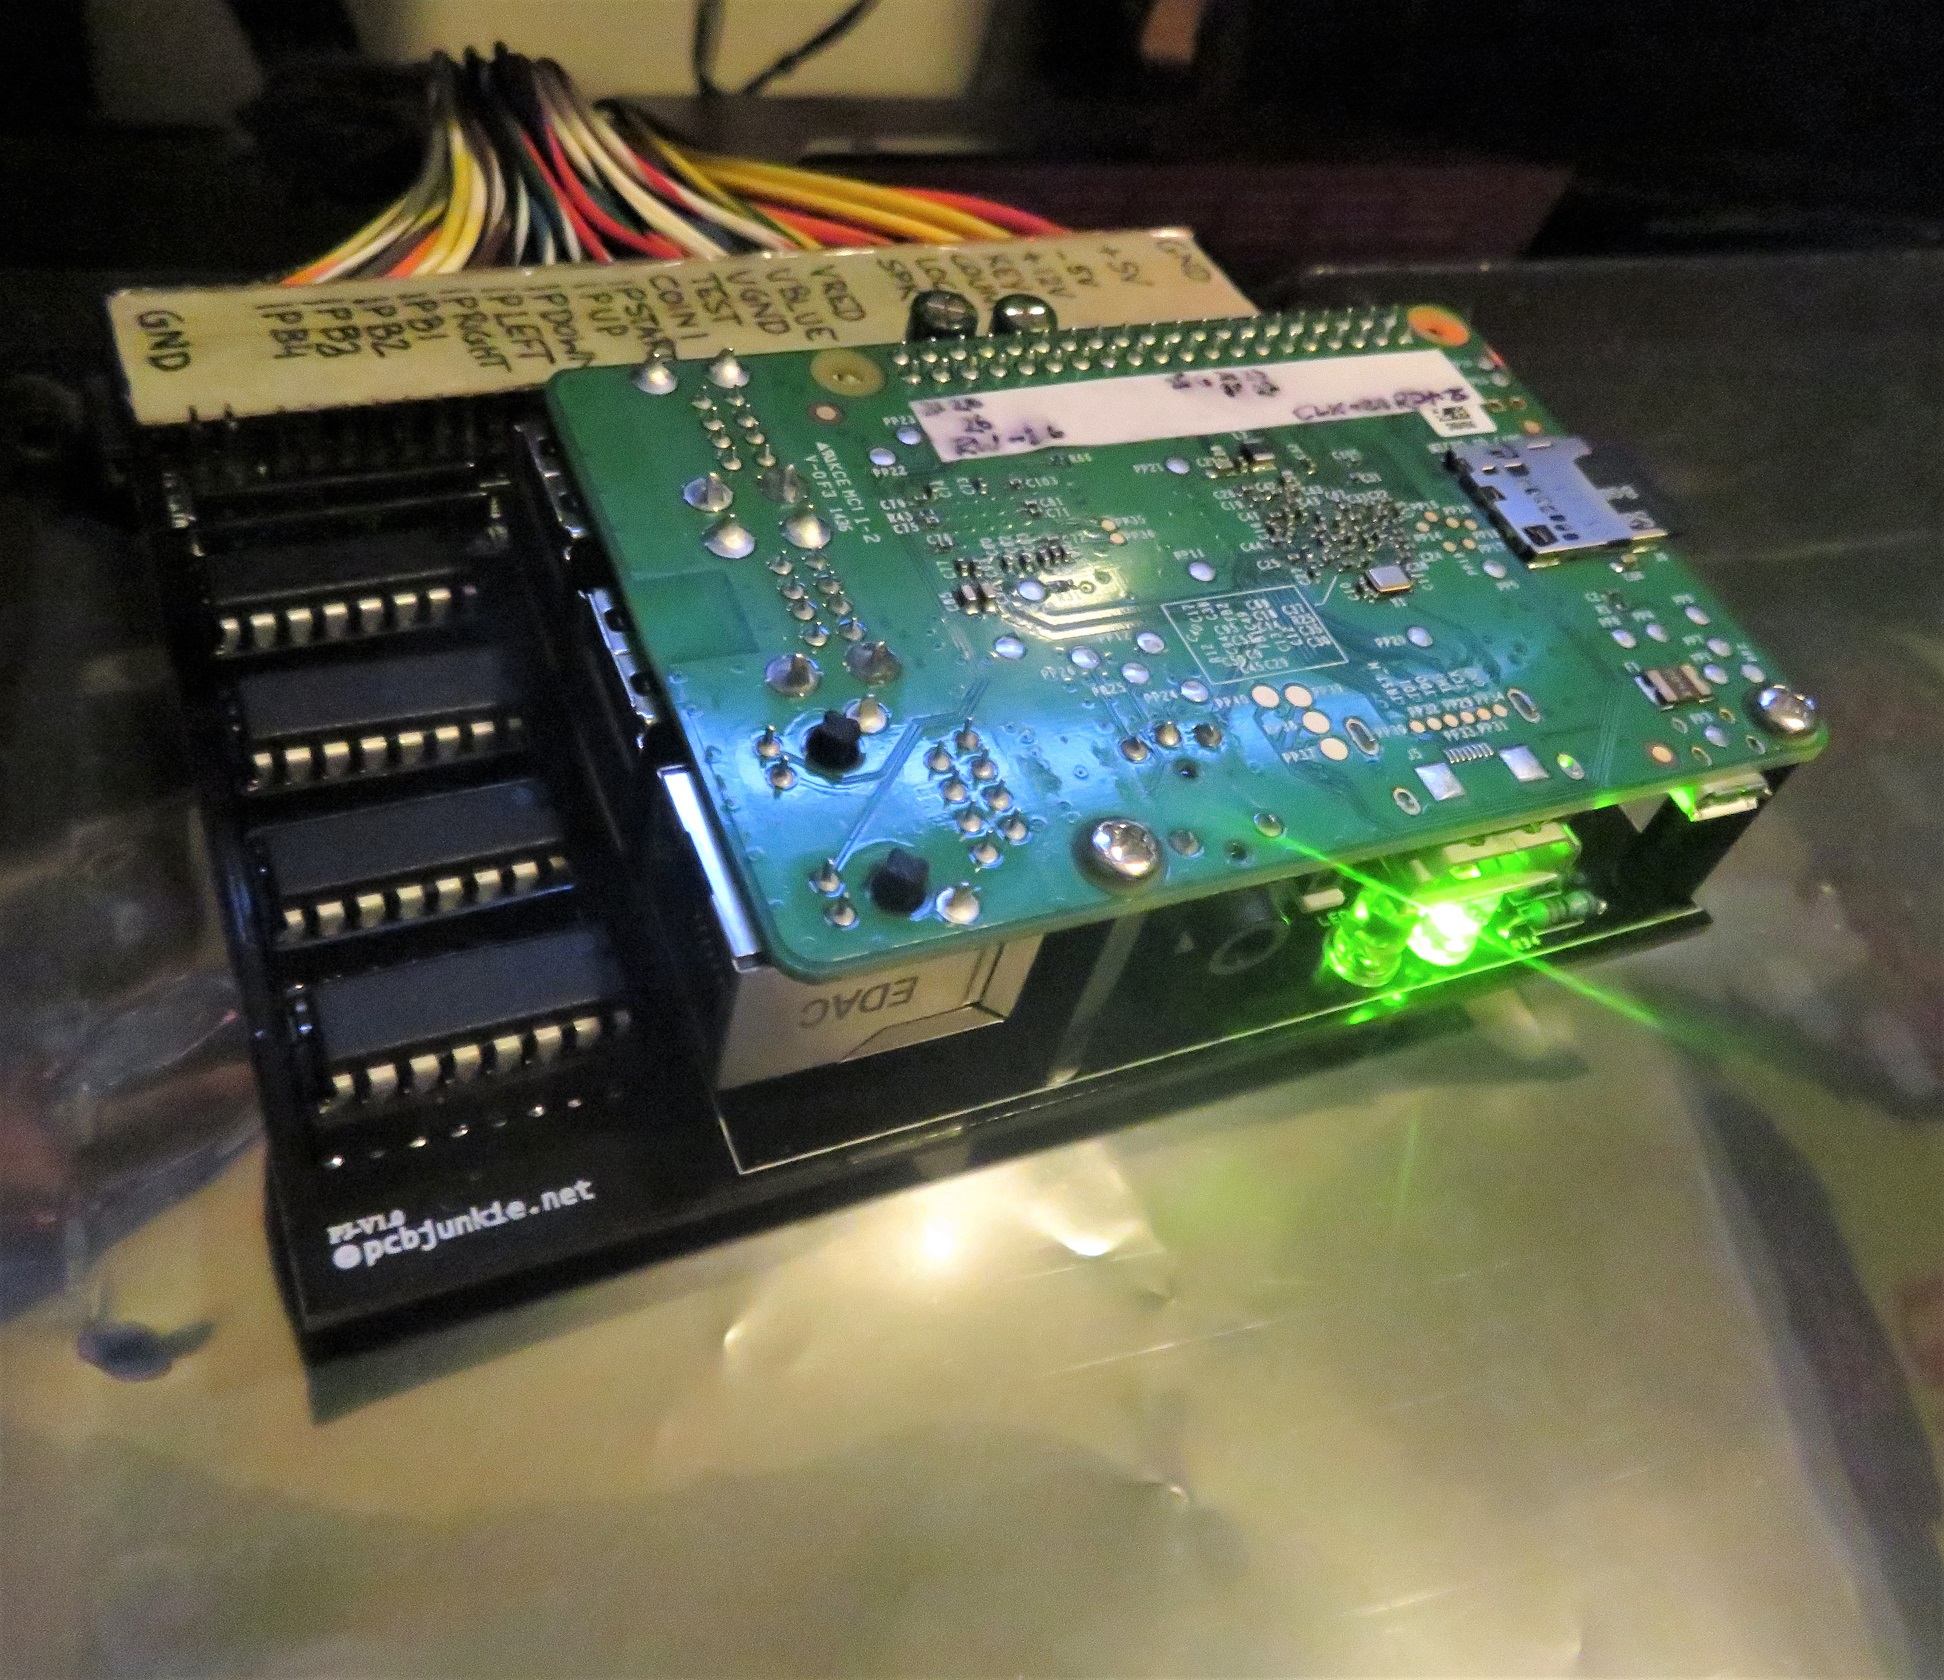
More Images
More Information
Additional documentation can be found below:
Getting Started:
- PJ – Quick Start – Read this first!
- PJ – User Guide – More information on the adapter hardware
- PJ – Image Files – Preconfigured MAME and Retropie images
- PJ – Driver Downloads – for creating custom images
- PJ – Installing Image on SD Card
- PJ – Adding ROMs to PJ Retropie Images the Easy Way
- PJ – Transferring ROMs to your image (RetroPie images only, links to RetroPie website)
Joystick, Buttons and Controls:
- PJ – Default button configuration
- PJ – Troubleshooting controls
- PJ – Installing drivers on a vanilla Retropie (or other) setup.
Video and Audio:
- PJ – Disable JAMMA video and use HDMI instead
- PJ – Disable PCM GPIO audio and use the headphone jack instead
- PJ – Rotating Video
Voltages, Power Monitoring and Shutdown:
Communication:
Videos
I made of video of the adapter in action as well. Check out the video and sound quality, and see features described in more detail.
Here’s another video I made that shows the Standalone + MiniLauncher image in action:
