
The following is a guide on how to use the tests included with my video testers to verify functionality of a monitor, and some tips on adjustment.
First, let’s go over the list of tests included with the video adapters, and their purpose:
Firmare Version / Text
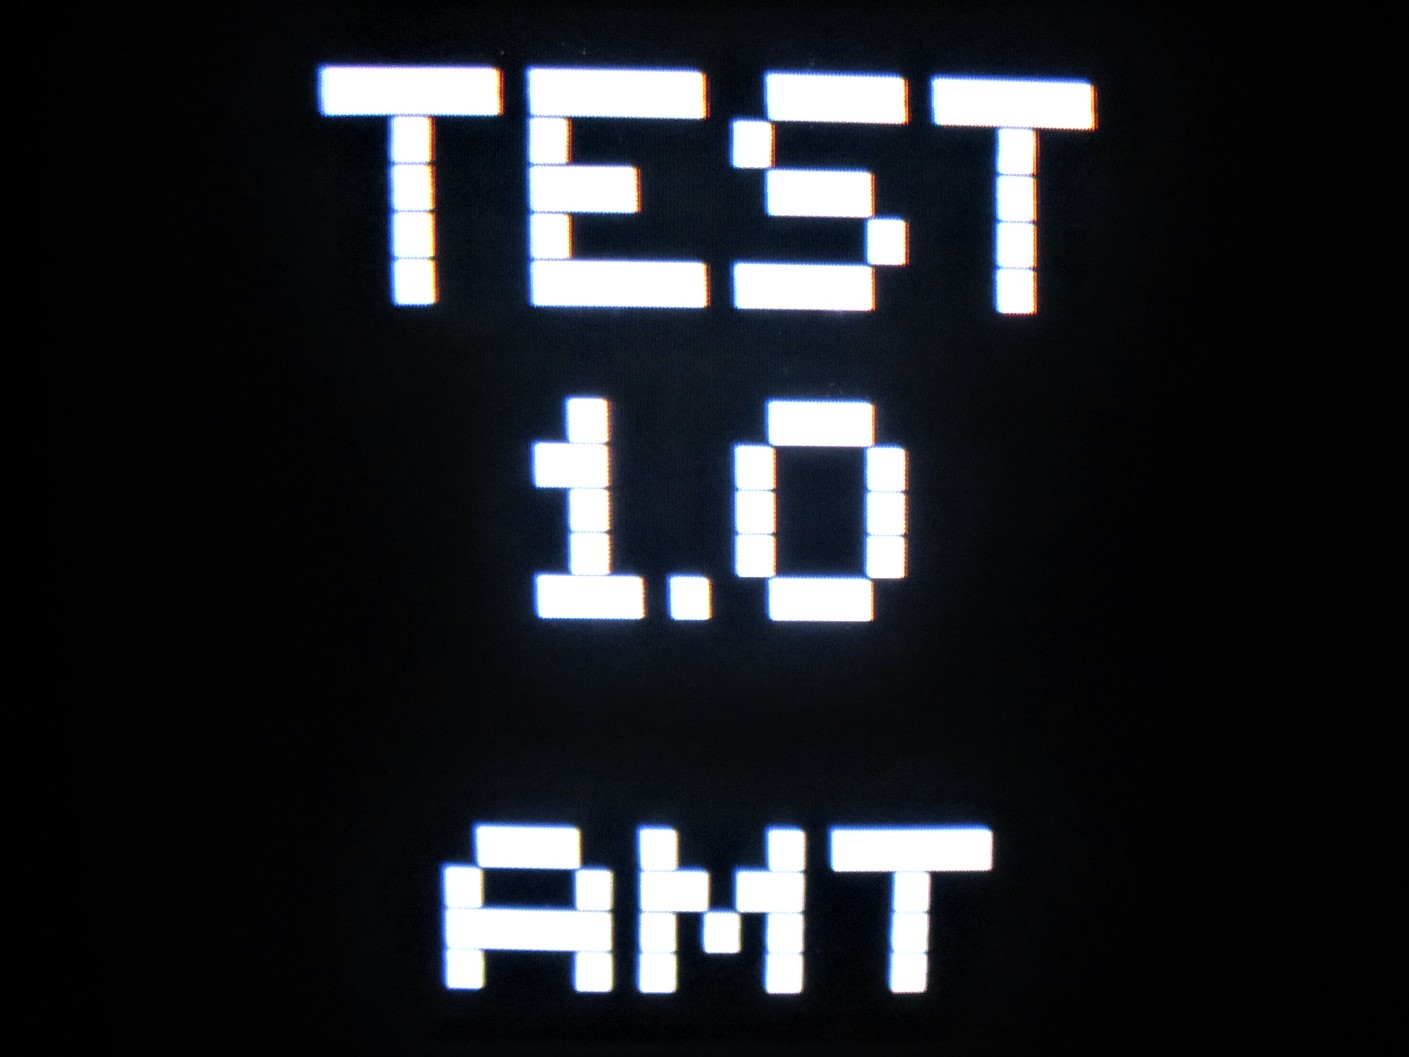
Use this test to verify that the yoke polarity is correct. If the text is mirrored, reverse the horizontal deflection polarity. If the text is upside down, reverse the vertical deflection polarity at the yoke.
Color Grid
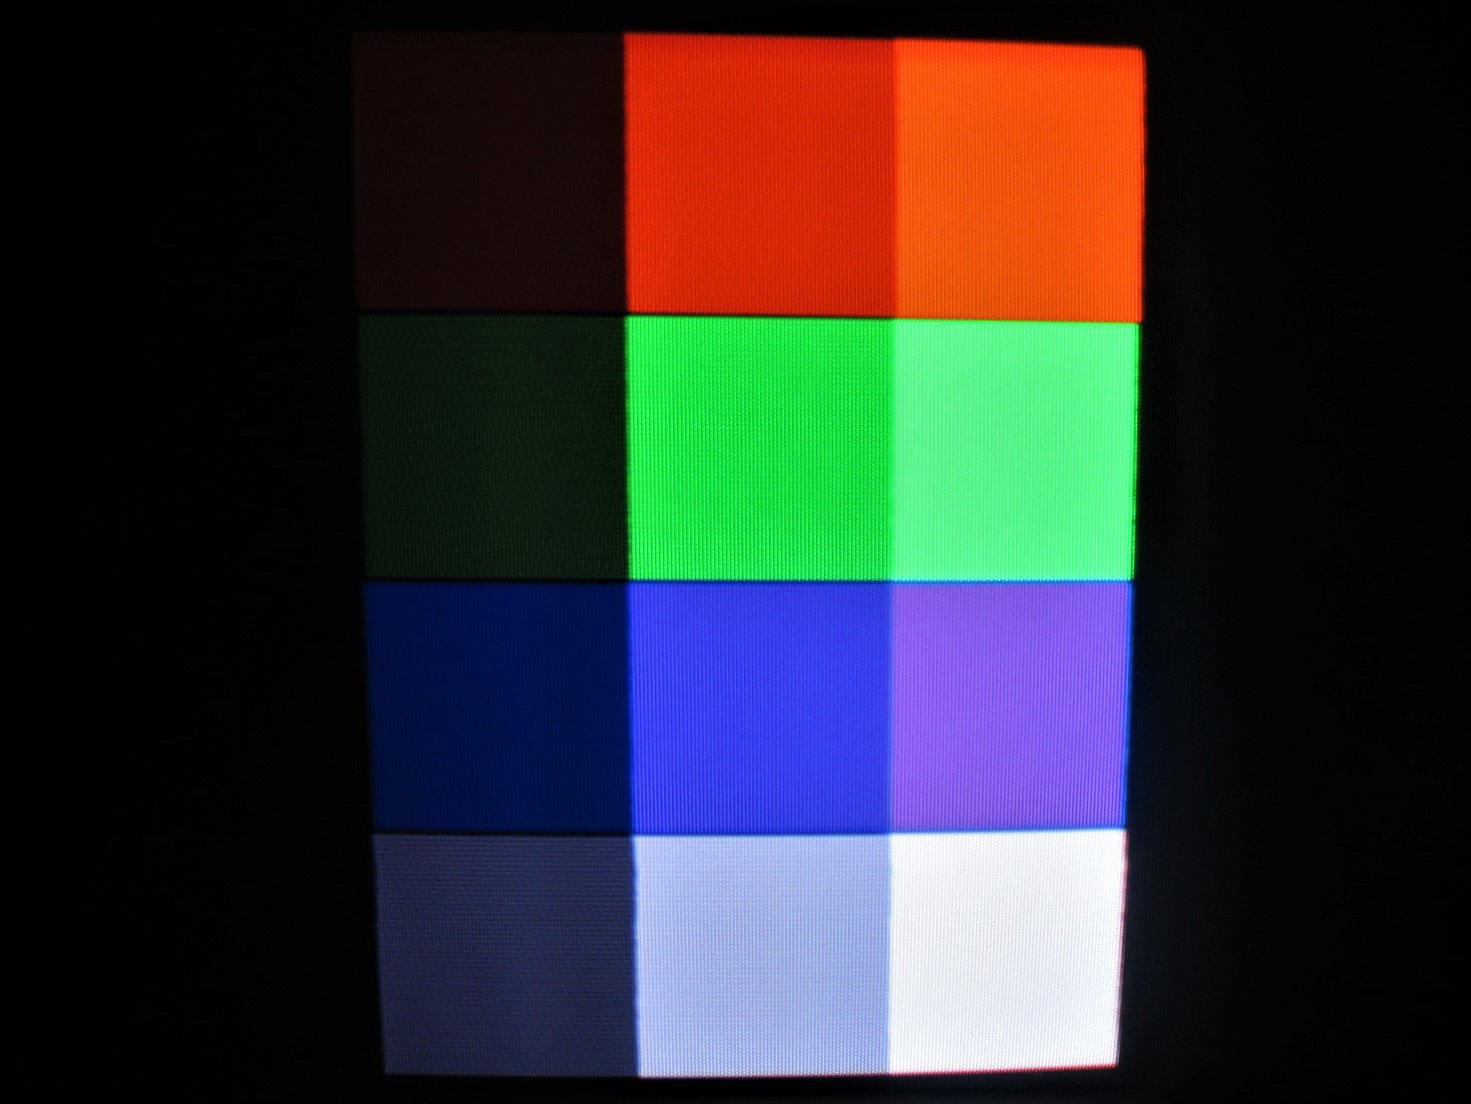
This test allows you to check the operation of the red, green, and blue functionality of the monitor / TV and allows for color adjustment.
To adjust colors, use the gain and cutoff pots to set the correct color balance. The first column of the grid corresponds to 33% saturation, the second column to 66%, and the third column corresponds to 100% color saturation (full brightness). Once adjusted, ensure the bottom row shows only white and gray cells, without any red, green or blue overtones.
The outer portion of the screen should remain black.
Checkerboard
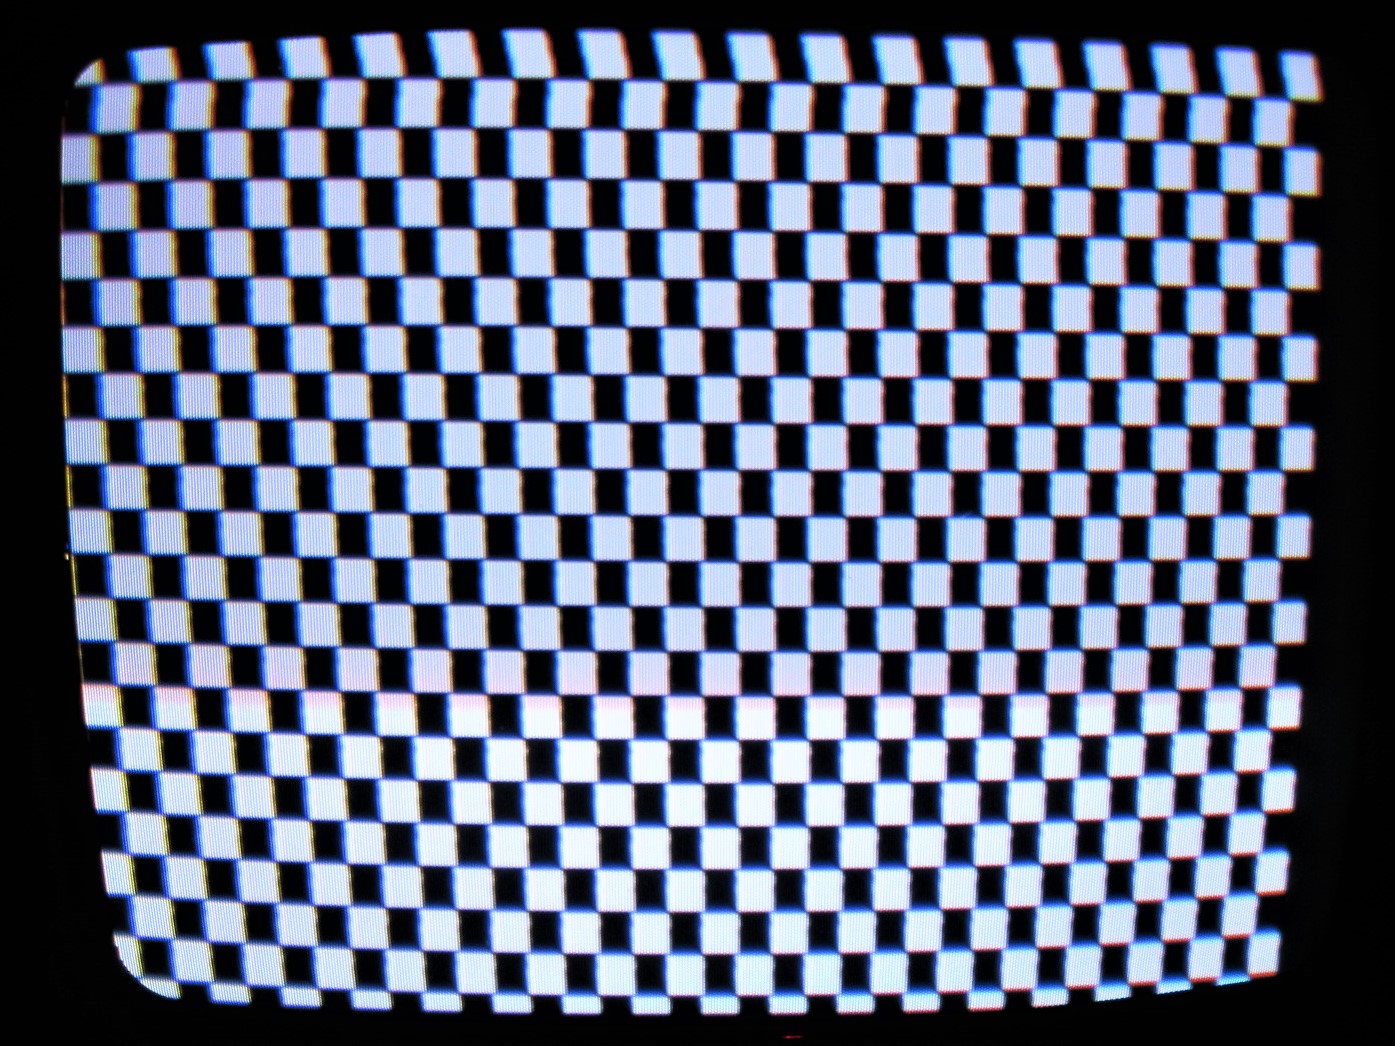
Use this test to check for uniform geometry. This test is also very useful in adjusting proper contrast. To do this ensure that the black cells are black and that the white cells are as white as possible with sharp edges and no color streaking.
Grid
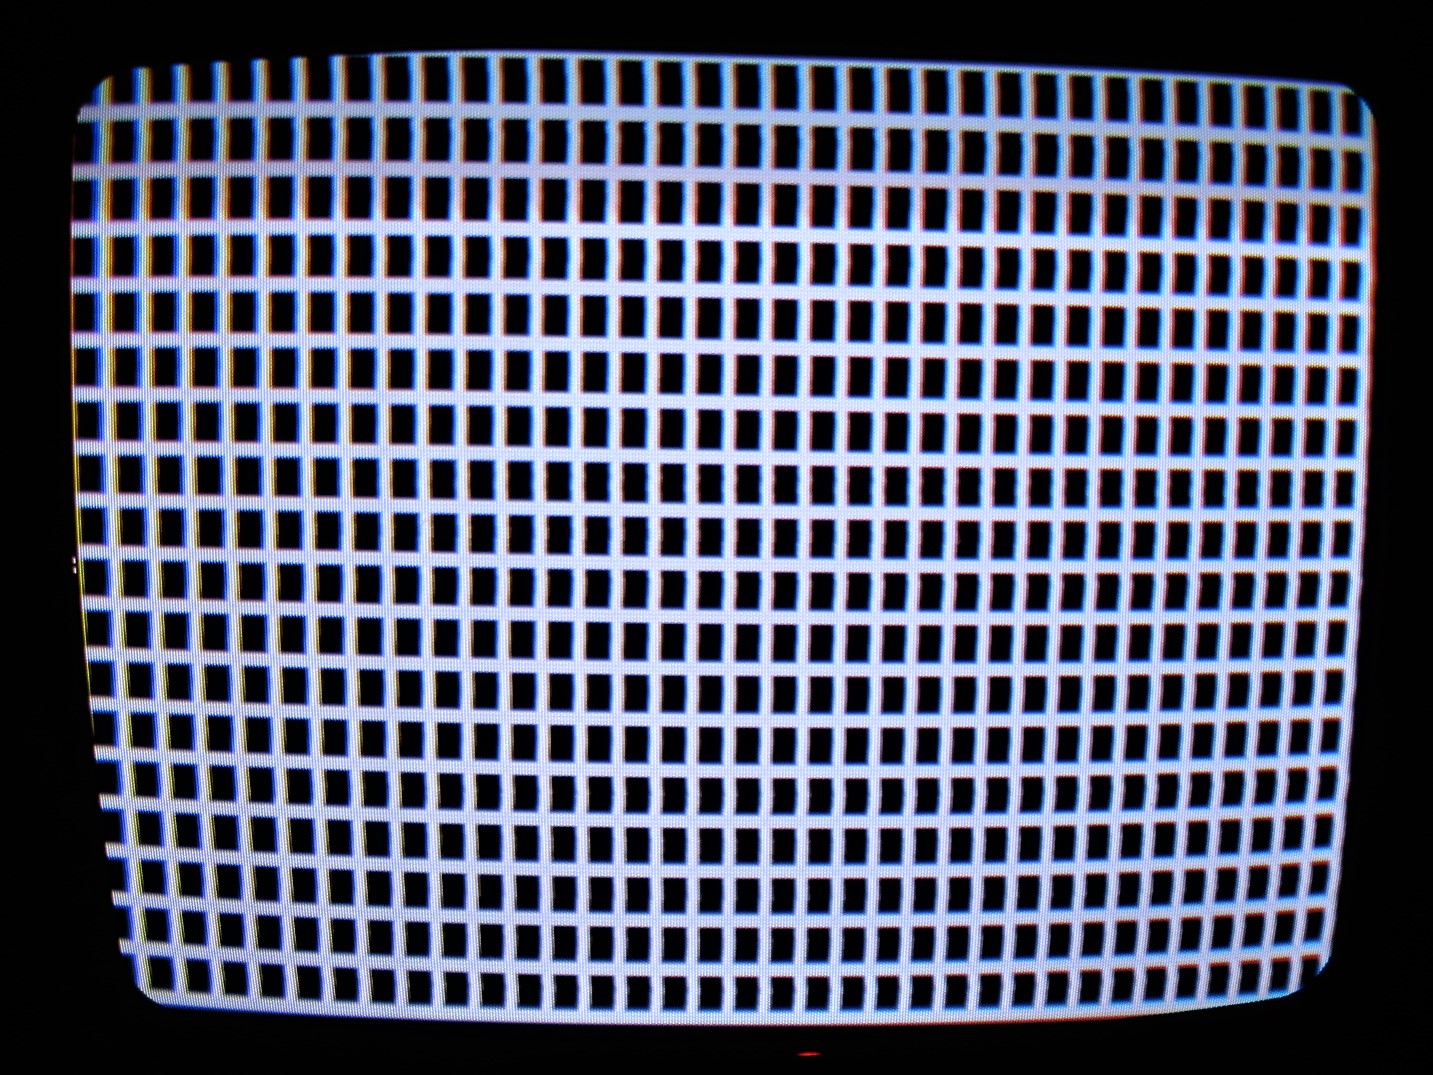
The grid is very useful for dialing in convergence issues. Rotate the rings around the neck of the tube to line up the red, green and blue colors so that only white grid is showing. Mark the initial position of the rings by drawing a line across all the rings so that you can return to the original position in case your adjustment gets out of hand and you need to revert back.
This test is also useful to confirm that the geometry is correct, and the the brightness is not over saturated. Over saturated screen can result in a bloom effect where lines of the grid become squiggly.
Full Screen Color
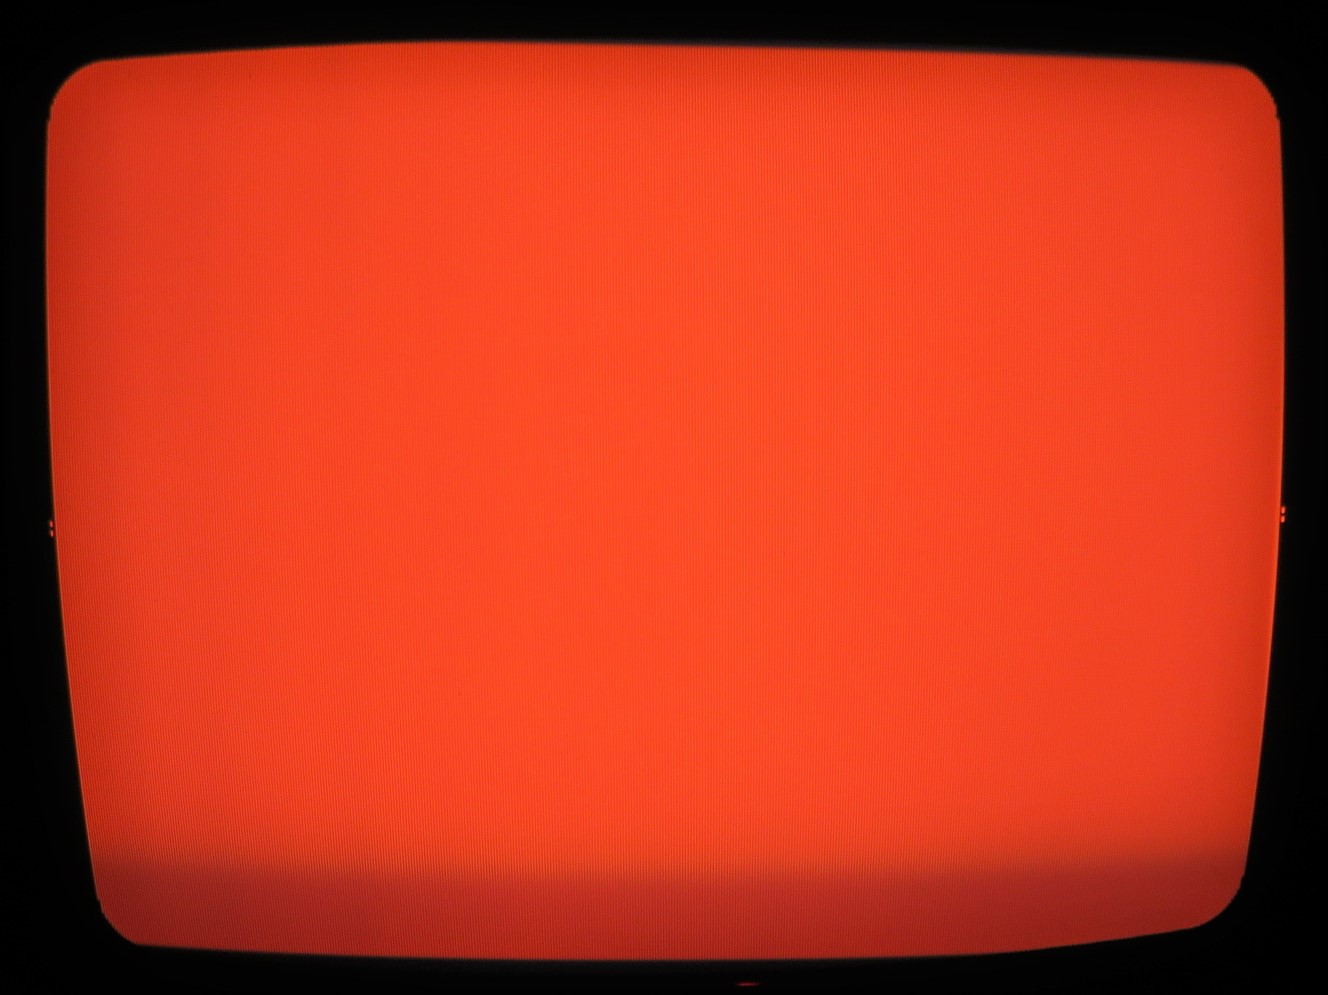
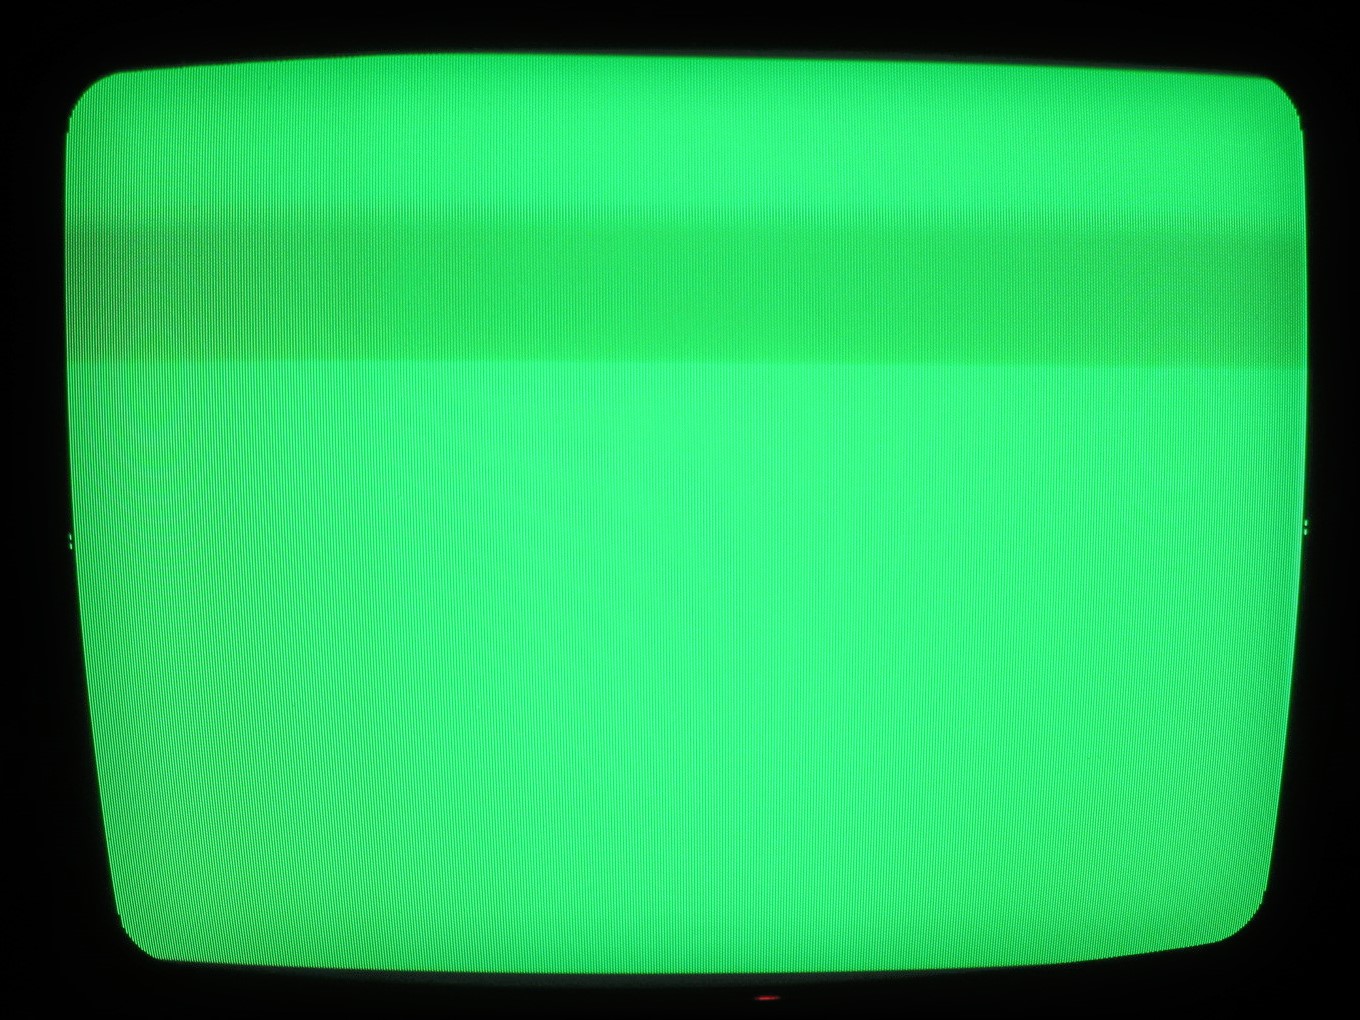
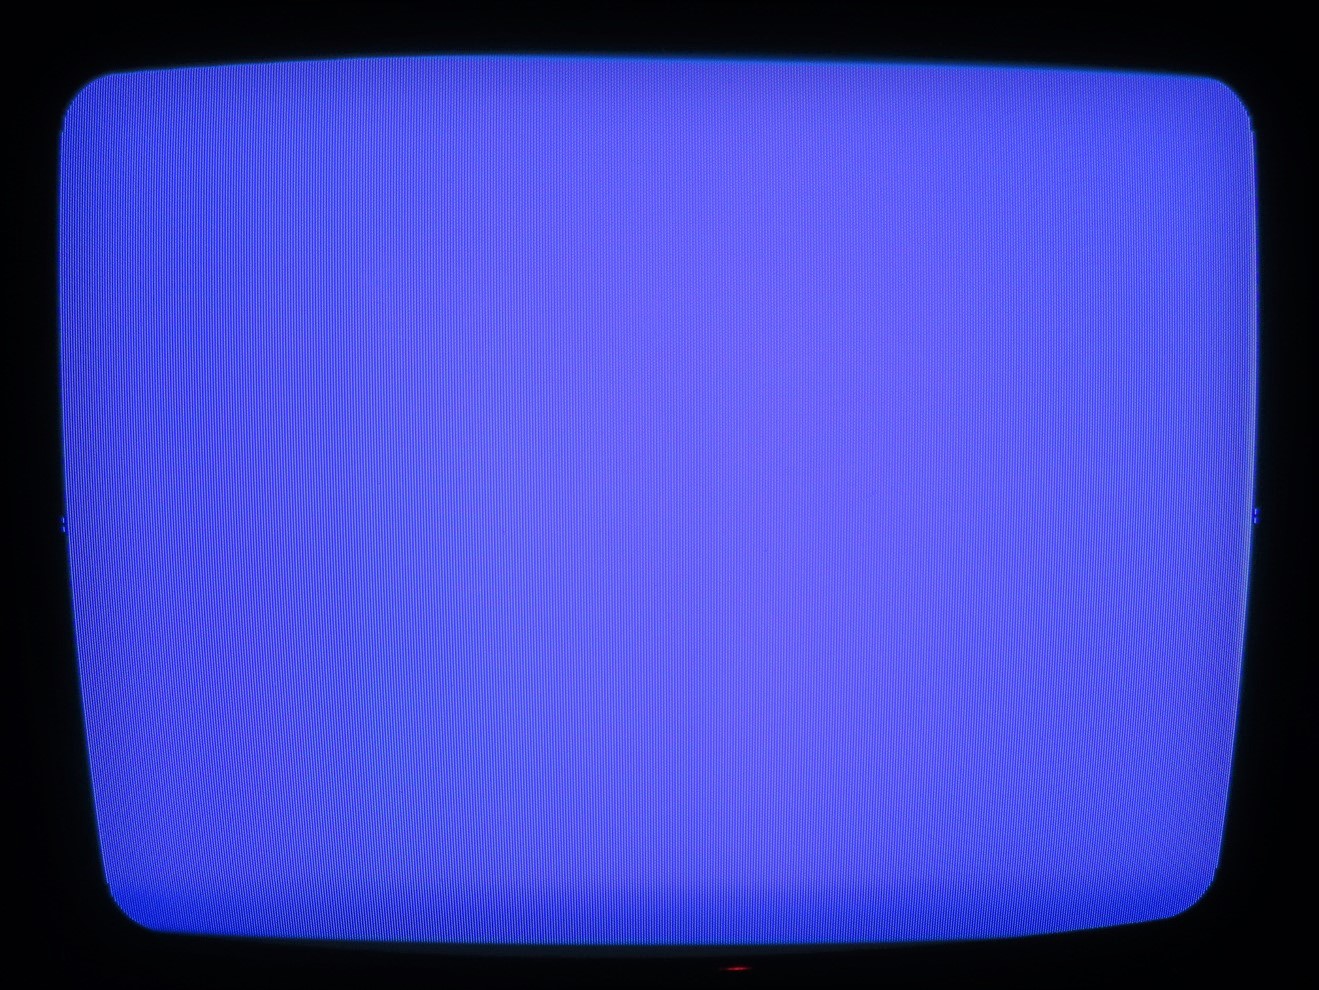
Use this test to see any artifacts that may be caused by a magnetic field disturbance and that may need degaussing. This test is also ideal to detect burn in of various types, since burn in may only exist in one of the three colors and may be difficult to detect otherwise. Finally, the test can show how well the monitor reacts to quick color changes, especially during the black to white transition.
Scrolling Color Bars
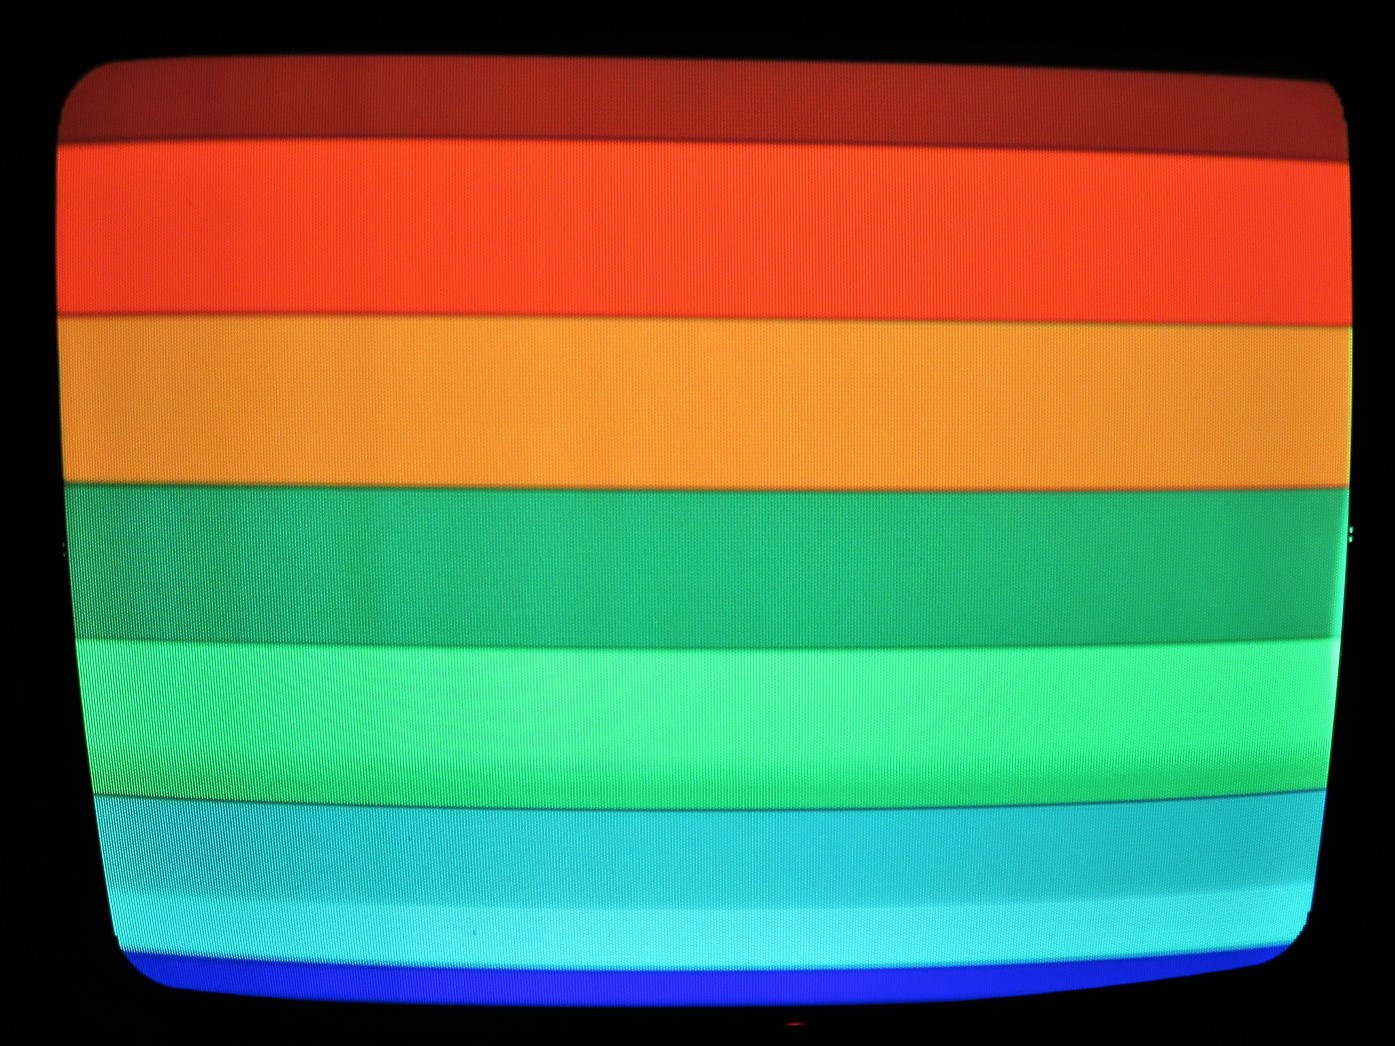
Scrolling color bars can used to detect problems where either color or the shape of the image changes while in motion. The test generates color bars in sets of 3 shades. For example you’ll see 3 shades of red, green, blue, followed by mixed non-primary colors like cyans, magentas, yellows, oranges, purples, etc.. again in sets of 3 similar shades.
Unexpected color changes may require degaussing or may indicate internal tube damage. Warping of the image may indicate problems with geometry that may be corrected with simple adjustments. This test also showcases the monitor’s ability to display colors in various combinations of red, green and blue.
Bloom Test

This test can be used to check for any blooming artifacts, where a monitor image changes in shape depending on the brightness of the image. Typically these result from over saturation of the screen, or incorrect screen voltage or B+ adjustments. This artifact is almost always present in CRT monitors / televisions, and may be better or worse depending on the quality of the monitor.
Adjustment Procedure
First of all, to use the tester to verify that the monitor in question supports the video mode or signal of interest, select the mode and check to see whether an image is present. If the image syncs and is displayed, proceed with the following procedure to check for proper operation and for adjustment.
Now this is the procedure that I use and may or may not be the best way of doing this:
- Select the Text test. Ensure the text is displayed correctly.
- Select the Checkerboard test. Adjust screen voltage / brightness so that the black cells are blackest and white cells are whitest possible. Check for B+ if difficult to obtain acceptable contrast.
- Select the Bloom test. Make sure that the distortion is acceptable.
- Select the Color Grid test. Adjust as necessary using color cut-off and gain knobs.
- Select the Grid test. Check for convergence problems and distortion.
- Select the Full Color test. Check for uniform hue and degauss if necessary.
- Select the Color Bars test. Check for uniform hue and geometry and adjust if necessary.
- Go back to step 2 and confirm everything for the second time. Adjust if necessary.