
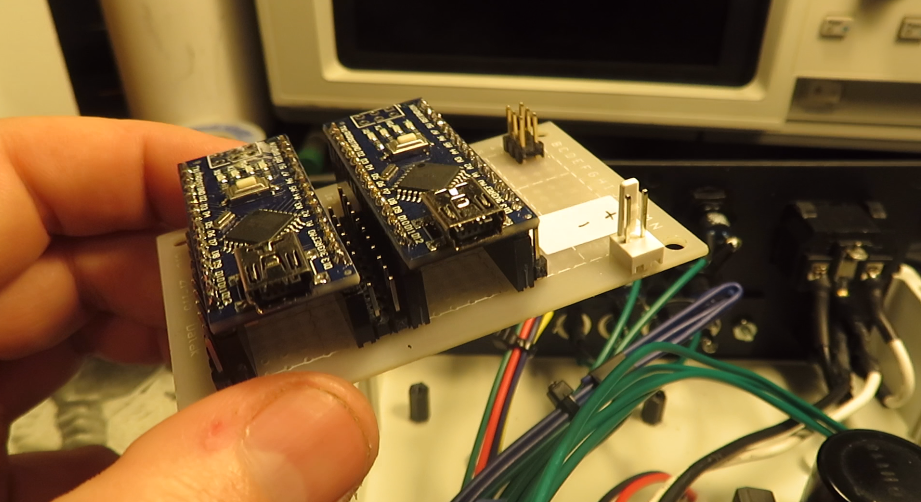
I created this for the super gun project that I just recently completed. It uses an arduino, one for each controller to decode the Sega Genesis controller protocol and interface the controls to an arcade game.
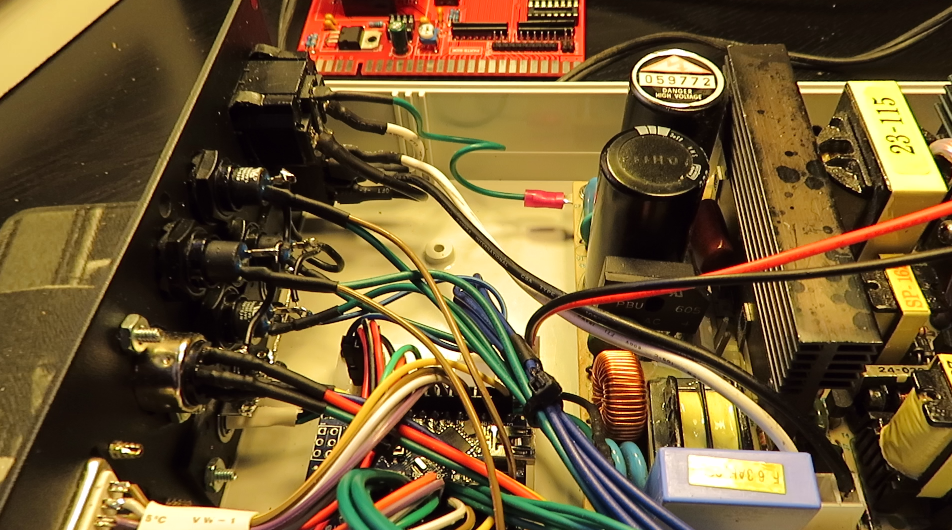
You can see them buried behind all the wires in this photo.
This is for an arduino nano developed with the arduino platform, but I don’t see why it wouldn’t work on the mega or even clones. The code is extremely simple and should take no effort to understand and modify.
Eventually this led me to the development of the modular supergun component. Here’s the new Sega Genesis controller interface.
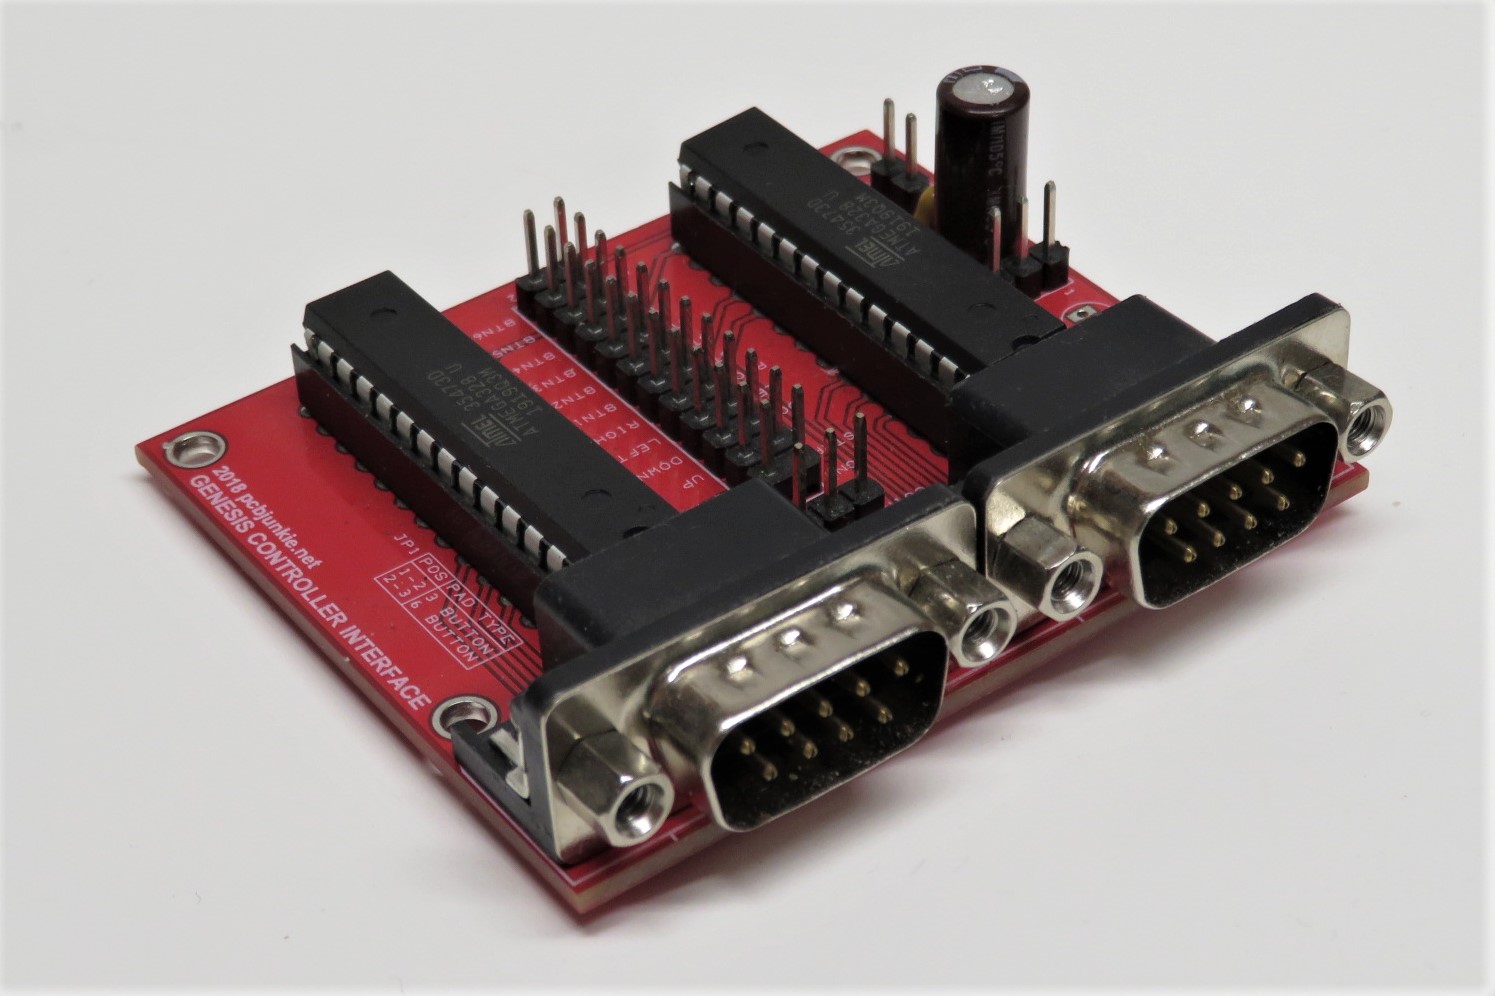
You can use this to interface to any other device that requires controller inputs and has individual logic inputs for each control.
First let’s provide the download link and then I’ll explain how to use this for your own project.
For 3 button controllers :
For 6 button controllers
The files are for either the 3 button controllers or 6 button controllers. The code is not compatible across controller types, so if you’re planning to use a 3 button controller stick with the 3 button code and vice versa.
Also, the code differs slightly whether you’re using a target with has pull-up resistors or not.
For example, in an arcade game, pull-up resistors are used so the input pin is usually kept high until it is brought low by closing the switch or button which is connected to ground. In those cases you’d want to use the pull-up version of the code which keeps the Arduino output high impedance (set to input mode), and only when the controller button is pressed, the output pin is switched to output and set to a 0. This keeps both output of the Arduino happy in case there are any disagreements with the target device, and can avoid problems if your target is not TTL-level compatible.
If you are using a target device that doesn’t have pull-ups, please use the nopullups version. Using pullups version of the code on such device will trigger erratic random button presses.
The pullup version of the code is the one to use first if you’re unsure of what your got.
Finally, for the 6 button controller, there is a version with alternate button mapping which follows the street fighter layour, so that the top buttons (X, Y, Z not A, B, C) are mapped to button 1, 2 and 3.
Now, let’s get to how you can use this for your project. First you should wire the controller port to the arduino as follows:
// Controller Pin Function
// Looking at the male socket on console
// (front view, not solder side)
//
// .---------------------------------.
// \    [A0] [A1] [A2] [A3] [+5V]   /
//  \     [A4] [D13] [GND] [A5]    /
//   '----------------------------'
If this isn’t what you want you will have to modify the following section in the code:
const int PIN_SELECT = 13;

const int PIN_IN_UP = A0;
const int PIN_IN_DOWN = A1;
const int PIN_IN_LEFT = A2;
const int PIN_IN_RIGHT = A3;
const int PIN_IN_BTN_B_A = A4;
const int PIN_IN_BTN_C_START = A5;
Finally plug your target device (arcade game or whatever) inputs into the following pins on your arduino:
UP => D2
DOWN => D3
LEFT => D4
RIGHT => D5
BUTTON 1 => D6
BUTTON 2 => D7
BUTTON 3 => D8
BUTTON 4 => D9
BUTTON 5 => D10
BUTTON 6 => D11
START BUTTON => D12
and of course if you don’t like this configuration, then you’ll have to edit this portion of the code:
const int PIN_OUT_UP = 2;
const int PIN_OUT_DOWN = 3;
const int PIN_OUT_LEFT = 4;
const int PIN_OUT_RIGHT = 5;
const int PIN_OUT_BTN_1 = 6;
const int PIN_OUT_BTN_2 = 7;
const int PIN_OUT_BTN_3 = 8;
const int PIN_OUT_BTN_4 = 9;
const int PIN_OUT_BTN_5 = 10;
const int PIN_OUT_BTN_6 = 11;
const int PIN_OUT_BTN_START = 12;
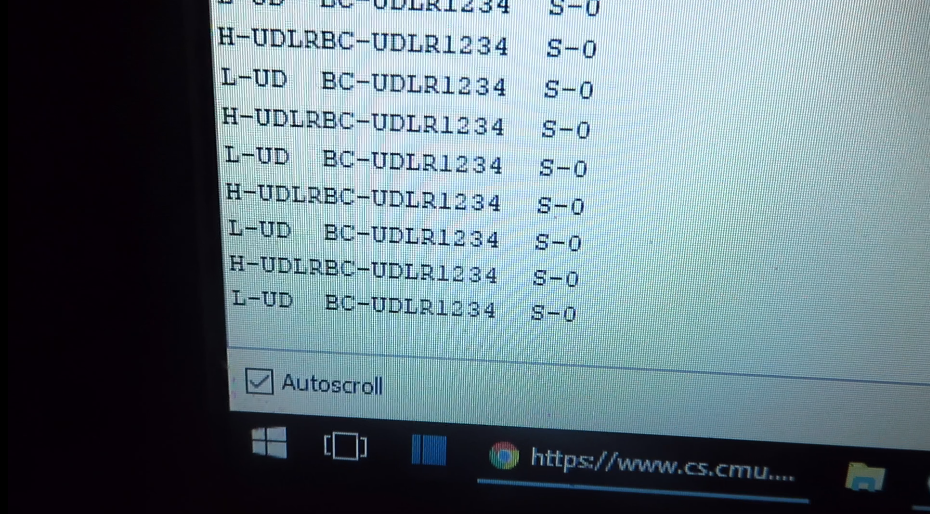
Upload the provided code into the arduino and test your device. The serial console is enabled by default so you can see each of the input and output lines in action. Use 230400 baud to connect to serial.
That’s it!
There is no warranty or support on this. Use it any way you’d like, but it also means that you’re responsible for bug fixes…. troubleshooting and customization. Enjoy!
For more information, please watch my YouTube video on the subject.