This is one of the most complex JAMMA adapter out there, and unlike many of the others, it may not be obvious how to connect it to the game and use it to its full potential. This is where this user guide will come in handy.
Connecting the Adapter
Line up the pins when connecting the edge connector portion of the adapter!
The Midway version of the space adapter uses a non standard edge connector. This connector is so narrow (compare the width of male and female end in pic below) that it may be possible for the adjacent pins to touch causing a short.
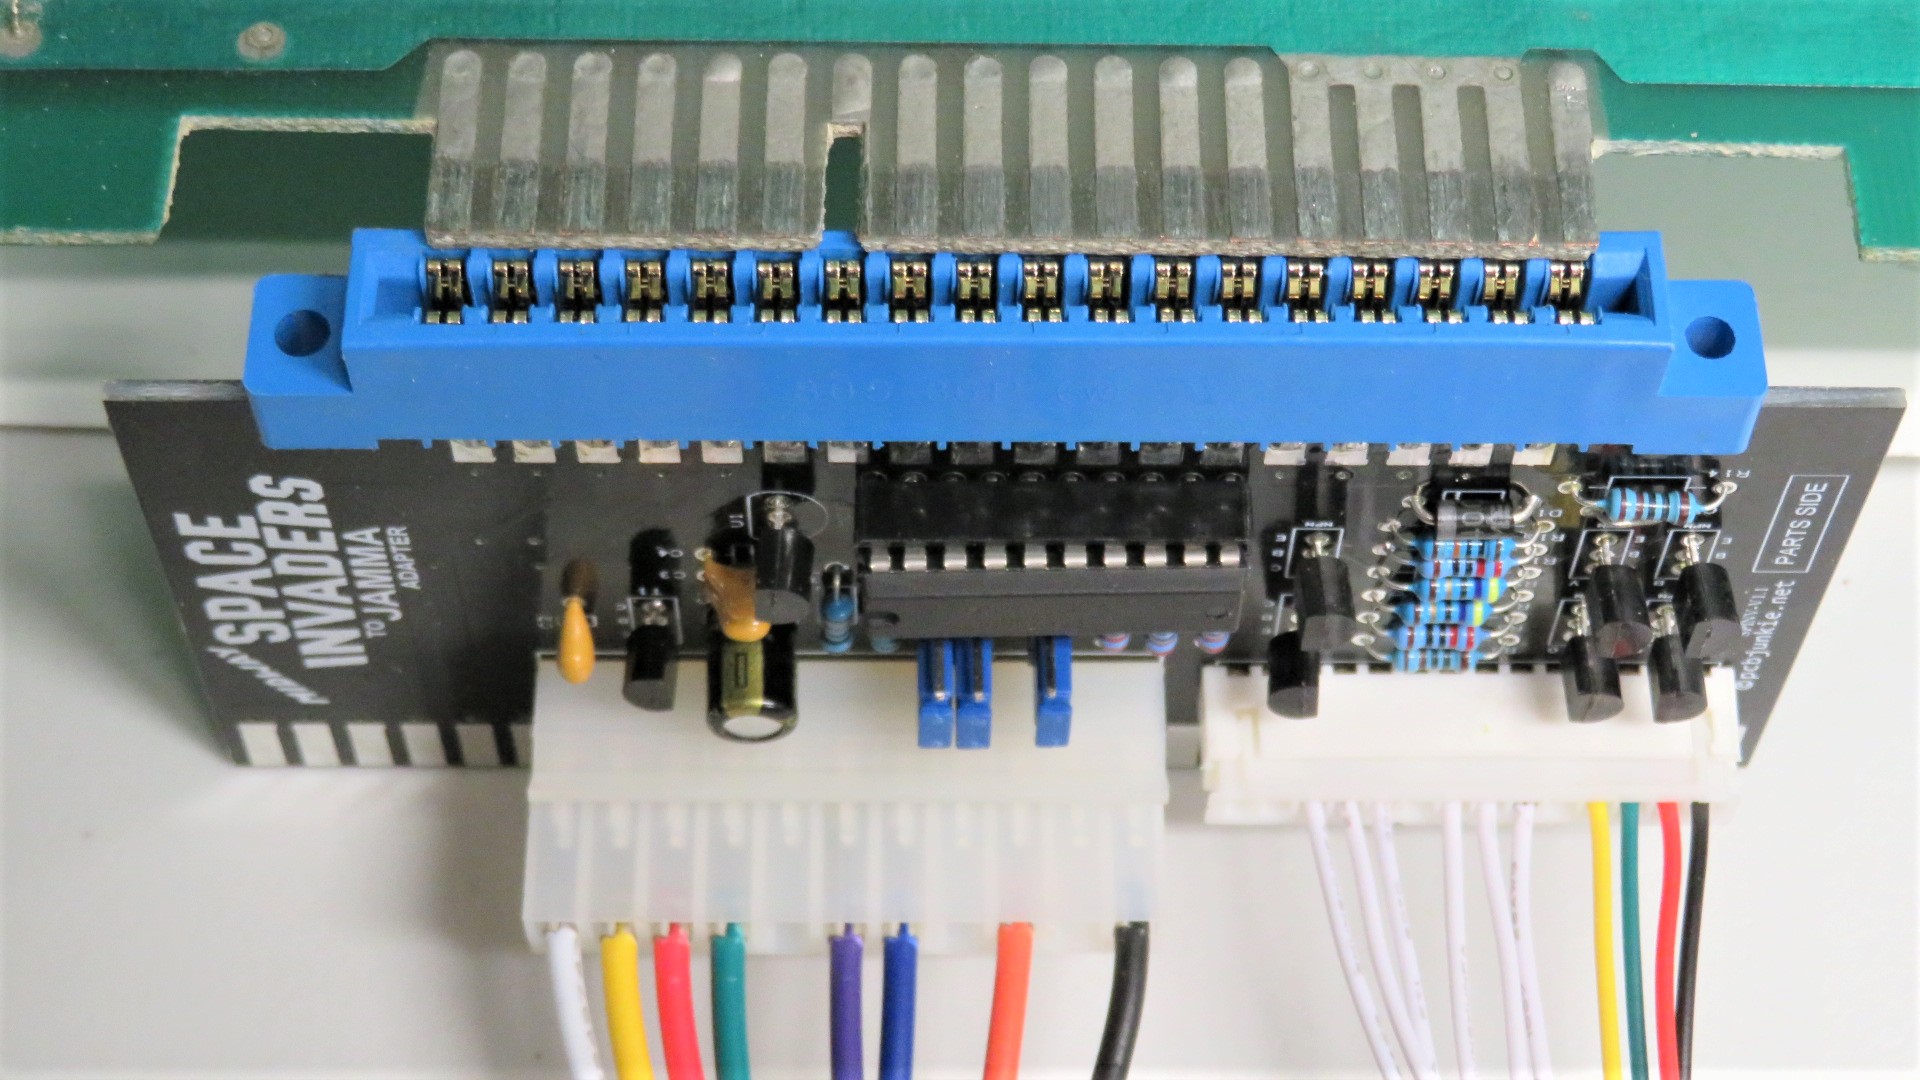
If your game doesn’t boot this is the first thing to check.
Next connect the wire harnesses. Note how the left harness plugs into the left side header and the right side harness plugs into the right side header.
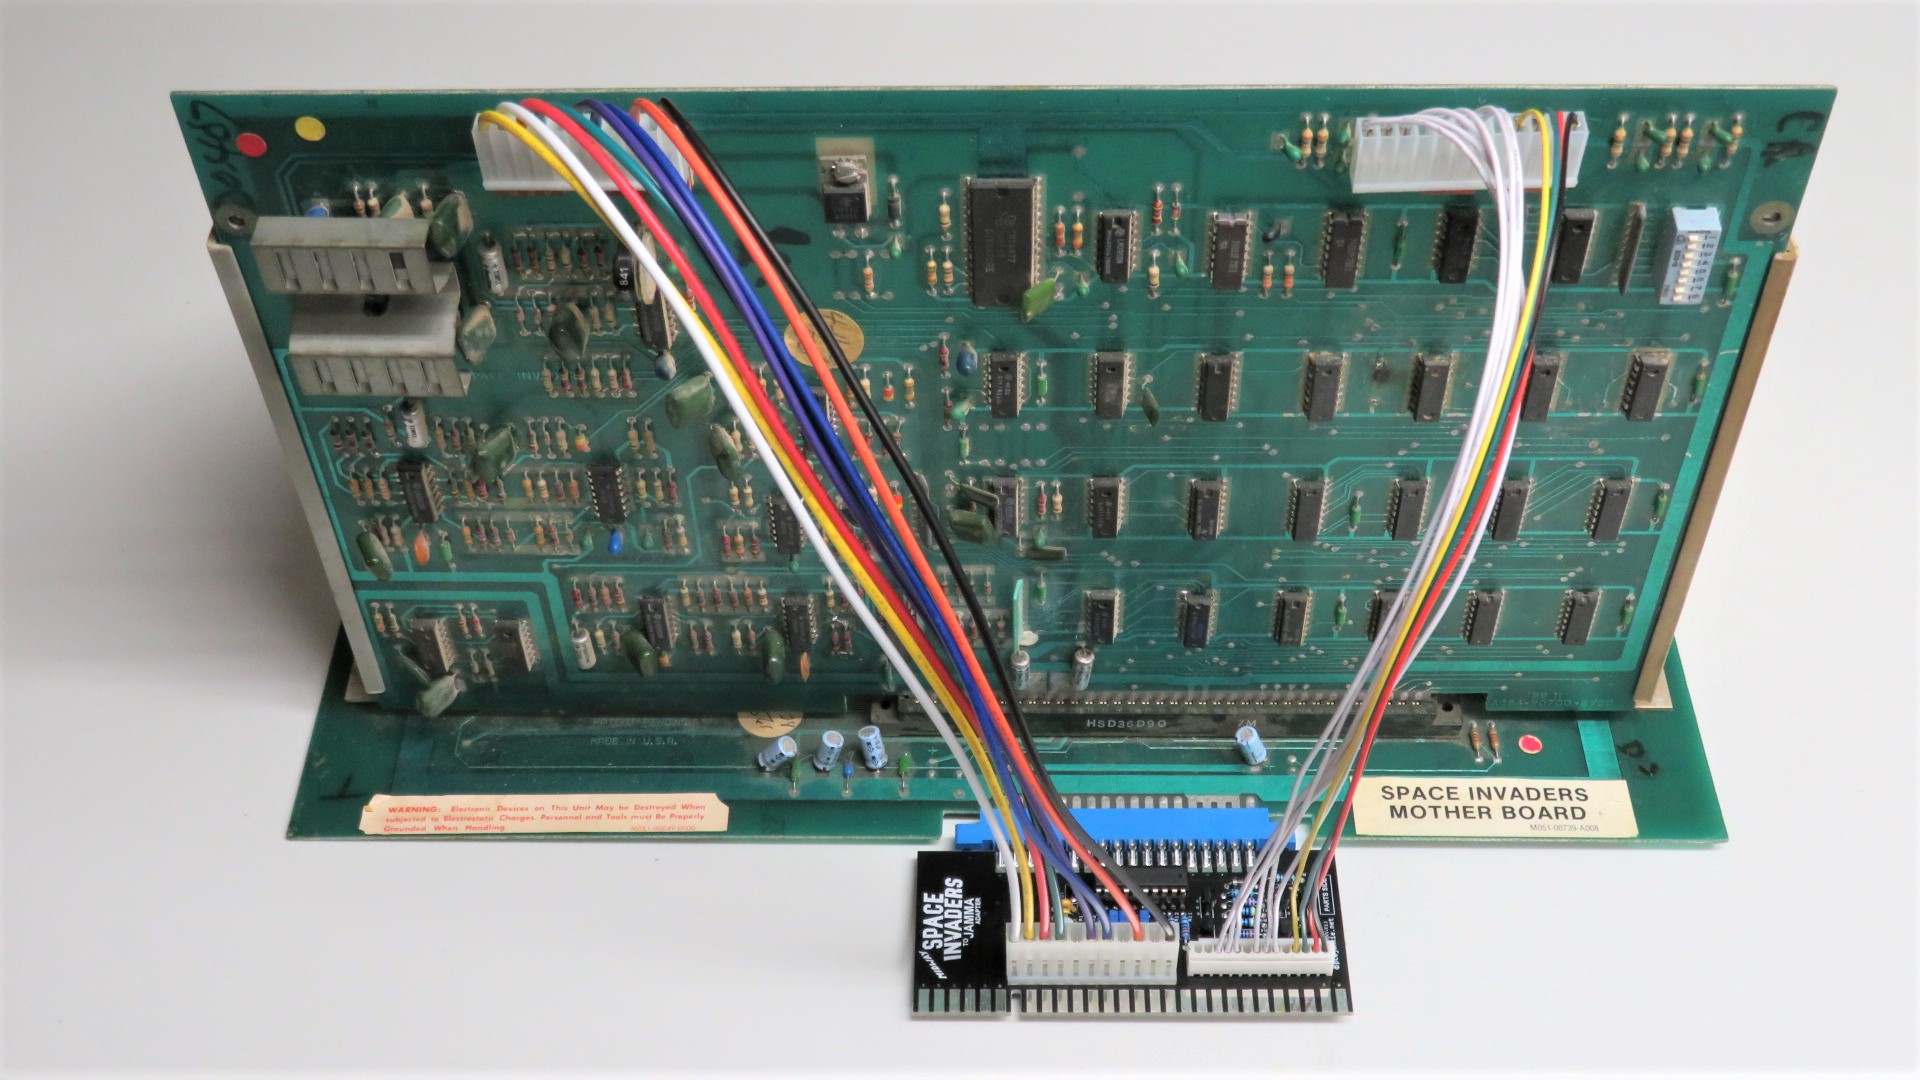
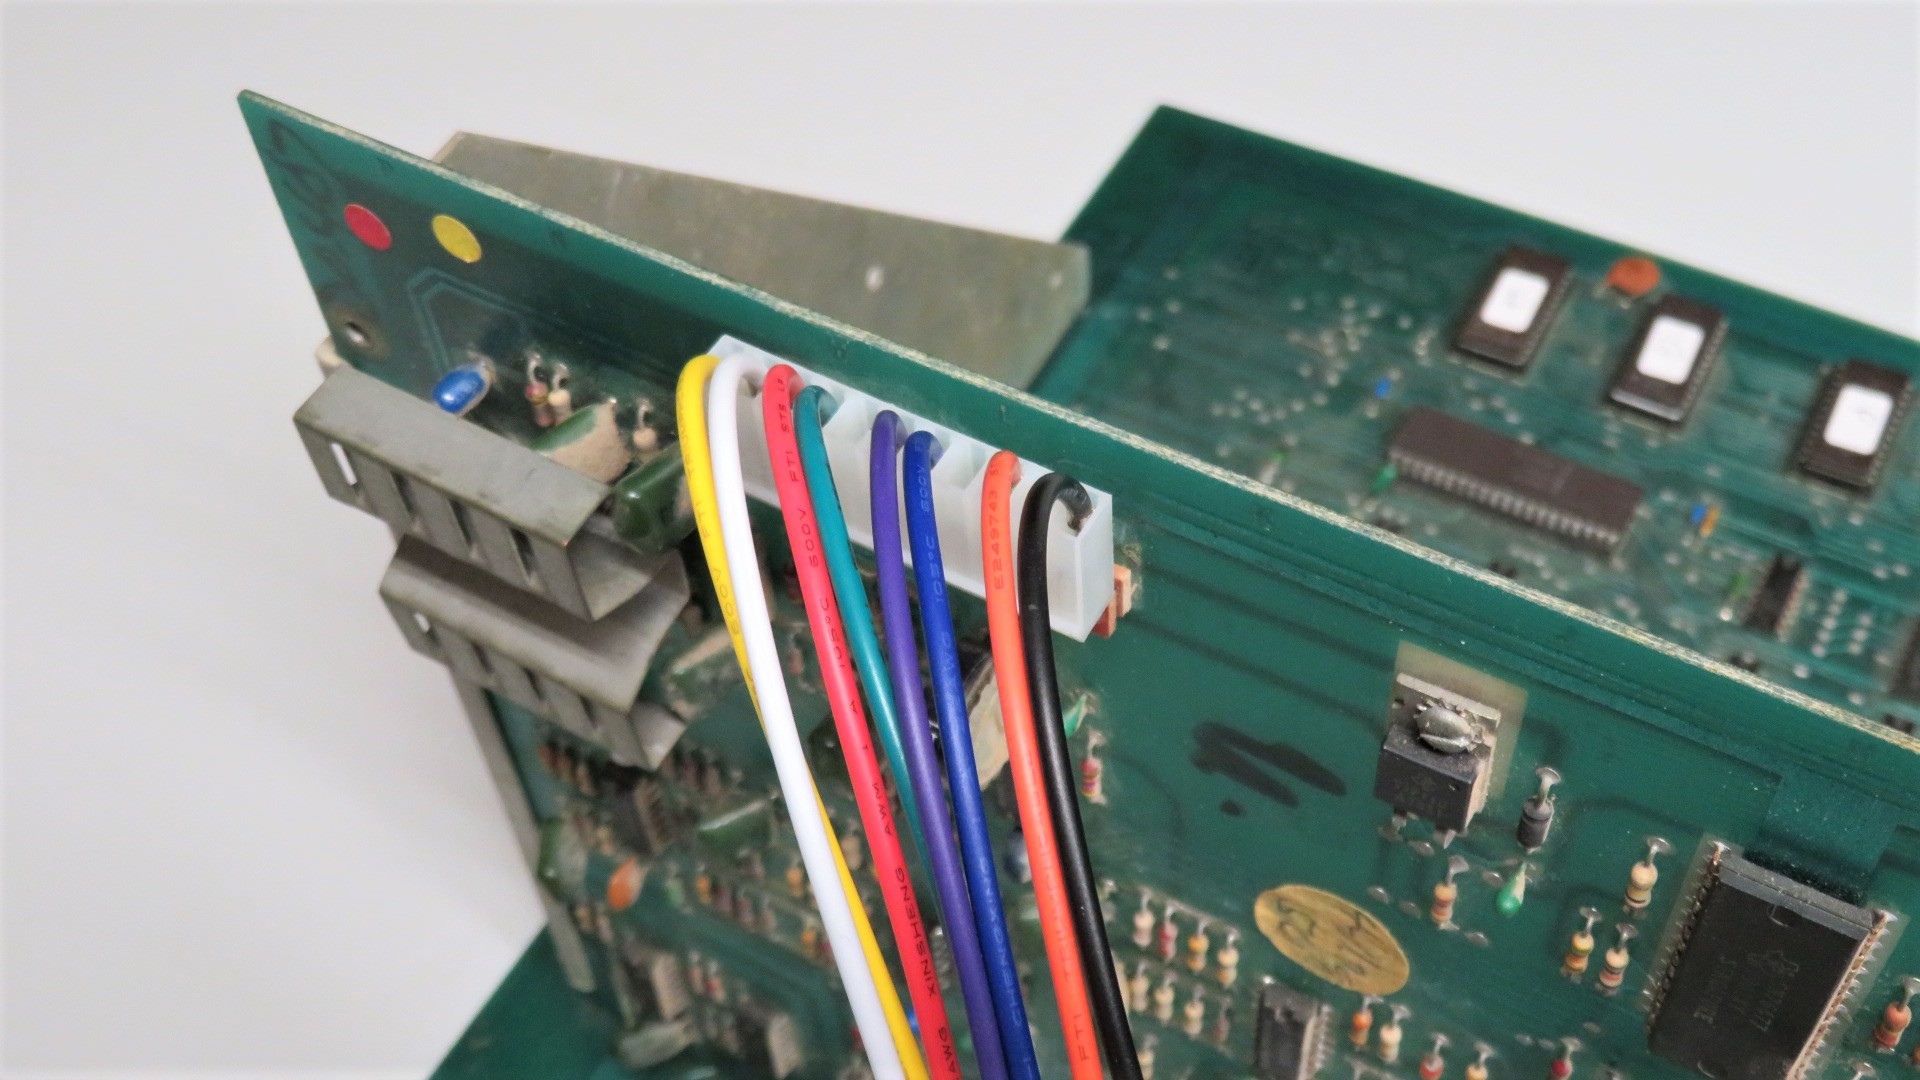
The black ground wire of each harness must be plugged into pin 1 of each of the headers. Here’s what it should look like when connected to the sound board power and output header:
And here’s the right hand side controls header with the harness plugged in:
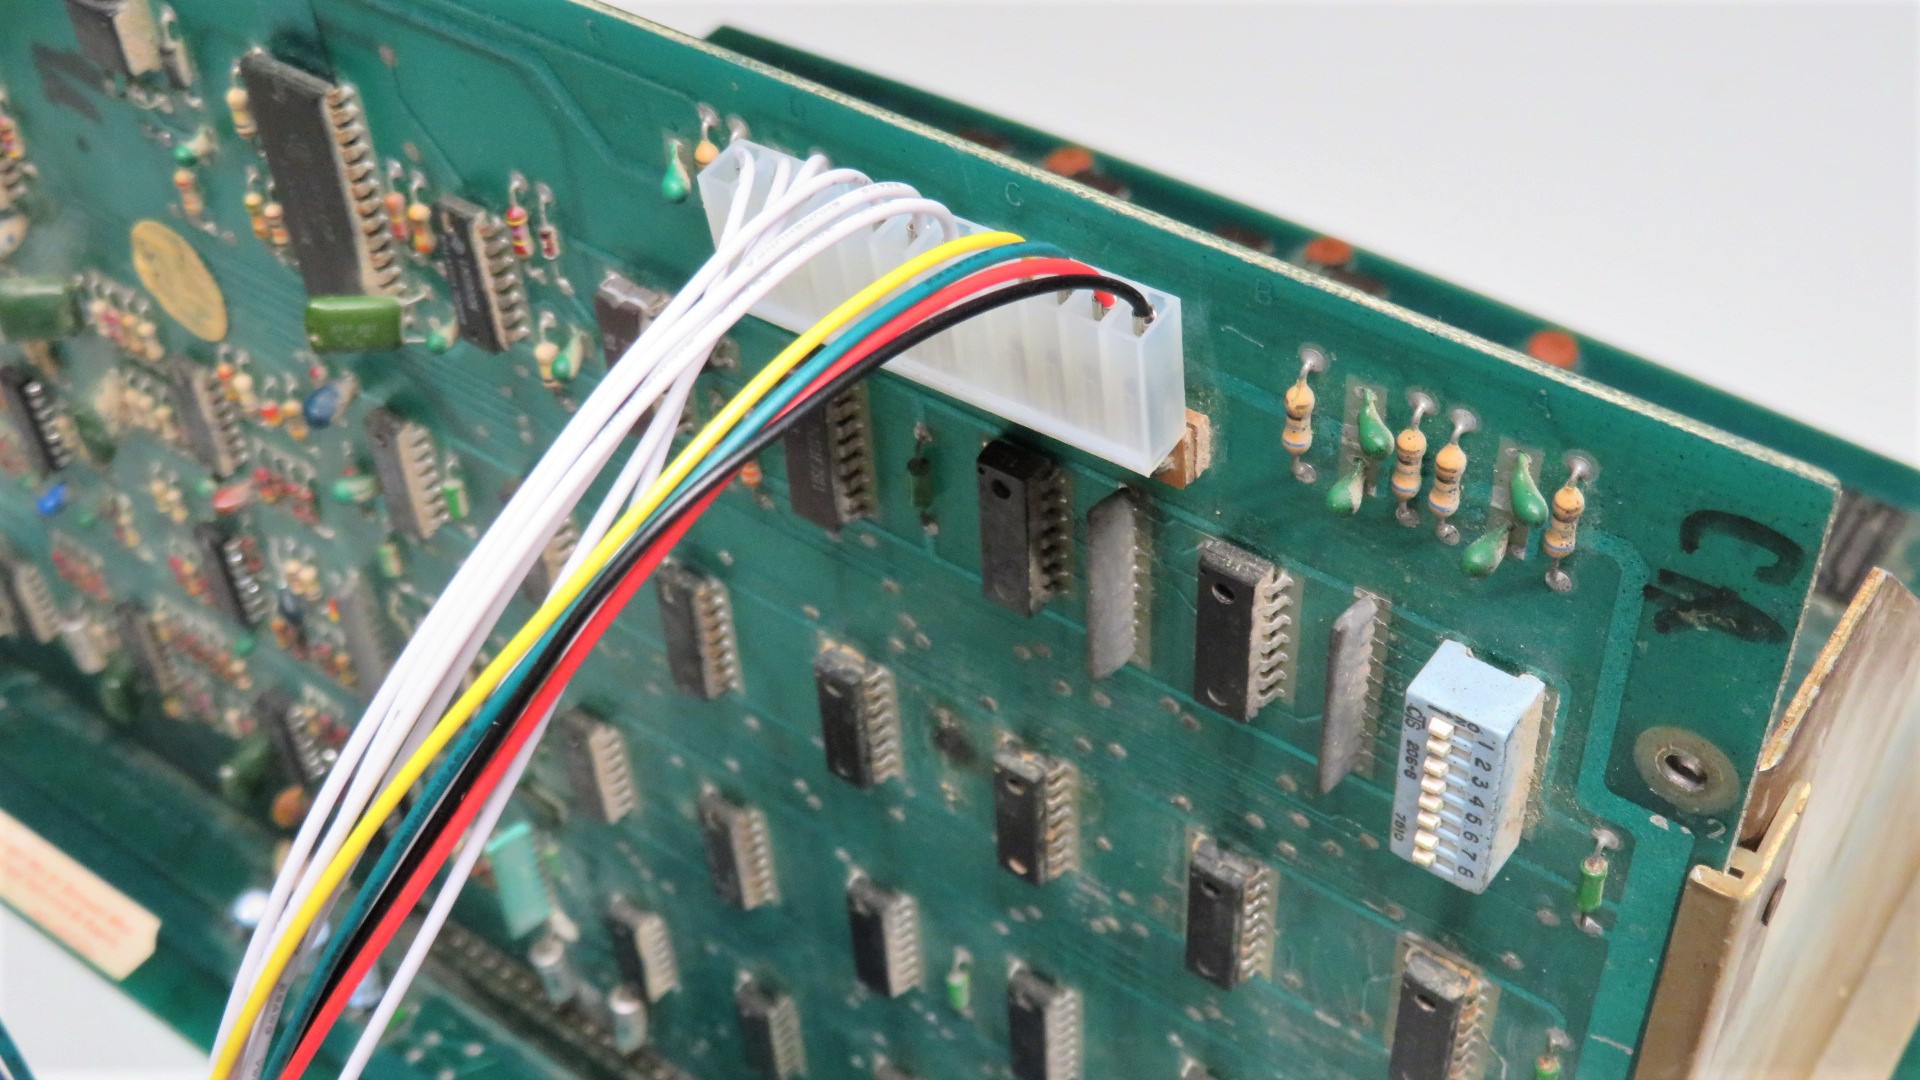
Again, the black ground wire needs to go to pin 1 which is labeled on the PCB. Failure to do this correctly can result in damage to the PCB or the adapter.
If there are unused pins on the left hand side of the header, that is fine as long as pin 1 is connected correctly.
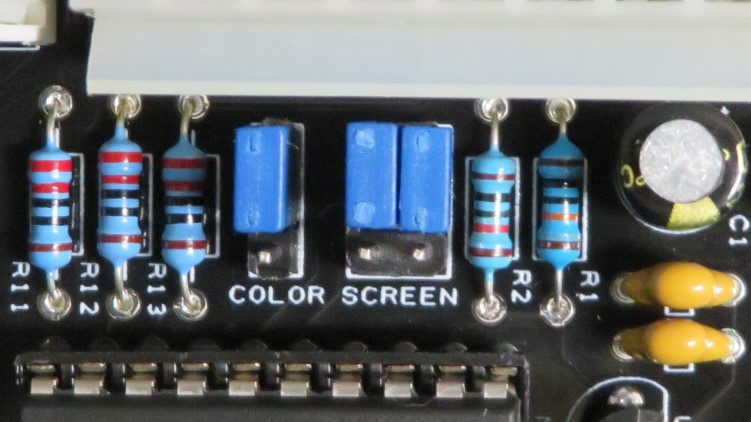
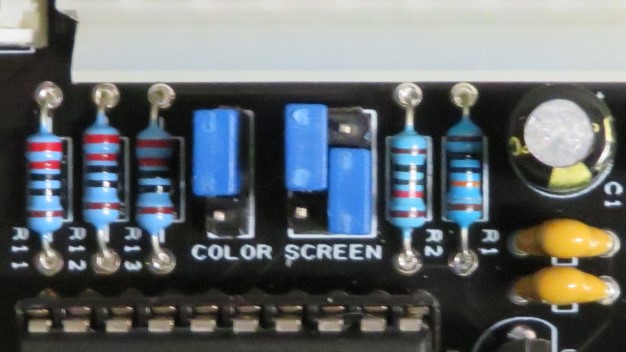
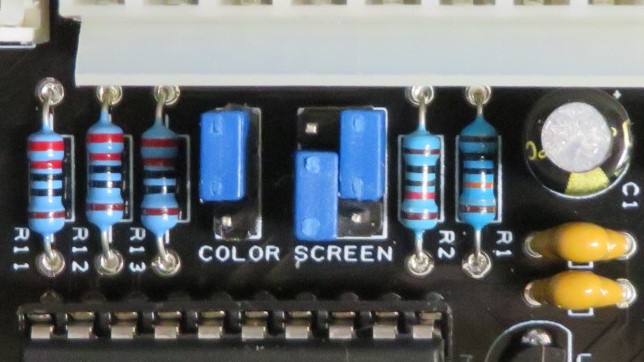
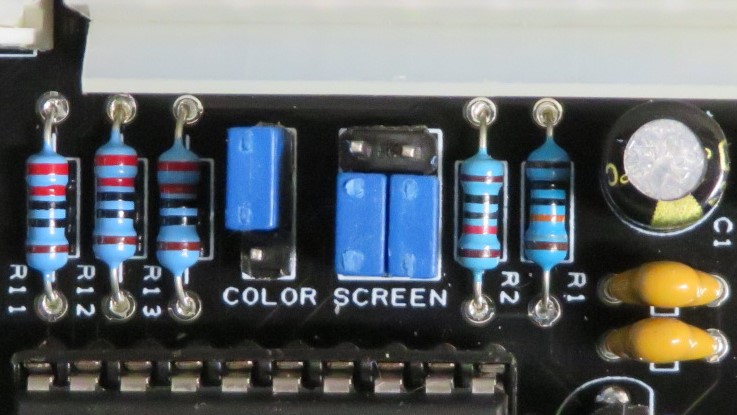
Jumper Settings
There are two sets of jumper on the adapter. These jumpers are for setting the virtual color overlays that are created by the adapter.
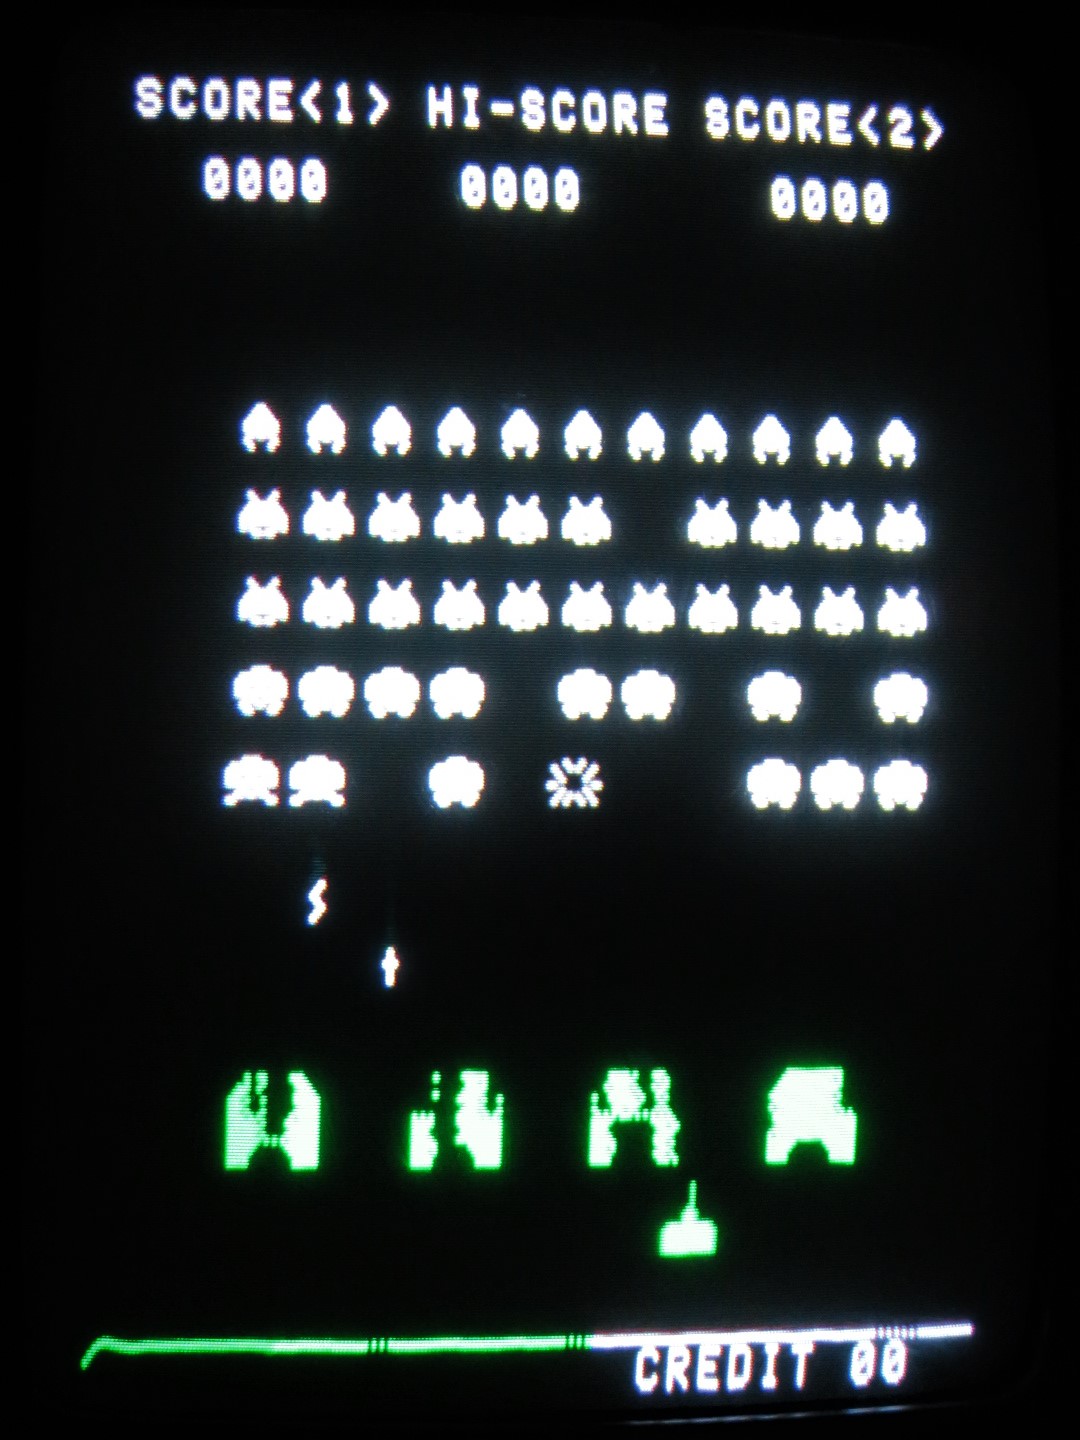
The COLOR jumper select whether the adapter will generate the color overlays or display the game in its native black and white mode. If the COLOR jumper is set to the down position (off), the SCREEN jumpers position is ignored.
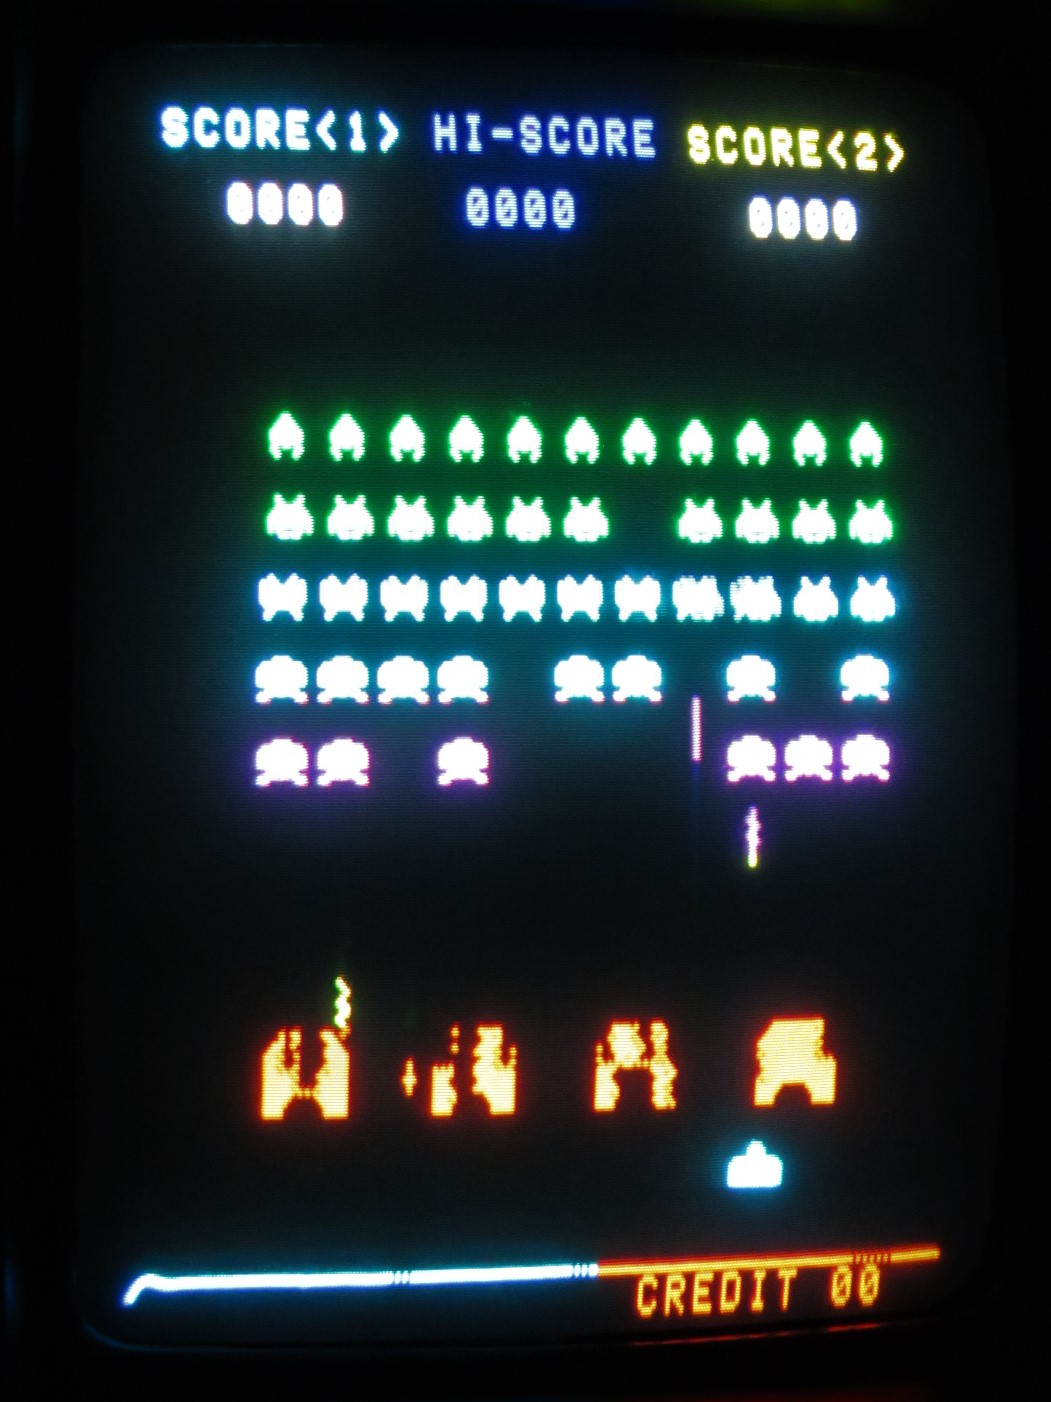
If the COLOR jumper is set to the up position (on) The SCREEN jumpers select the type of color overlay.
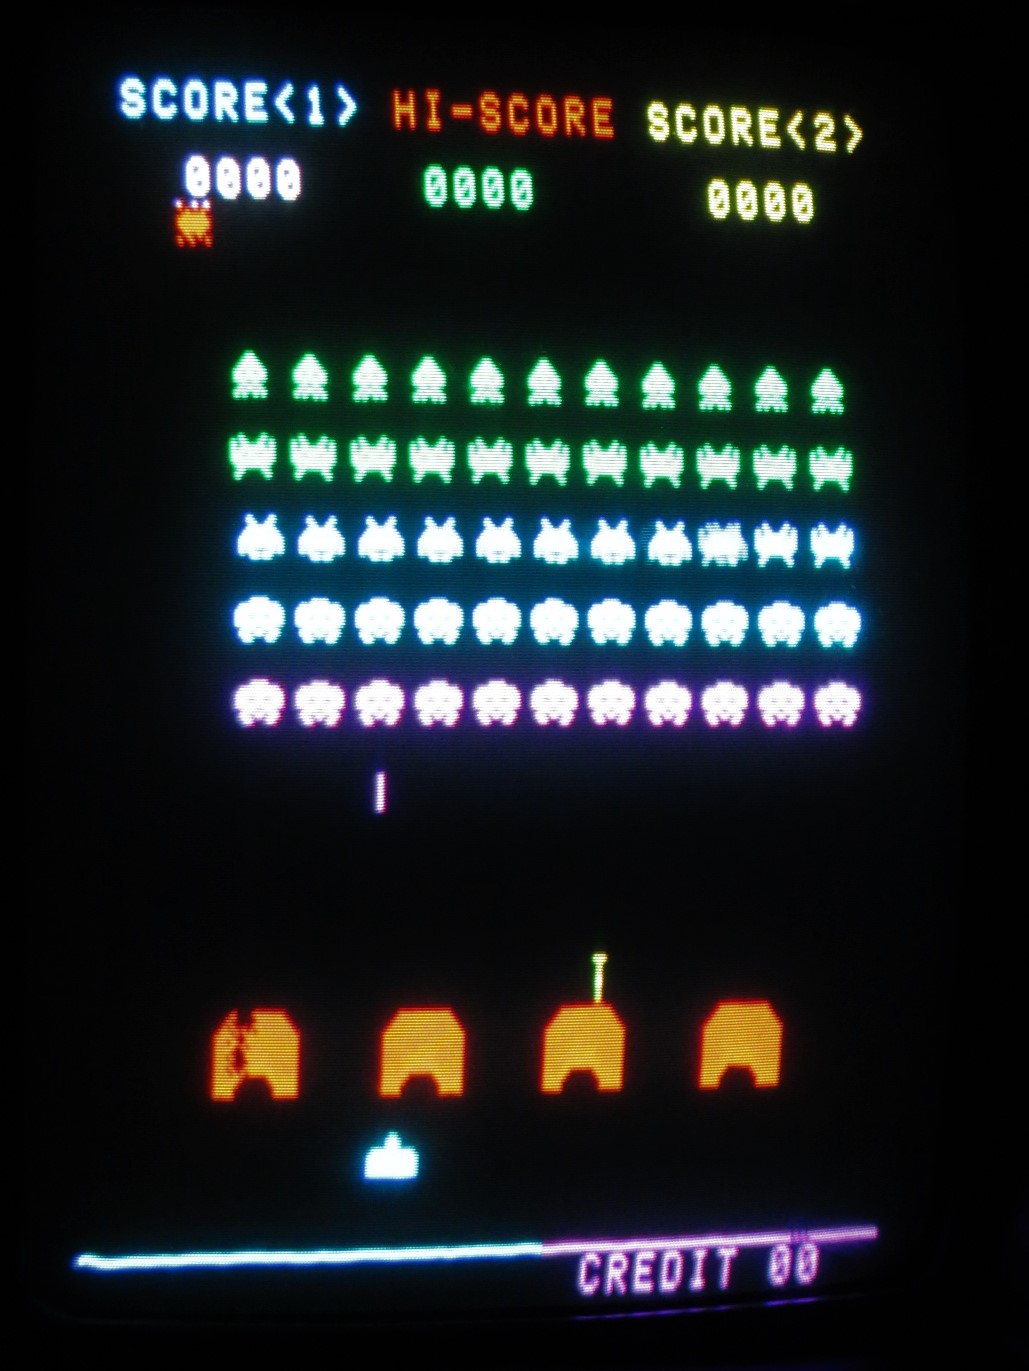
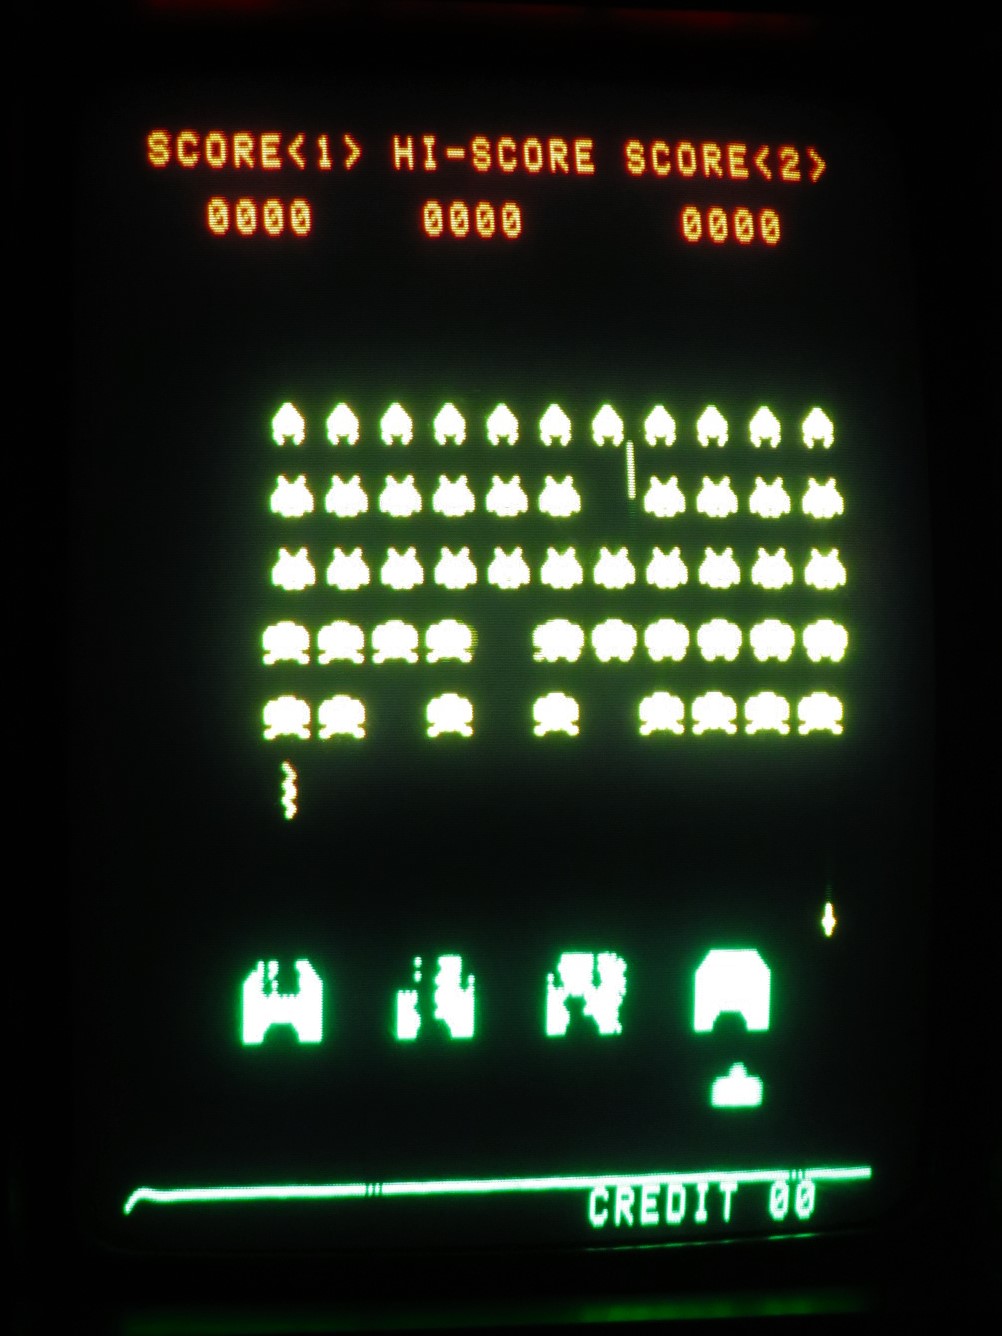
Here are all the combinations of the SCREEN jumper positions and their respective overlay scheme: